Basic Algorithms in Bioinformatics
Procedure
The basic bioinformatics user interface helps users learn the essential algorithms used in bioinformatics. The steps to use the simulator are as follows:
- Open the simulator window
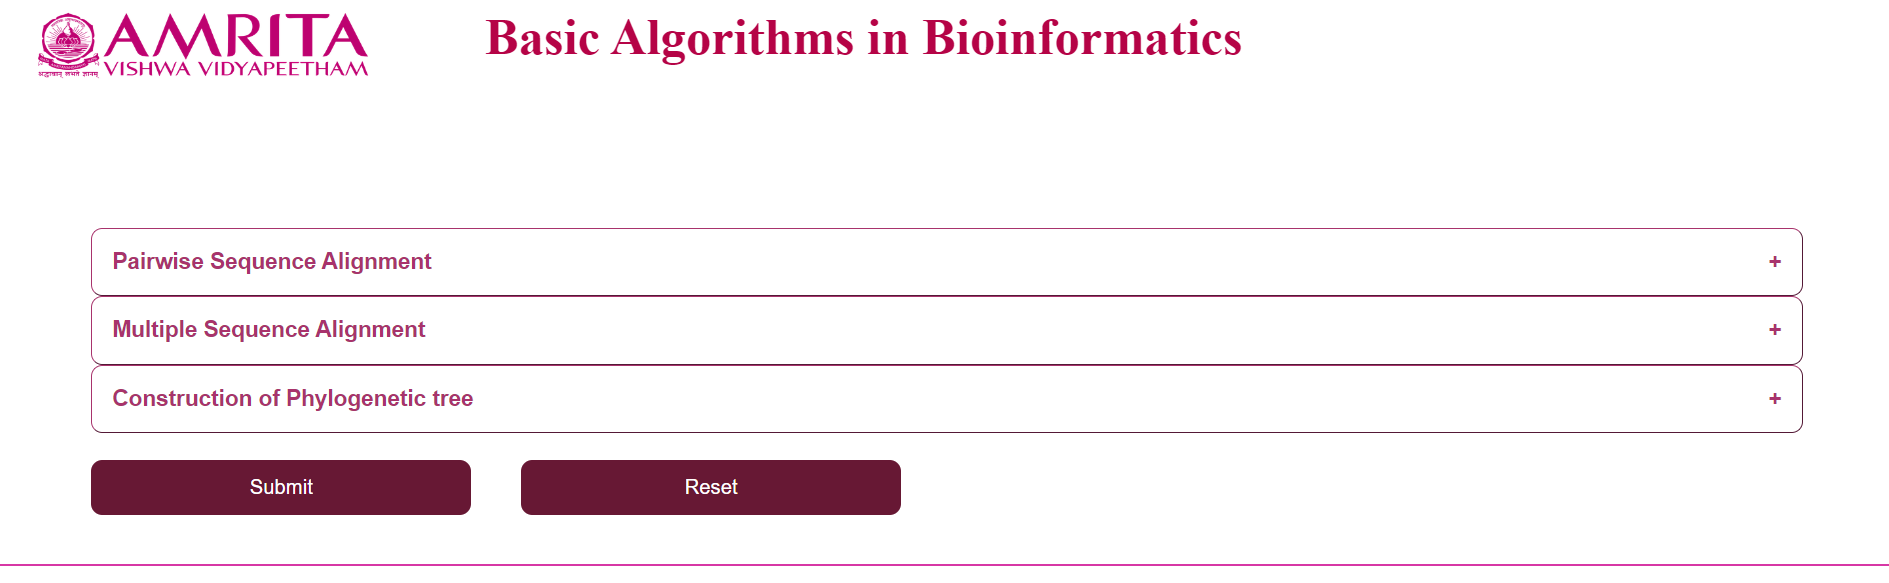
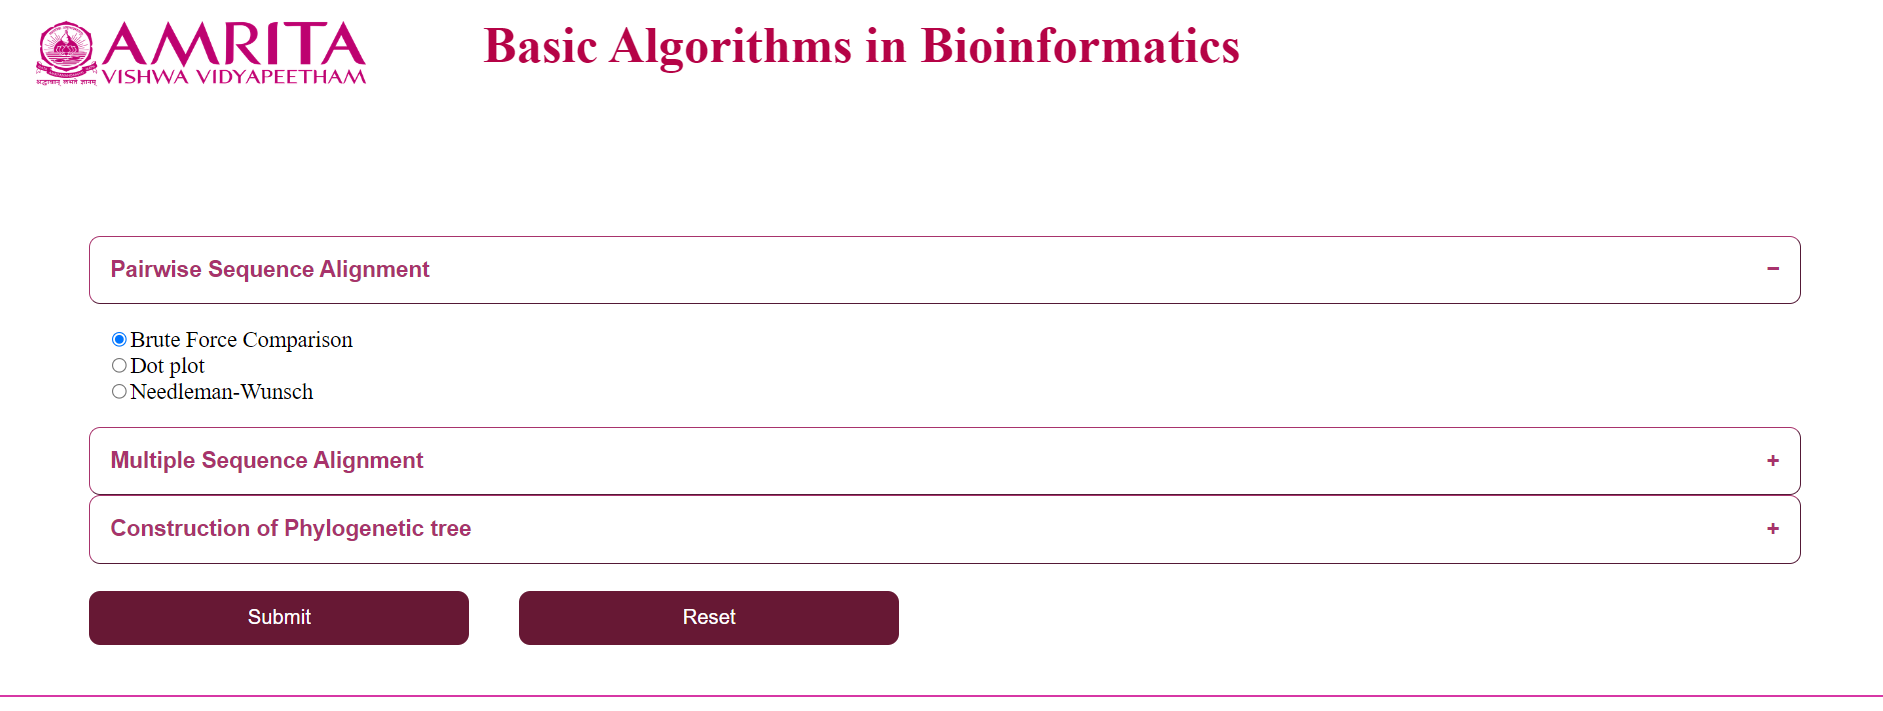
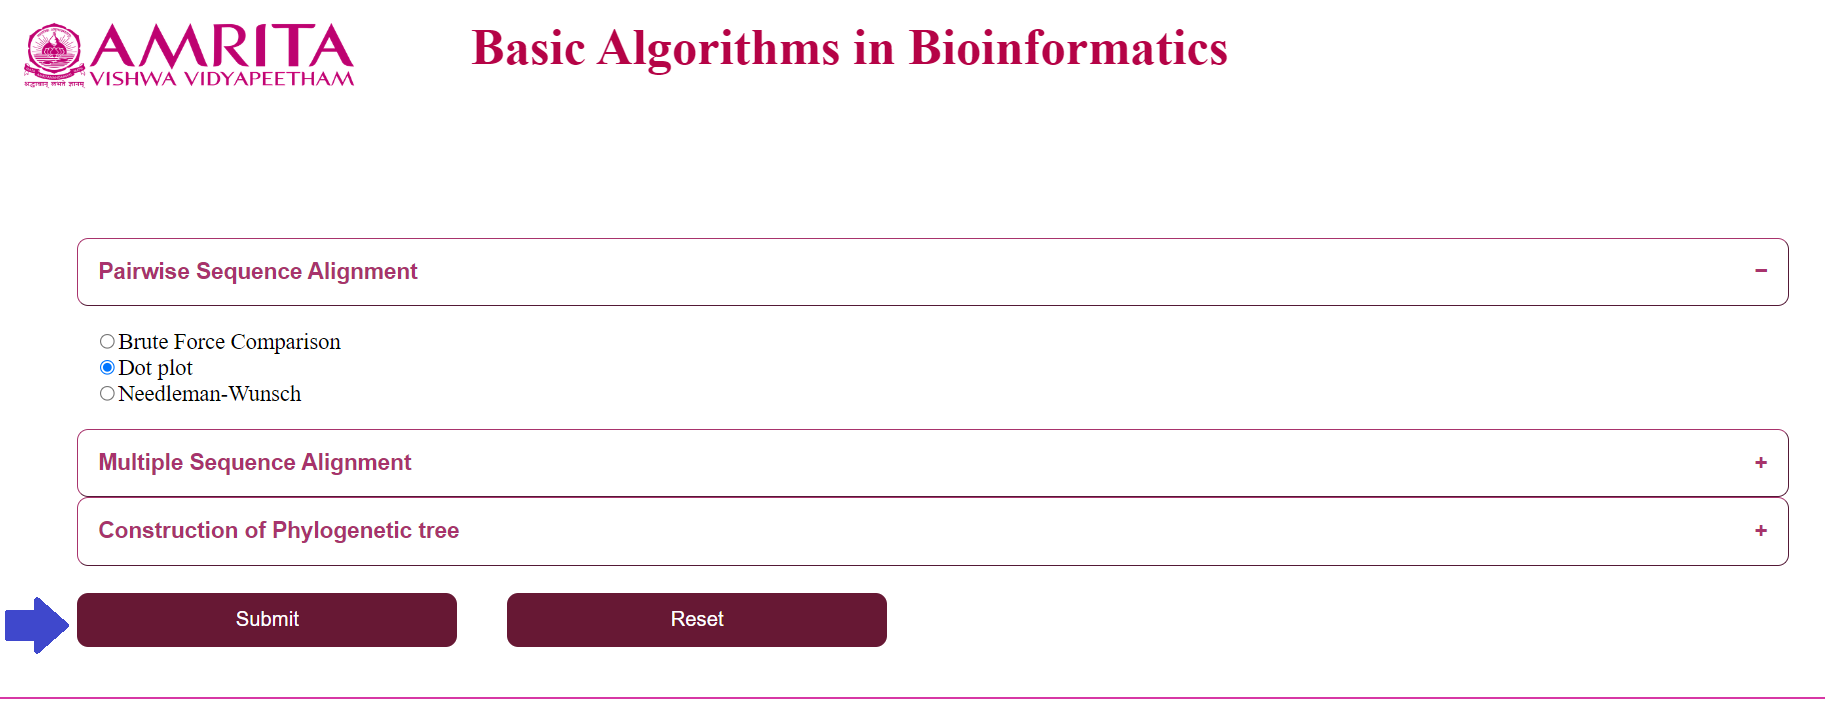
- Select an algorithm from the “Pairwise Sequence Alignment” menu
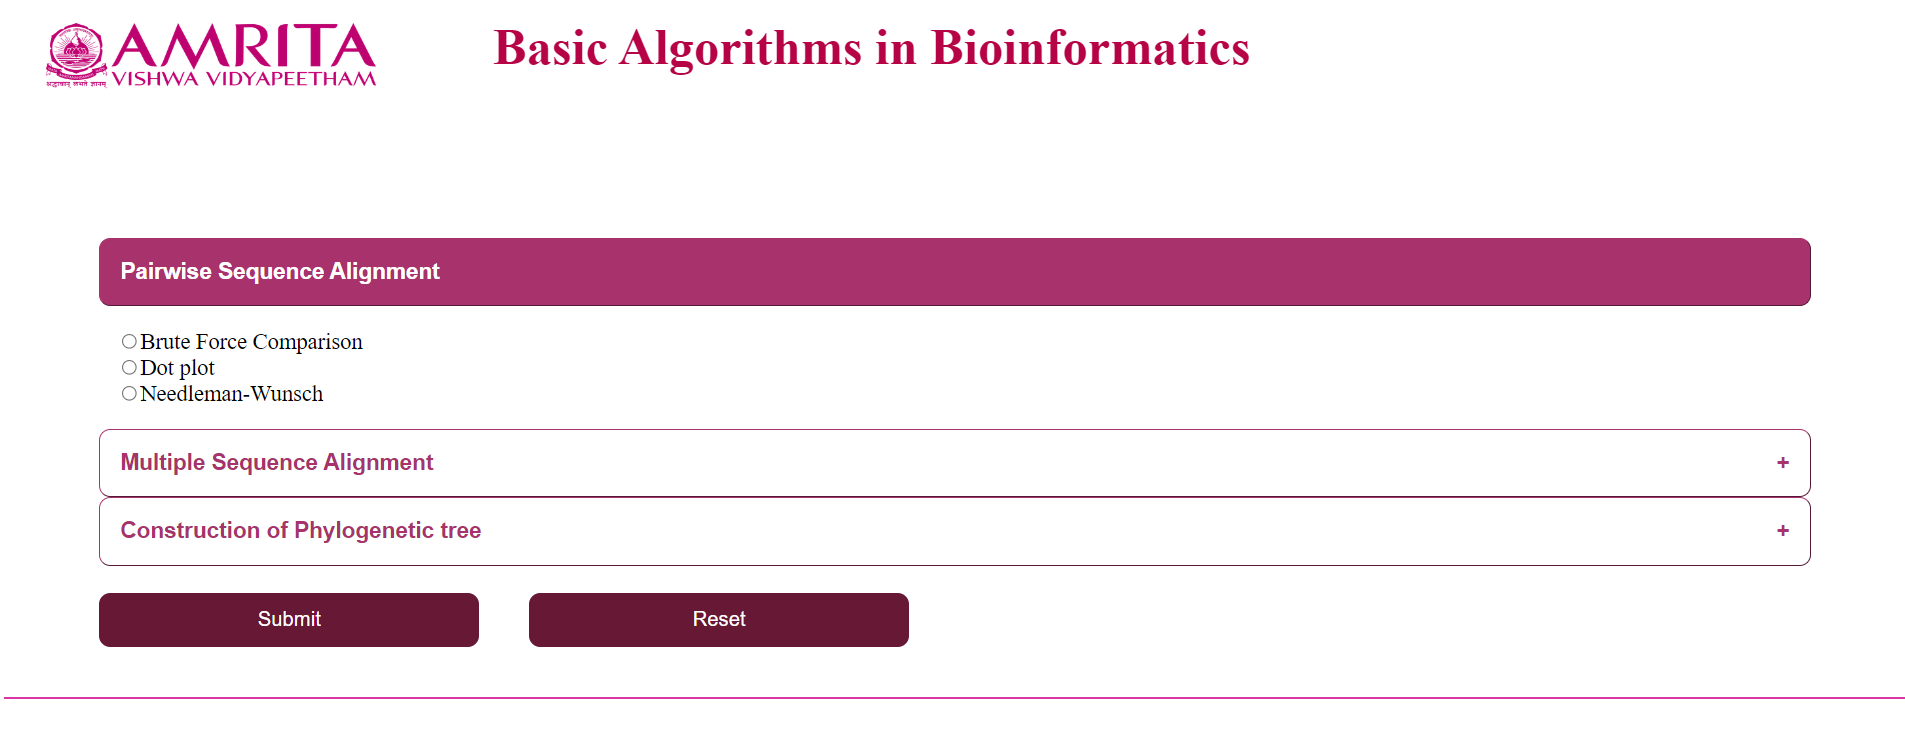
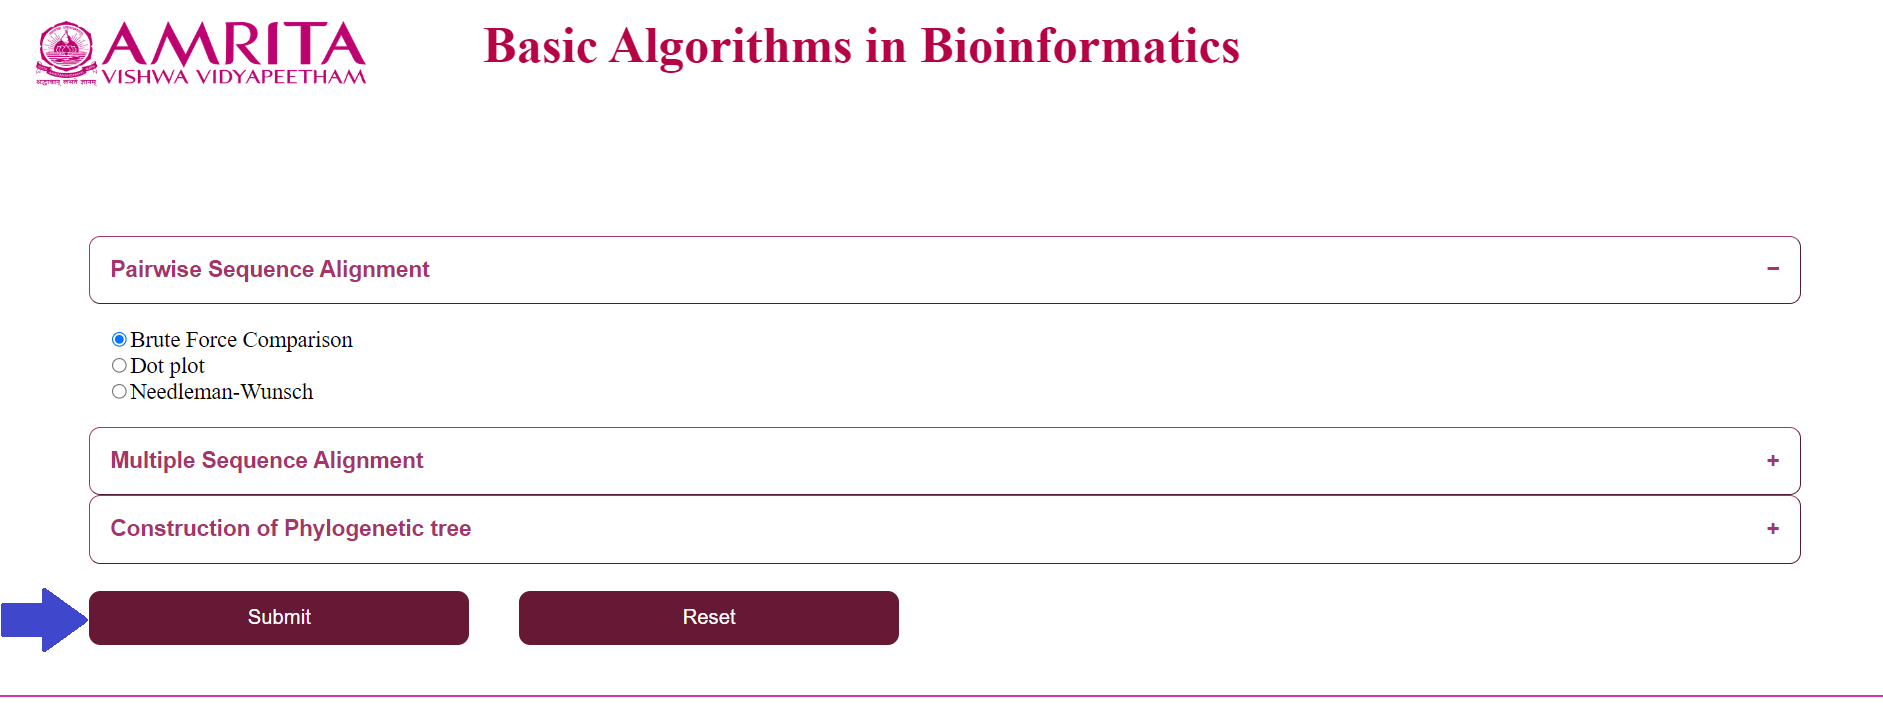
a. Click on “Brute Force Comparison” and click “Submit”
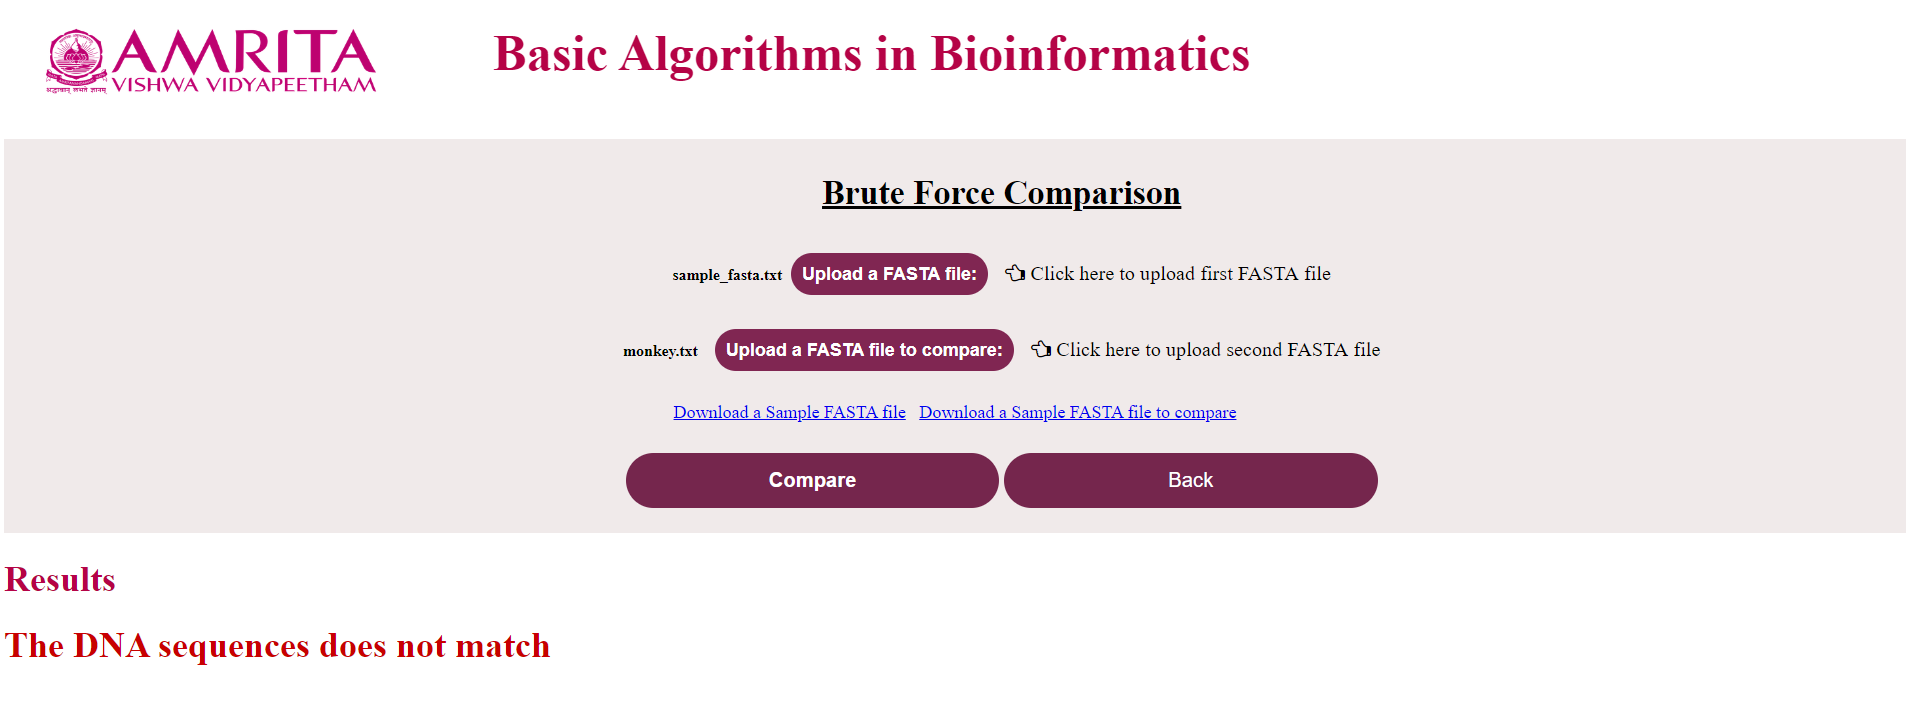
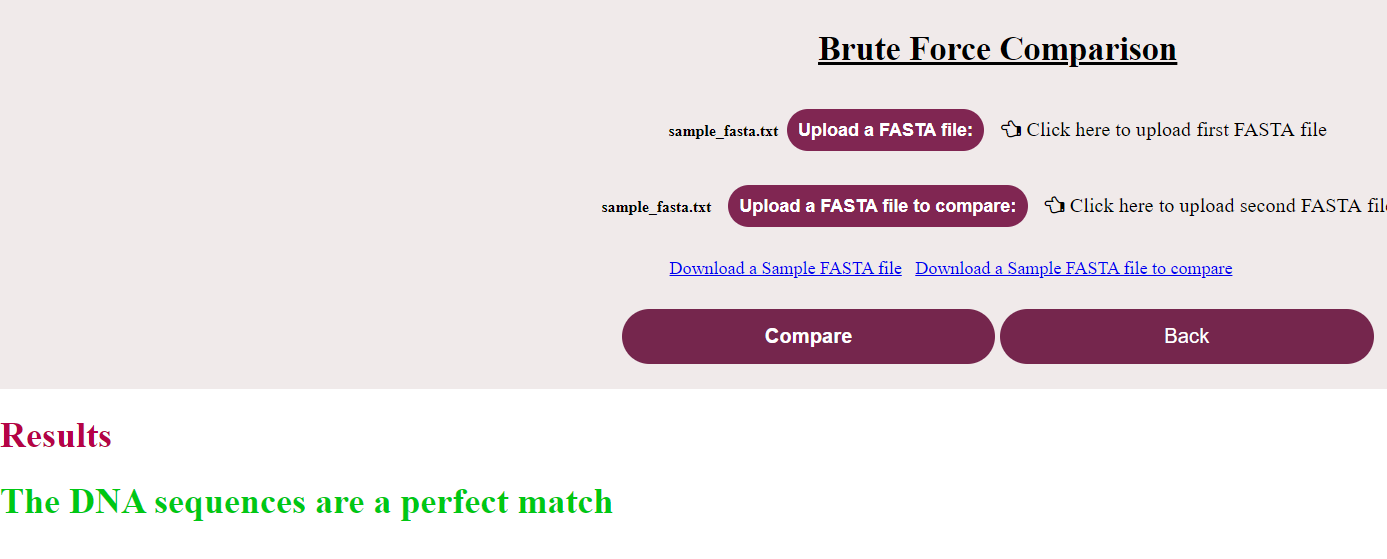
i. The user could see a new page for Brute Force Algorithm with a “Back” button to go to the previous menu. Now click on “Upload the FASTA file” and load the nucleotide/ amino acid file in FASTA format


ii. Click on “Upload the FASTA file to compare” and load the corresponding file (If the first file was a nucleotide file, this should also be a nucleotide file and vice-versa) to compare


iii. Click on “Compare”

iv. Result specifying if the sequence is a match or not will be displayed
b. Click on “Dot plot” and click “Submit”
i. The user could see a new page for Dot Plot with a “Back” button to go to the previous menu. Now click on “Upload 1st sequence” and load the nucleotide/ amino acid file in FASTA format


ii. Click on “Upload 2nd sequence” and load the corresponding file (If the first file was a nucleotide file, this should also be a nucleotide file and vice-versa) to compare

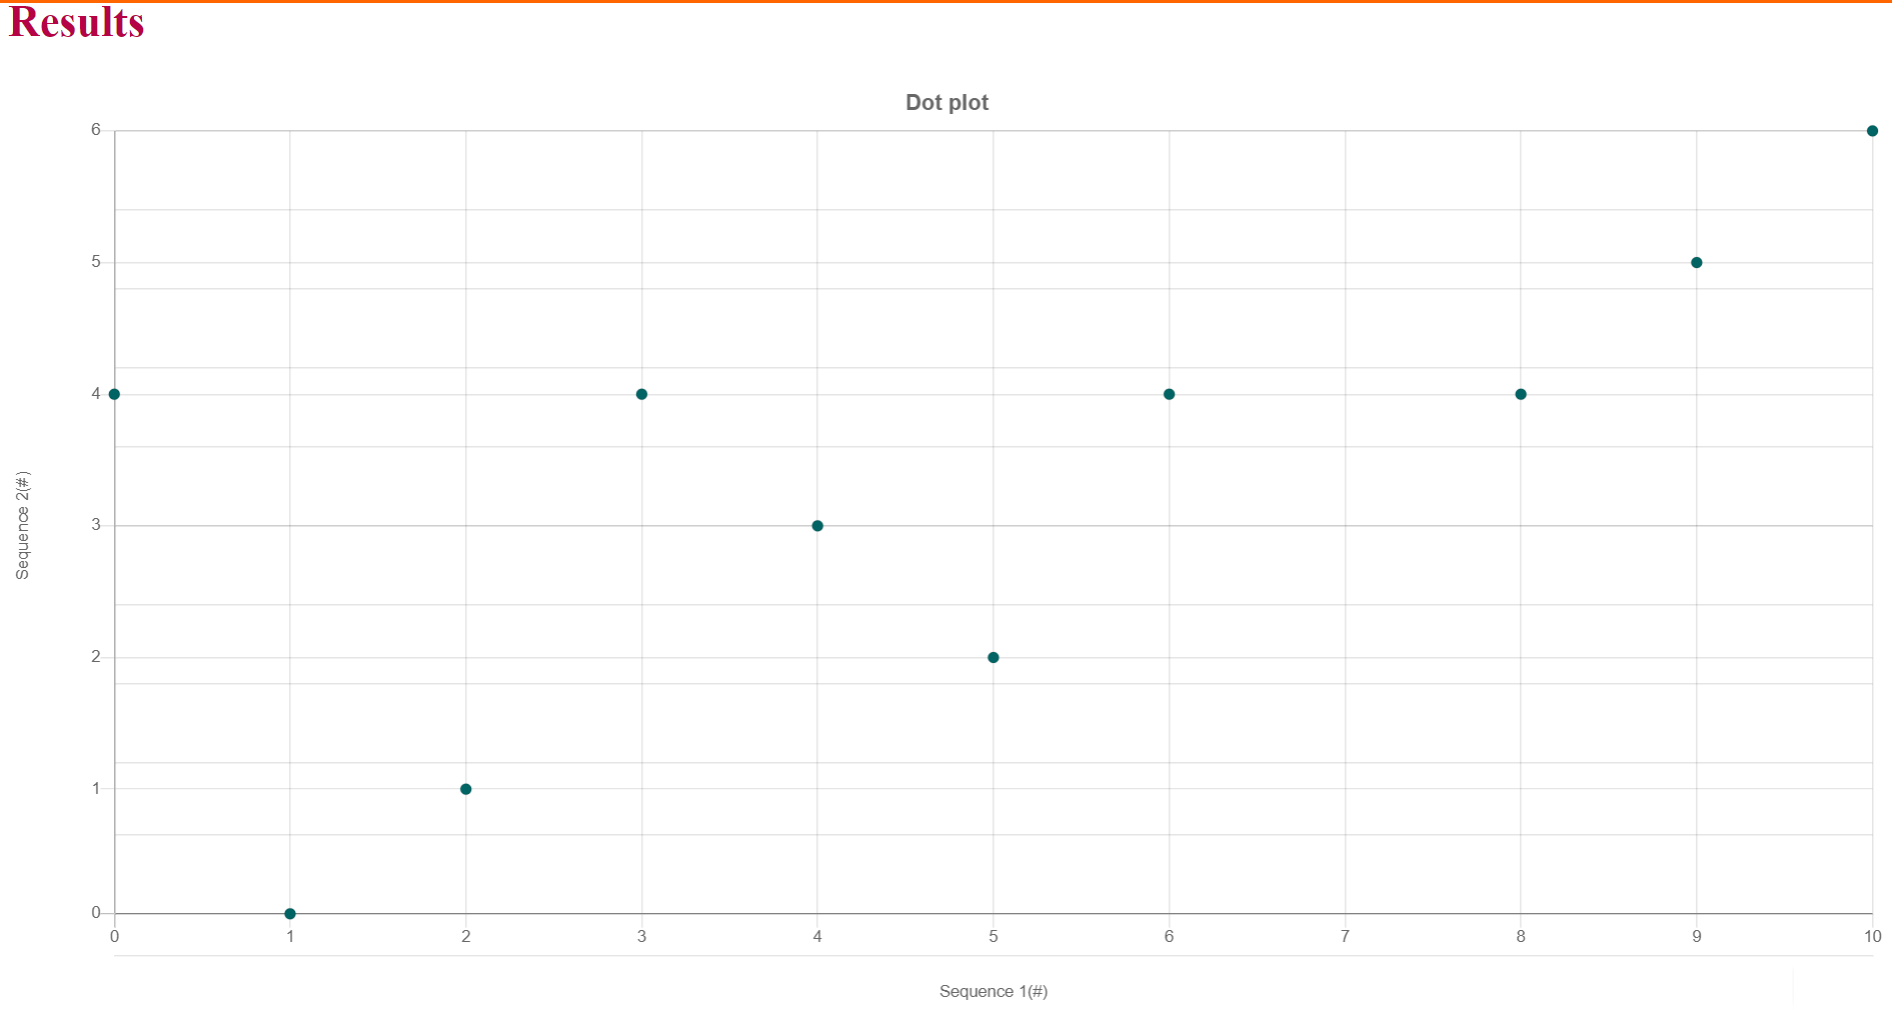
iii. Click on “Plot”

iv. A dot plot will be visible with dots at the matched characters (better understandable with a smaller sequence of 10-20 characters)
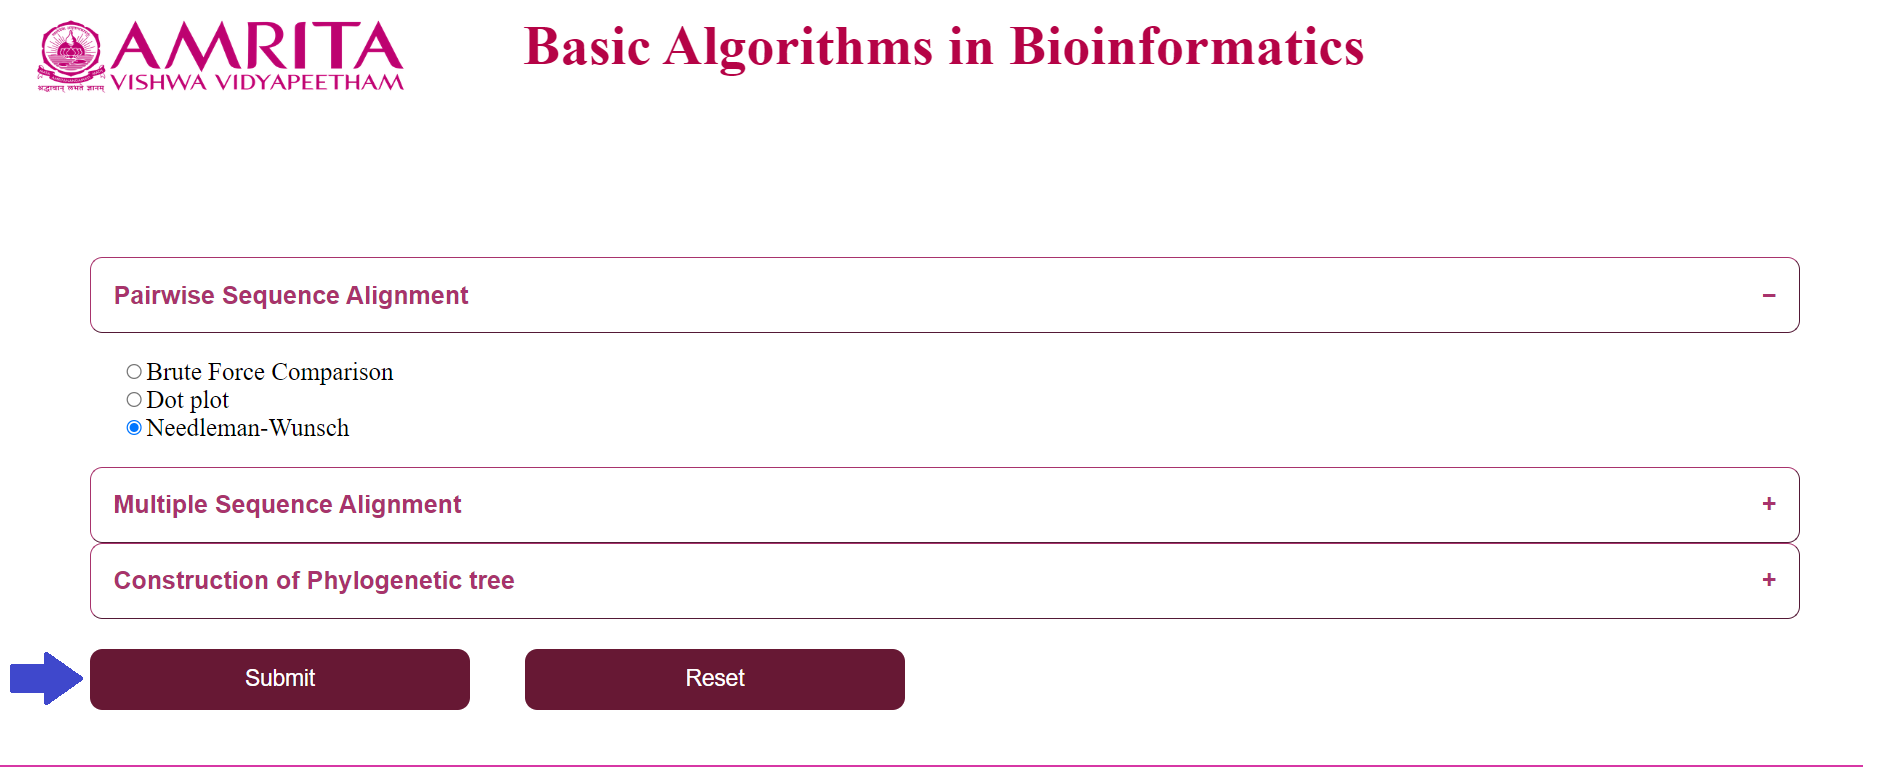
c. Click on “Needlemann-Wunsch” and click “Submit”
i. The user could see a new page for Needlemann Wunsch algorithm with a “Back” button to go to the previous menu. Now click on “Upload a FASTA sequence” and load the nucleotide/ amino acid file in FASTA format


ii. Click on “Upload a FASTA sequence to compare” and load the corresponding file (If the first file was a nucleotide file, this should also be a nucleotide file and vice-versa) to compare

iii. Click on “Compare”

iv. Result part is represented in different steps which follow one after the other.
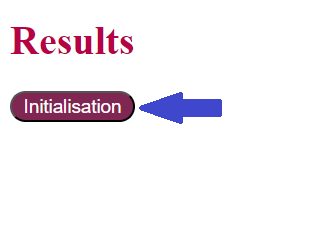
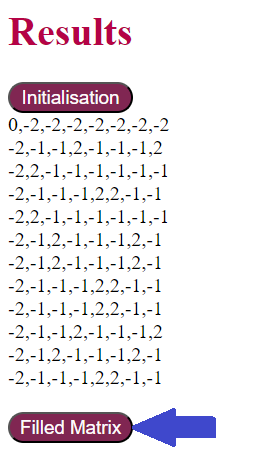
- First step is Initialisation- Click on the “Initialisation” button which displays the initialization matrix and the following button pops up.
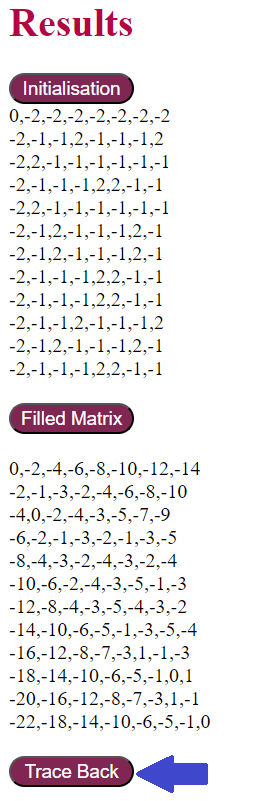
- Second step is the Filling of the matrix- Click on the “Filled matrix” button which displays the values filled after applying the scoring function. and the following button pops up.
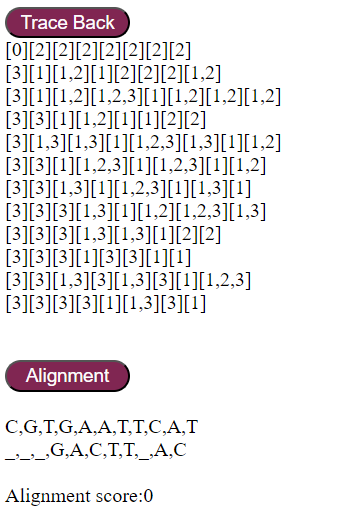
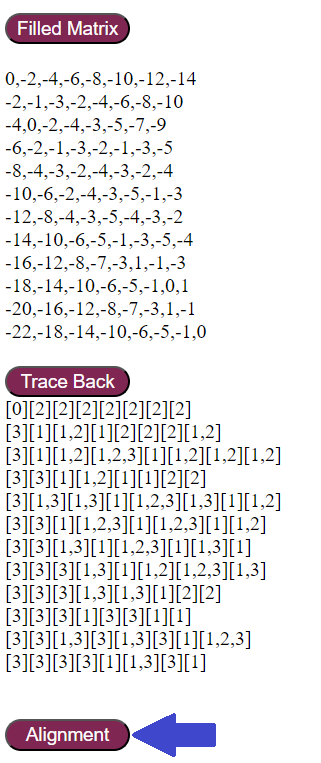
- Third step is Traceback- Click on the “Trace Back” button which displays all possible alignment paths of the given sequences, and the following button pops up.
- Fourth step is Displaying an alignment- Click on the “Alignment” button which displays one of the alignment and its alignment score