Auditing and Monitoring User Activities in Database Systems
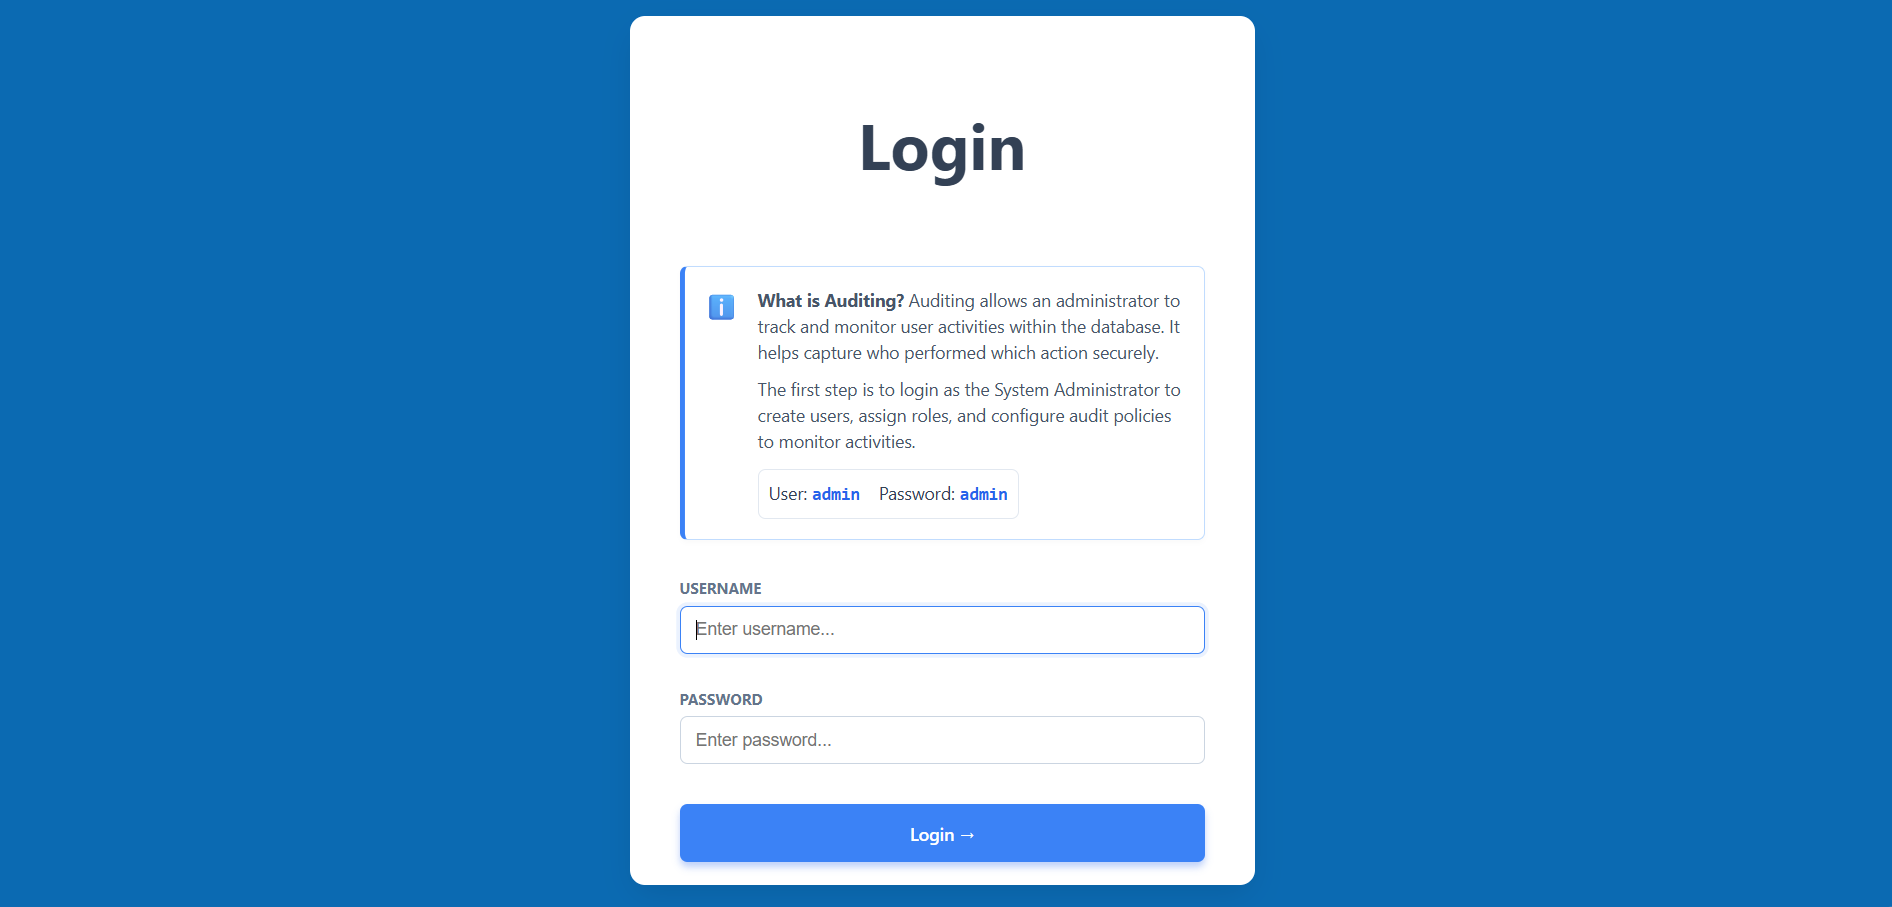
Admin Login
- Navigate to the simulation start page.
- Log in using the provided Admin credentials (Username: admin, Password: admin).
- This first step allows you to access the management tools to configure auditing.
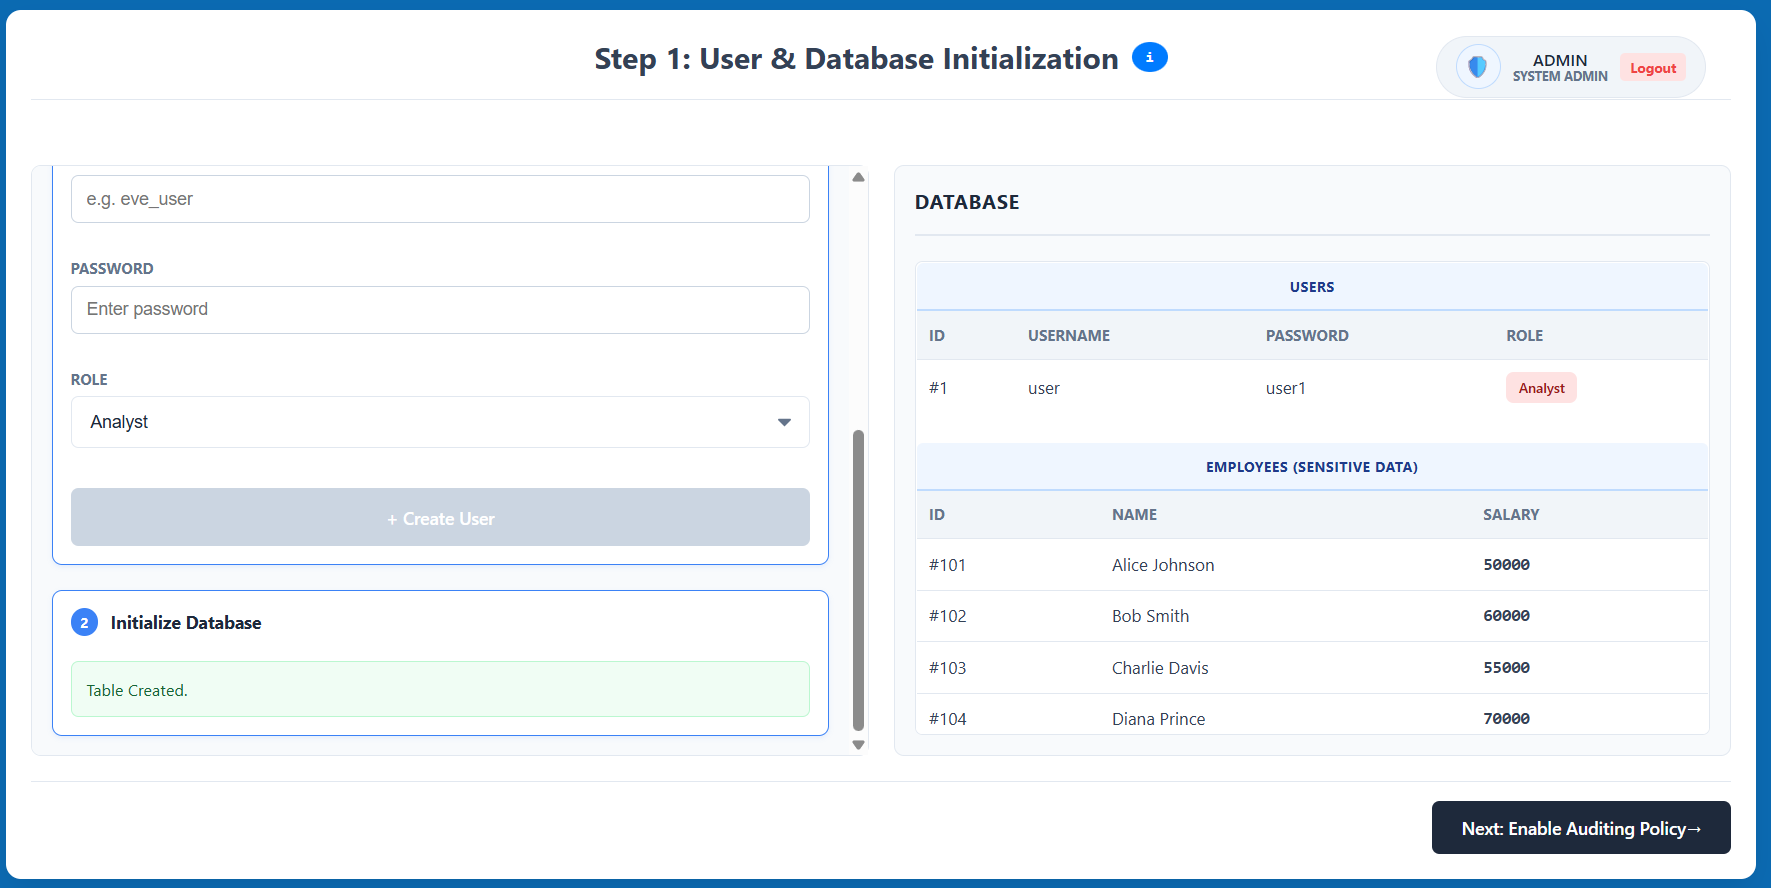
Step 1: User & Database Initialization
- Create a new user by entering a username and password, then selecting a role (e.g., Analyst).
- Initialize the database with dummy data (e.g., the
EMPLOYEEStable) to use for testing. - Review the generated list in the database panel and click Next: Enable Auditing Policy.
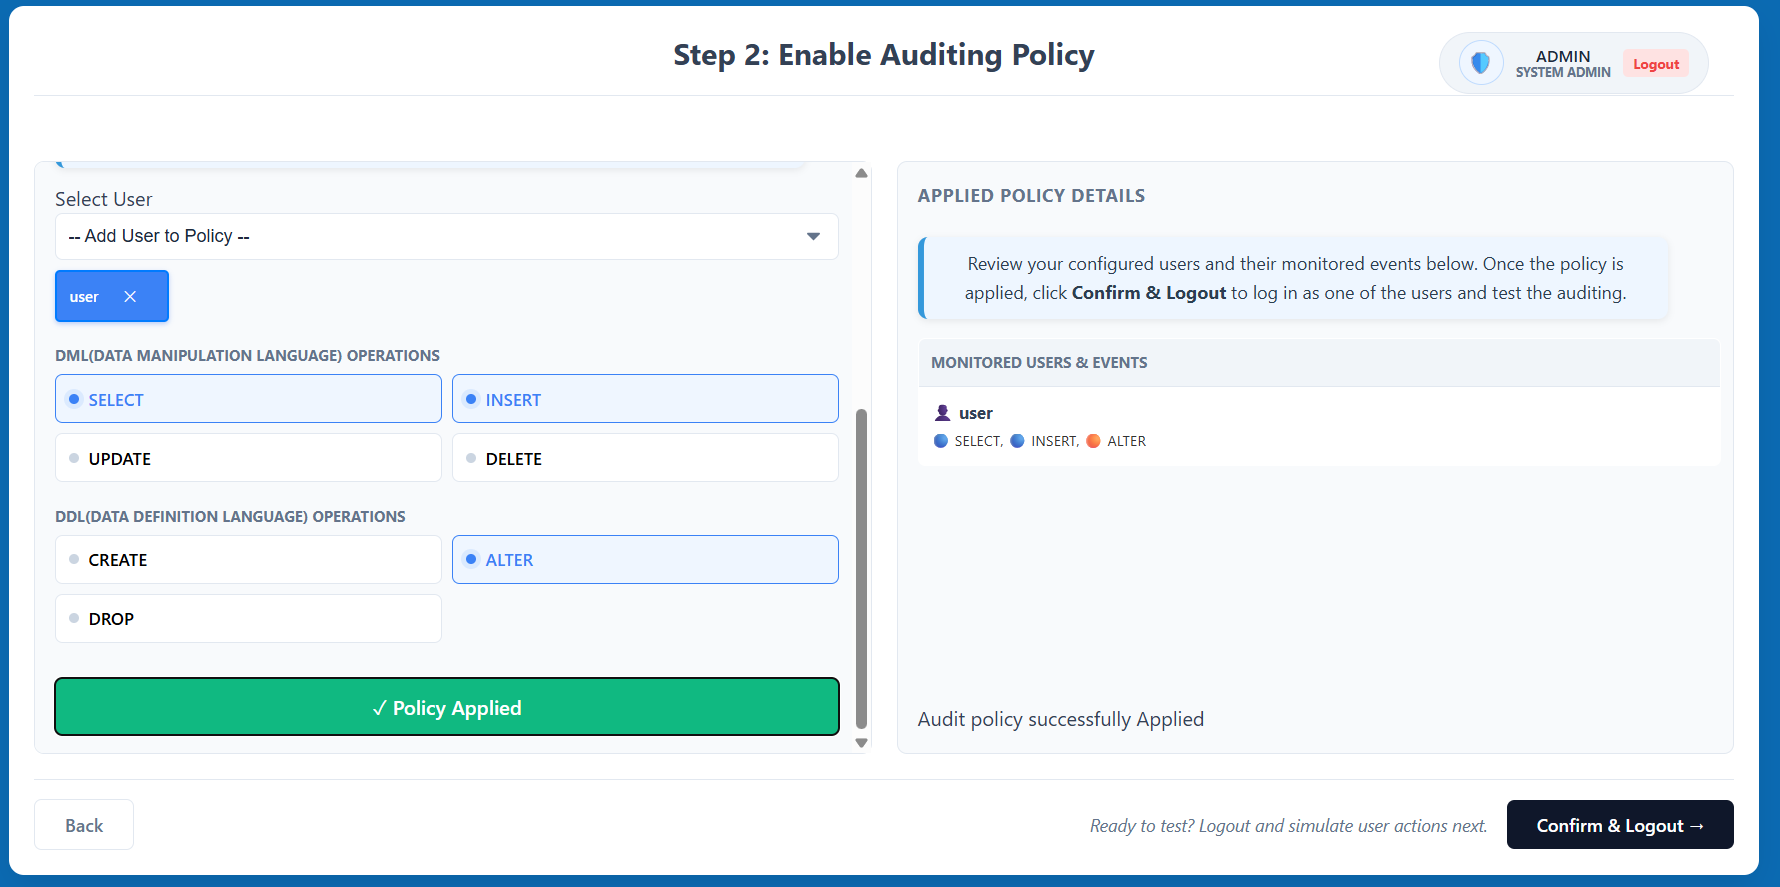
Step 2: Enable Auditing Policy
- Select the user you created from the dropdown menu to start monitoring them.
- Select specific Data Manipulation Language (DML) operations (SELECT, INSERT, etc.) and Data Definition Language (DDL) operations (CREATE, ALTER, etc.) to track.
- Click Enable Auditing to apply the policy, then click Confirm & Logout to transition to the user simulation.
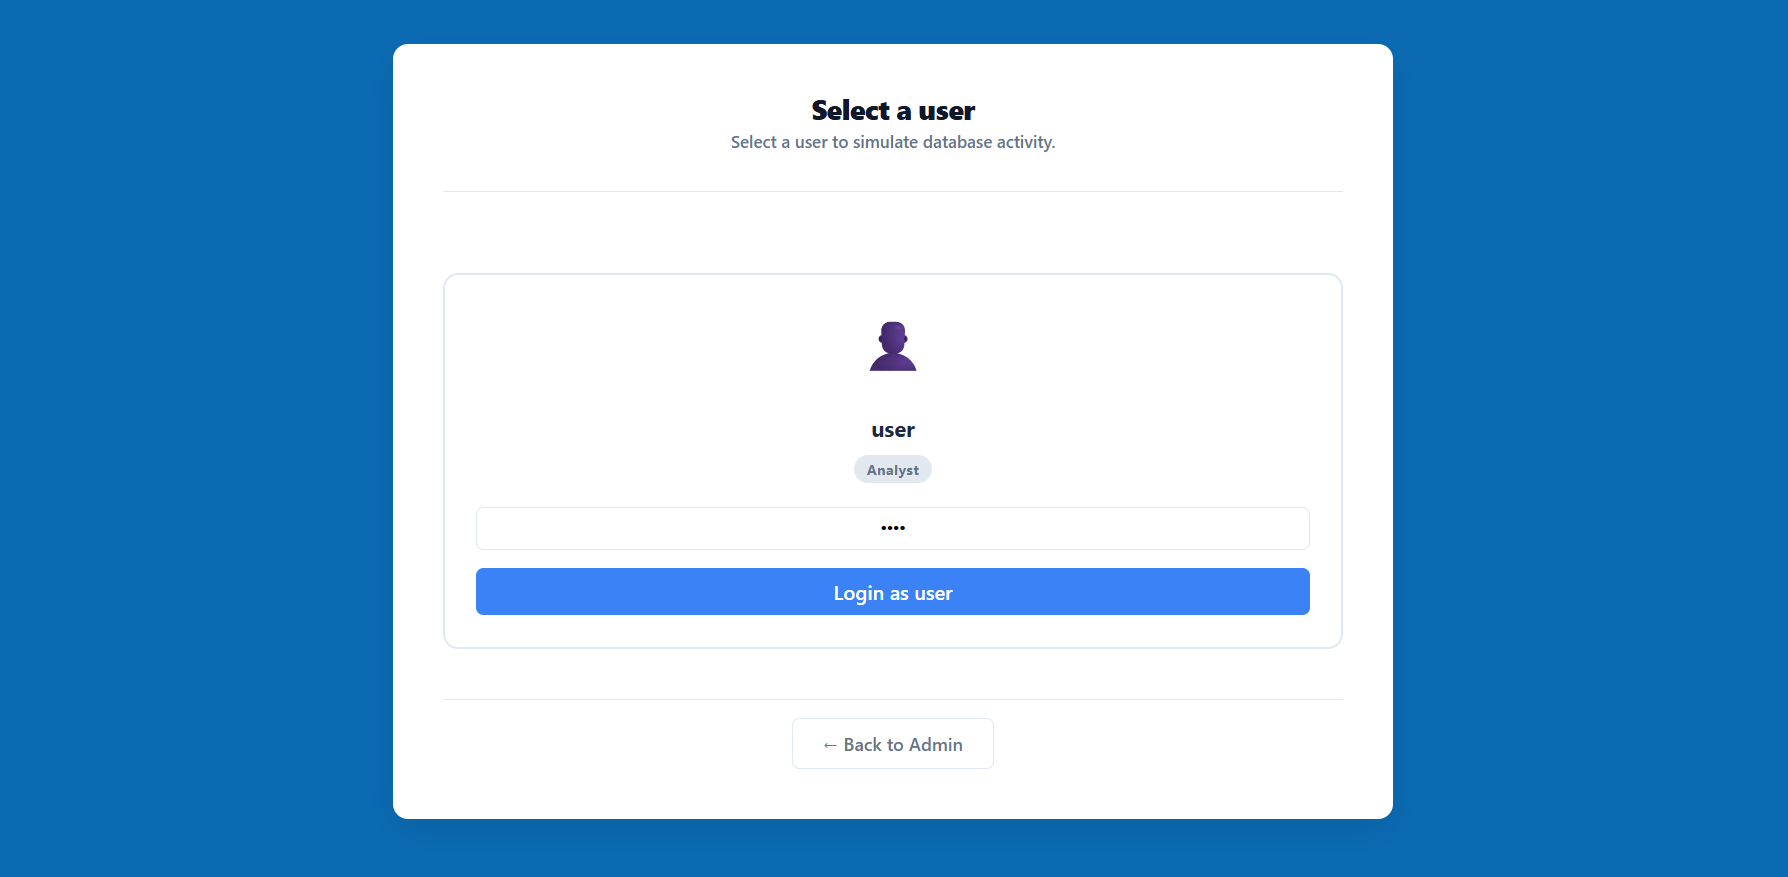
Step 3: User Selection
- The system will prompt you to select a user for the simulation session.
- Choose the user for whom you previously enabled the auditing policy and enter their credentials.
- Click Login as user to enter the restricted database environment.
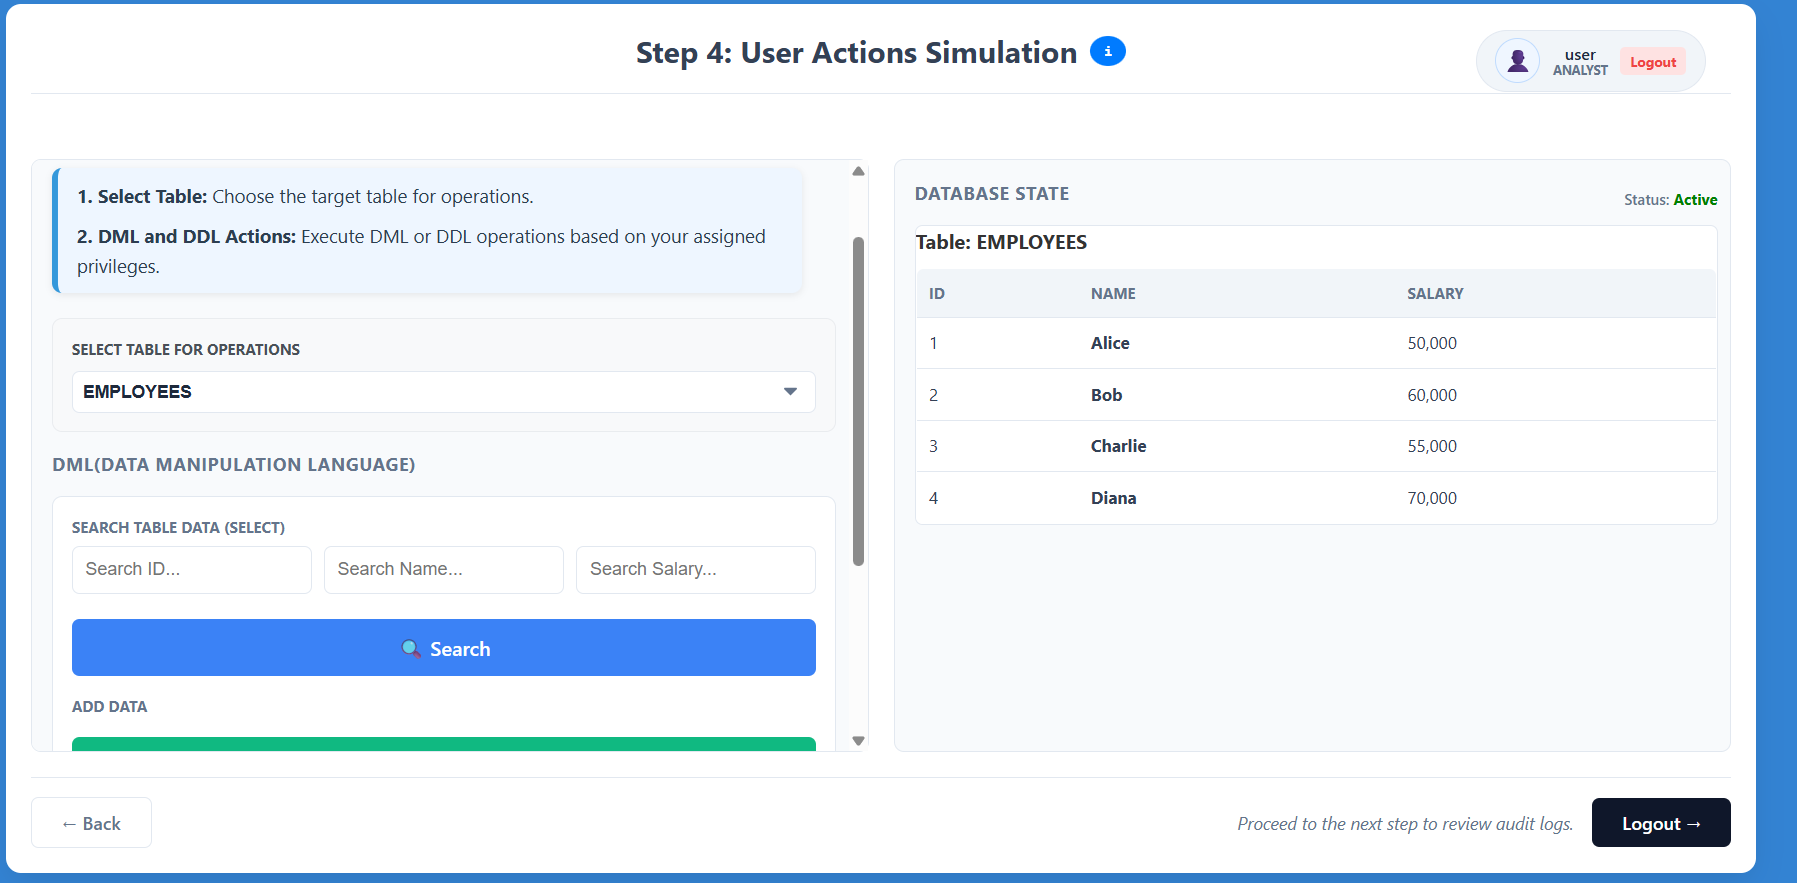
Step 4: User Actions Simulation
- Interact with the database interface as the selected user.
- Attempt various operations like searching for records (SELECT) or adding data (INSERT).
- Observe how the system tracks these actions and restricts unauthorized activities based on the role.
- Click Logout when you are ready to review the collected audit logs.
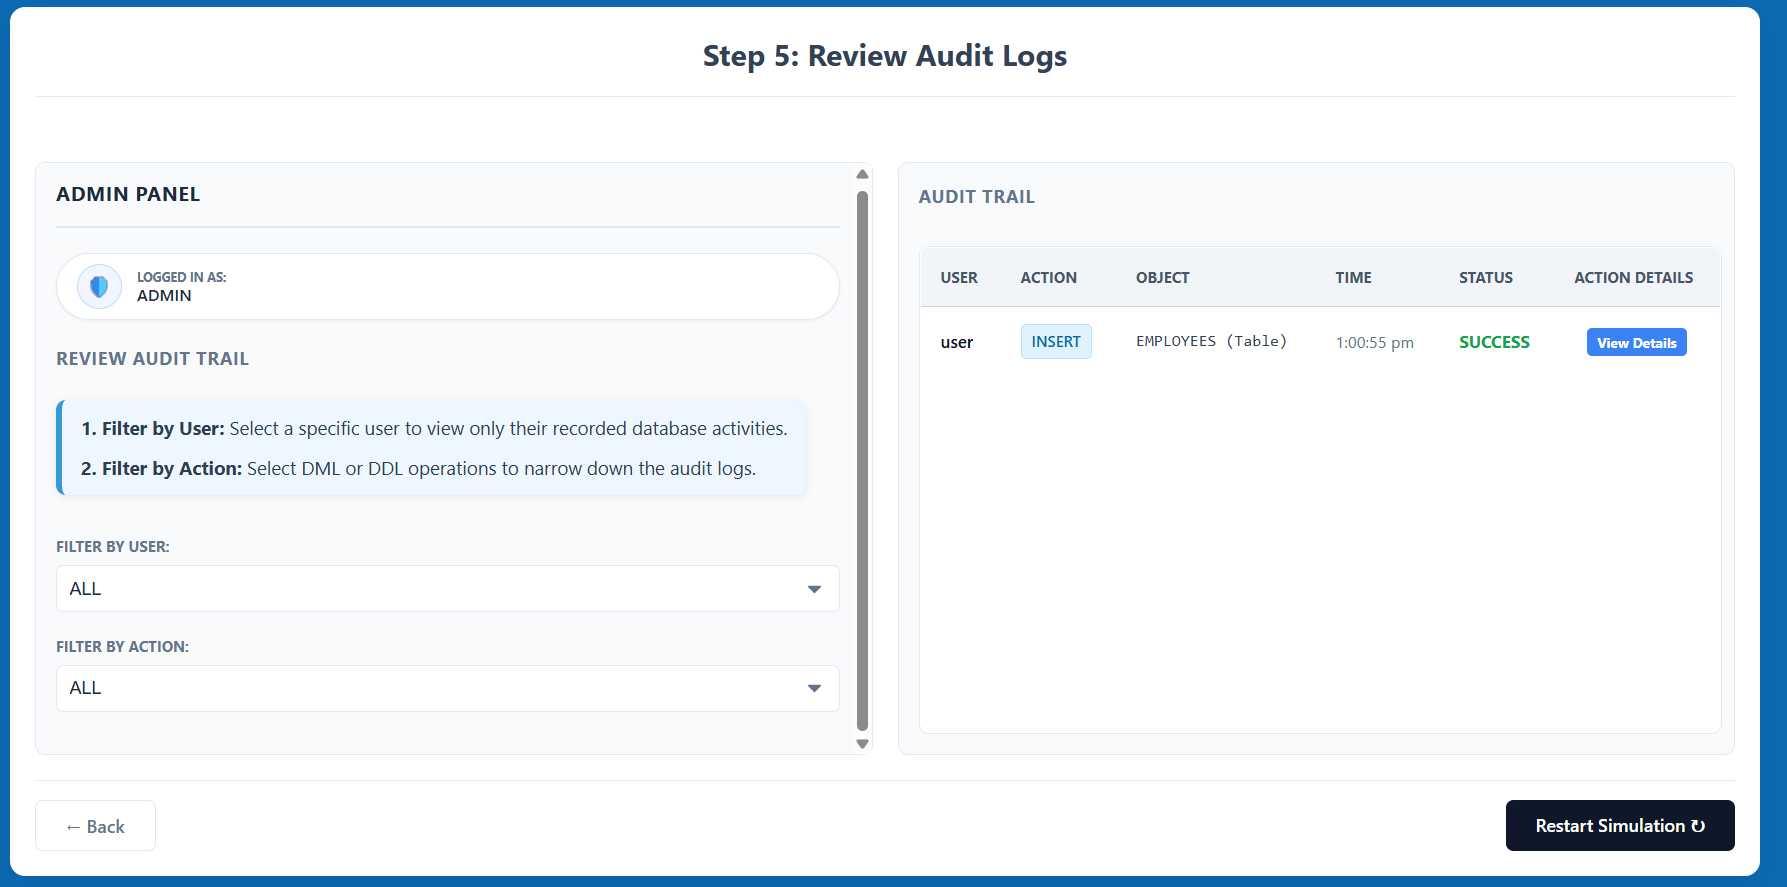
Step 5: Review Audit Logs
- Log back in as the Admin to access the auditing results.
- Review the Audit Trail table, which displays the user, action performed, object affected, timestamp, status (SUCCESS/FAILURE), and action details.
- Use the Filter by User or Filter by Action options to narrow down the audit logs and analyze specific behaviors.