Study and Use of Optical Flats
Procedure
Steps to perform the simulation
In this experiment there are two parts.
i) Check flatness of test objects
ii) Optical flat as comparator
To follow instructions on the simulation page click on the blue Instructions tab there.

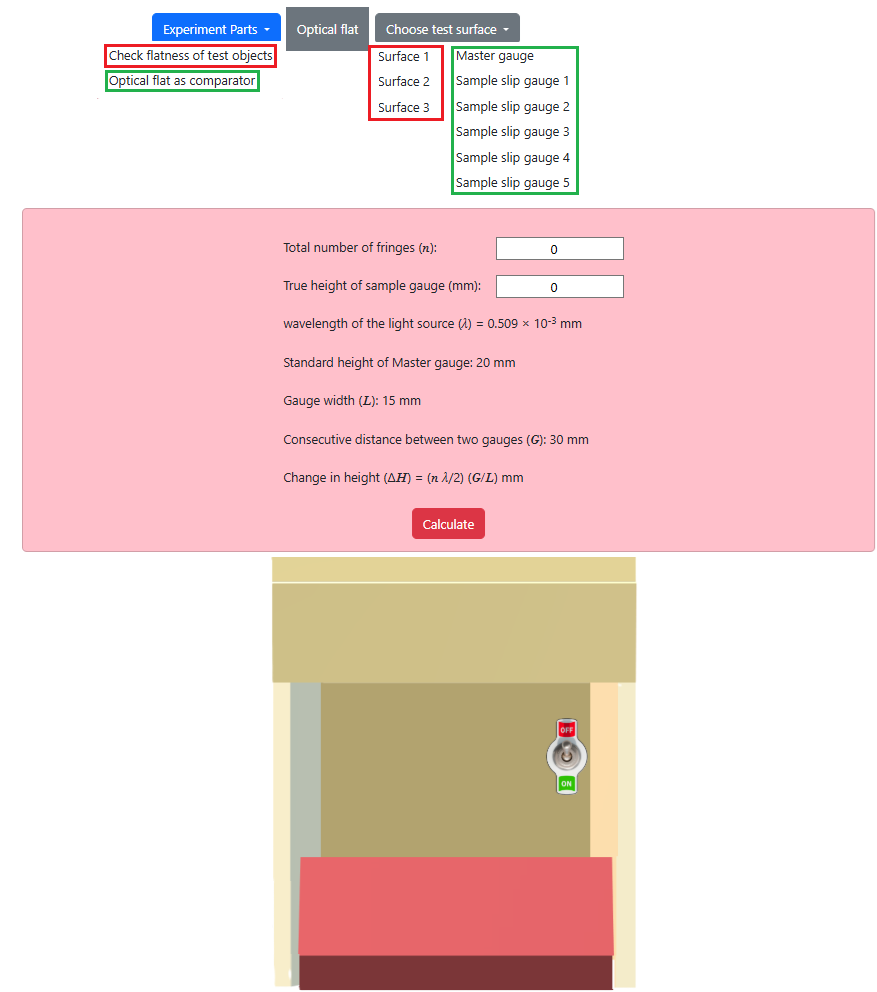
Fig. 1. Study of Optical flats simulation interface
Click on 'Experiment Parts' button. Choose 'Check flatness of test objects'.
Now select 'Surface 1' after clicking on 'Choose test surface'.
Click on 'Place optical flat' button to place the optical flat above the chosen test surface.
Switch on the monochromatic light source by clicking on the toggle switch and observe the fringes appeared. They are equispaced regular light and dark lines, indicating tentatively flat surface.
Switch off the light source. Check the flatness of other test surfaces (Surface 2, and Surface 3) similarly.
Click on 'Experiment Parts' button again. Choose 'Optical flat as comparator'.
Click on 'Master gauge' and select 'Sample slip gauge1' after clicking on 'Choose test surface'. They will be in the flat platform of the light source setup. Each of them having width of 15 mm, kept at a distance of 30 mm from each other.
Click on 'Place optical flat' button to place the optical flat above the Master gauge and chosen test surface.
Switch on the monochromatic light source by clicking on the toggle switch and observe the fringes appeared. the total number of fringes (n) will be shown in corresponding box. Switch off the light.
Click on 'Calculate' to get the true height of the sample gauge (mm).
Click on 'Table' at the bottom of the page to see the observation table and click on 'Add to Table' button to fill the first row of the observation table. Switch off the light.
Choose 'Sample slip gauge2', follow steps 9-10 and click on 'Add to Table' button again to get the second observation.
Similarly follow steps 9-10 and click on 'Add to Table' button again to get another three observations for other three sample slip gauges.
Click on 'Clear' button. Switch off the light.
