Determination of MDD and OMC by standard proctor test
These procedure steps will be followed on the simulator
When you click on the standard proctor compaction file, a new window will open as shown below. Hover on the Description to view the definitions. Click on the Next button at the bottom right corner to move to the next step.

Place the pan over the weighing balance by clicking on the pan and take 2kg of air-dried soil sample and click on the next button to move to the next step.


Click on the 20µm sieve to place on the pan and pour weighed quantity of air-dried soil (fine aggregate) into the sieve, then close the lid.


Click on the sieve set to place it in the mechanical shaker and allow to shake it for 10 minutes. Then click on the next button to proceed.

Click on the 20 micron sieve to collect the residue left over it in a pan.

Click on the measuring jar to measure the required quantity of water, then add it to the soil and mix it thoroughly and uniformly.


Click on the mould to measure the weight of the empty mould along with the base plate and click on the Next button.

By clicking the trowel to fill the mould in 3 layers with the soil sample. Each layer is compacted by giving 25 evenly distributed blows using the rammer and press the next button.

Click on the collar to remove it and then remove extra soil from the mould using edge steel and click on the Next button.

Click on the mould containing the soil sample along with the base plate to weigh it.

Place the empty container by Clicking on the arrow to measure its weight.

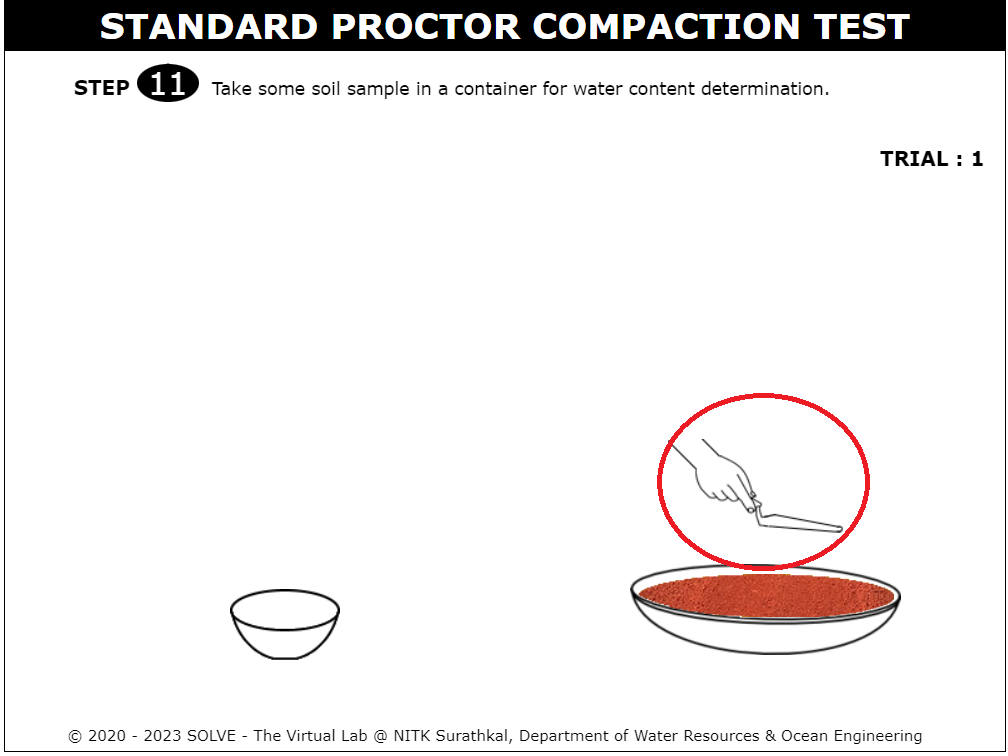
Take some soil sample in a container for water content determination by clicking on the trowel.
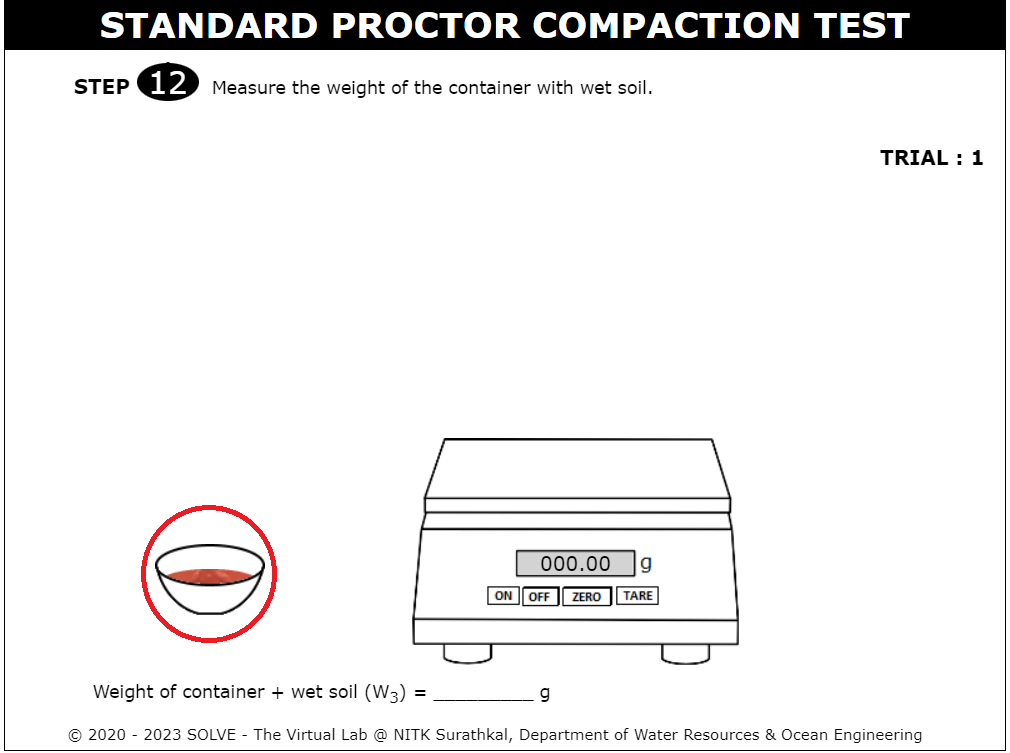
Measure the weight of the container with wet soil and click on the Next button.
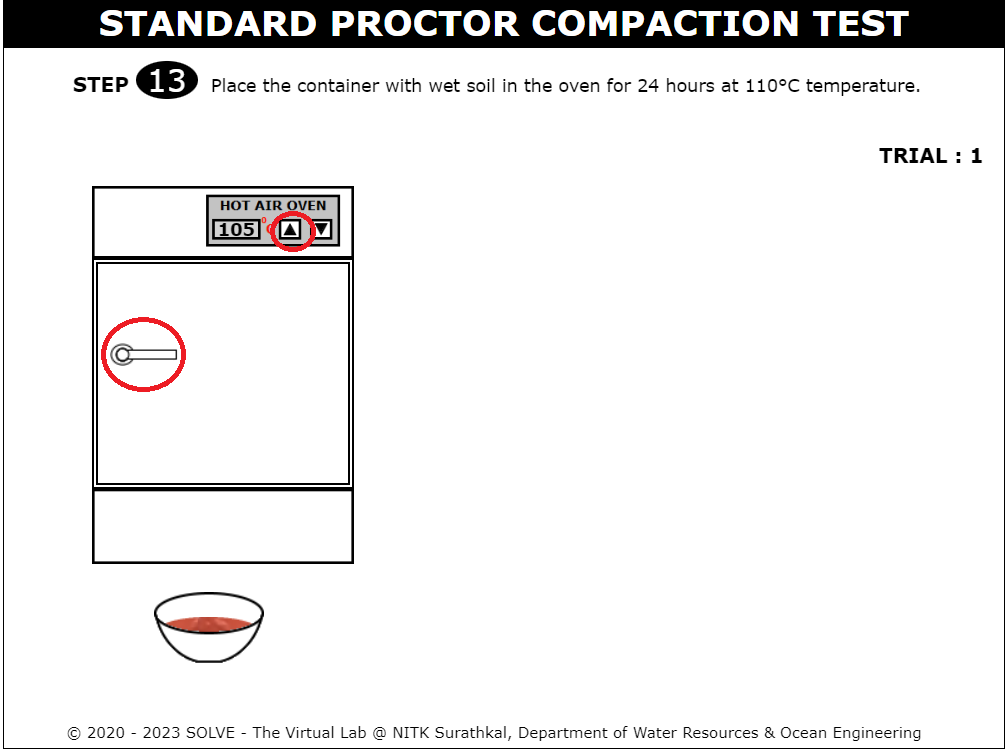
Click on the door of the oven to open and click on the container with wet soil to place inside the oven and set the temperature of the oven to 110°C for 24 hours.
Click on the container to place it over the weighing balance to measure the weight of the dry soil sample, and click on the Next button.
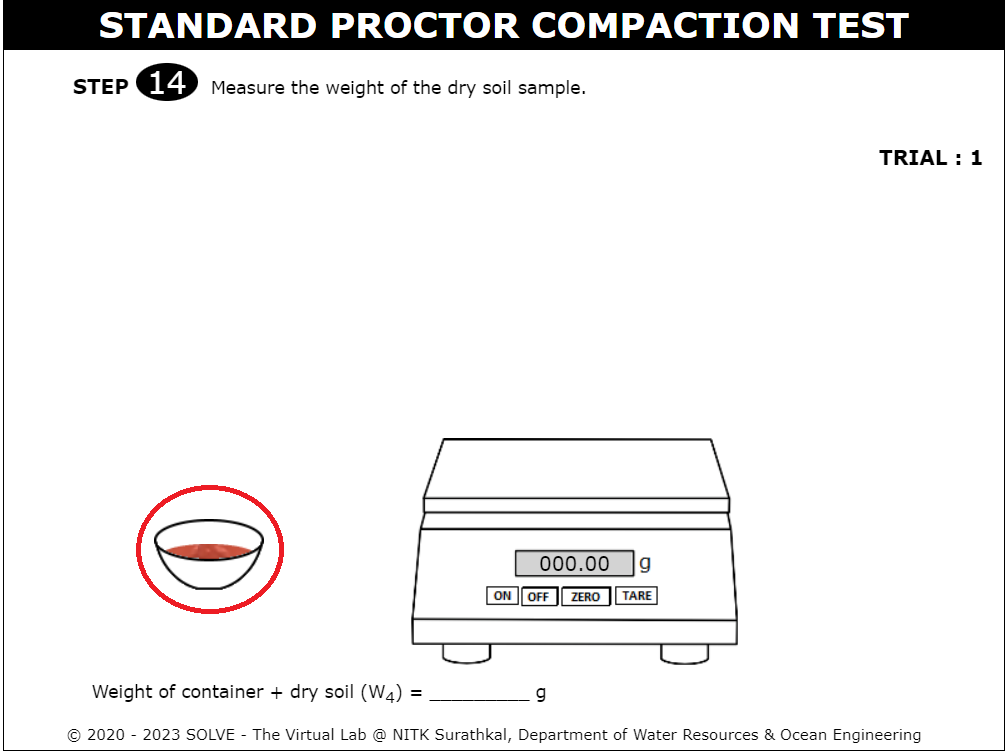
Calculate and enter the value in the appropriate input field. Click on "Check" and "Result" to verify the correct answer. Then repeat the procedure until the dry density reduces than the previous dry density value.
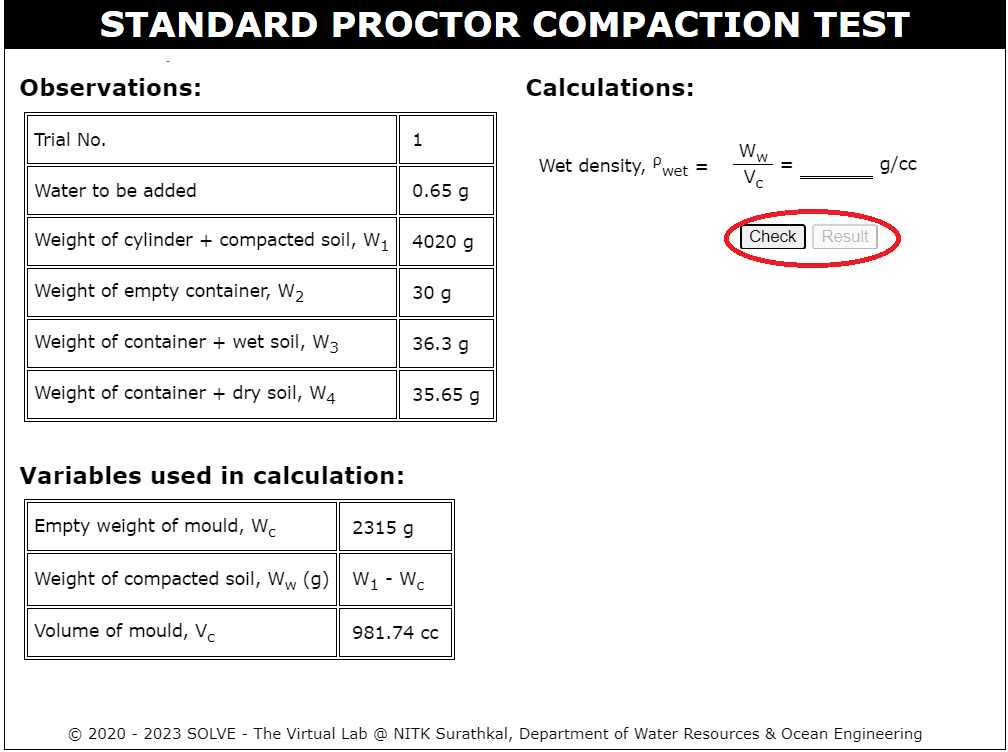
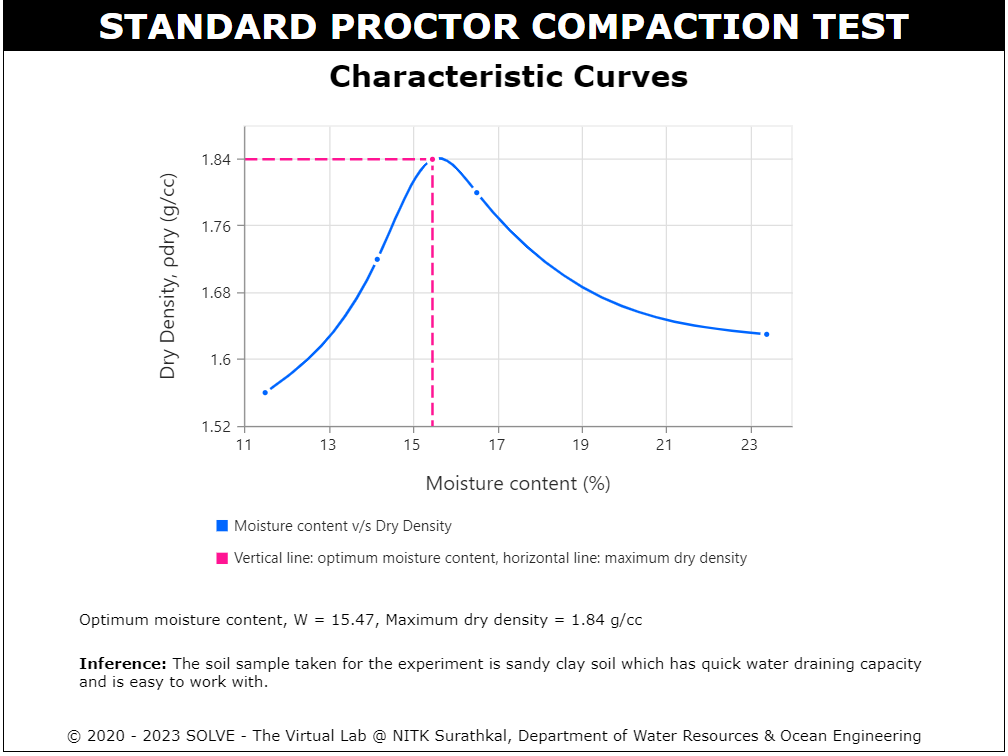
Observations of different trials are displayed. Click on next button to view the characteristic curve for Moisture content v/s Dry density is plotted and inference.
