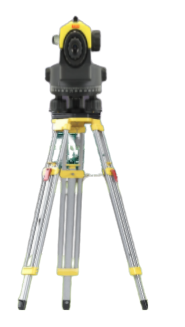
2. After this, you need to setup autolevel instrument by placing it on the tripod using keyboard keys i.e. q:left movement,w:right movement,s:up movement,x:down movement.
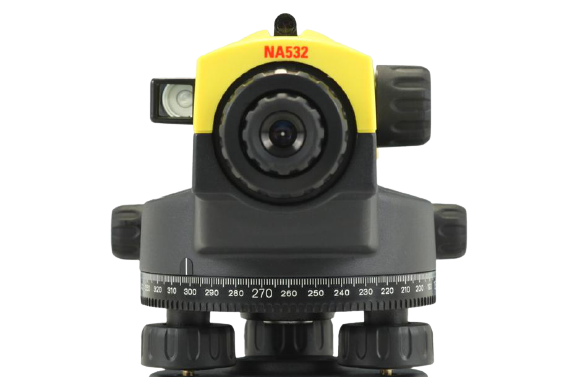
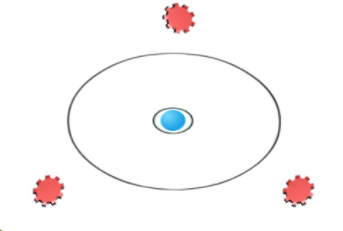
3. After this, click on LEVEL SETUP Button & setup blue bubble dot to the center by using keyboard keys i.e.l:left movement,r:right movement,u:up movement,d:down movement.
4. After this, click on the NEXT Button.
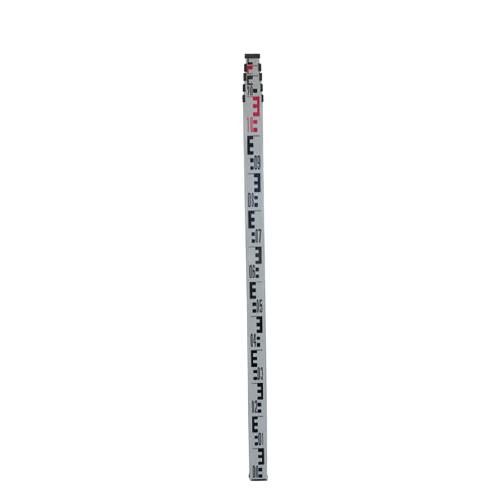
5. Click on the START Button, staff at point A and table will appear. You will notice table updates simultaneously i.e. CHAINAGE & REMARKS VALUES will update.
6. Click on the staff at point A to take B.S. reading. Autolevel view also appears on the left pane.Click on the NEXT Button to move the staff at point B.
7. Click on the staff at point B to take I.S. reading.Click on the NEXT Button to move the staff at point C.
8. Click on the staff at point C. Now the position of staff will change to a new location. Click on the staff again to note F.S. reading.
9. Click on the autolevel machine to shift it to a new location.Click on the staff again to note B.S. reading same as in step 6.
10. Click on the NEXT Button to move the staff at point D. Click on the staff at point D to take I.S. reading same as in step 7.
11. Click on the FINISH Button to finish the simulation.
* B.S.: Back Sight, I.S.: Intermediate Sight, F.S.: Fore Sight, TBM: Temporary Benchmark.


 Instrument setup by leveling screw