
Heat of Hydration of Cement
Step 1: Preparation of zinc oxide and calorimeter
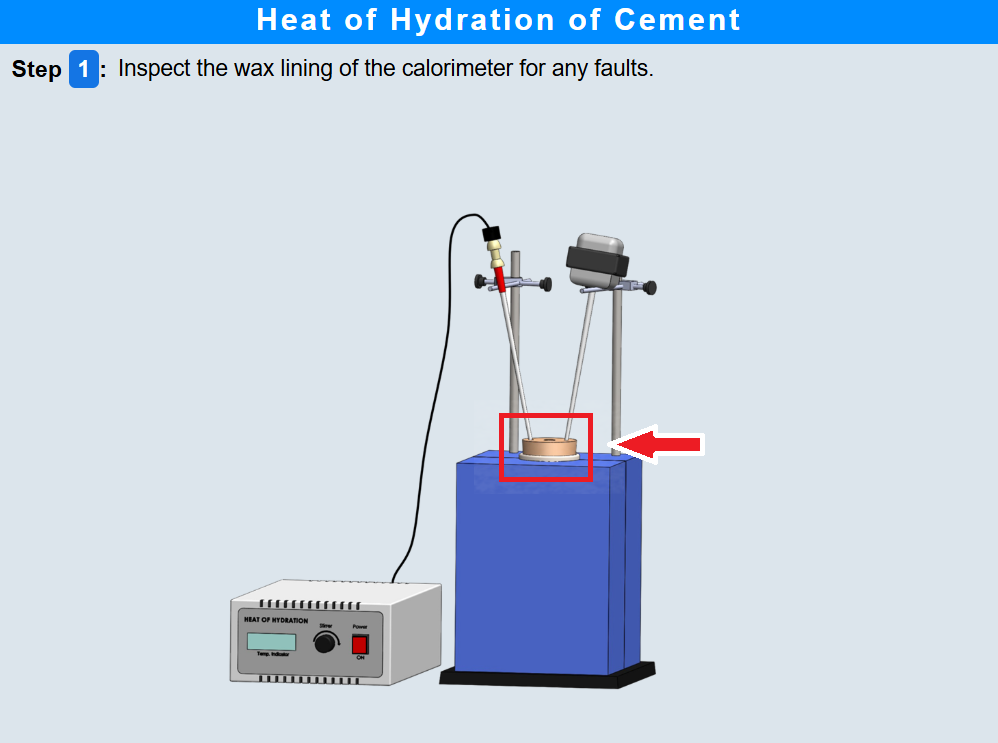
• Inspect the wax lining of the calorimeter carefully by clicking on it and ensure it is free from faults.
• Click on the dropper and measure 9.6 ± 0.1 ml of hydrofluoric acid and add it to the calorimeter . 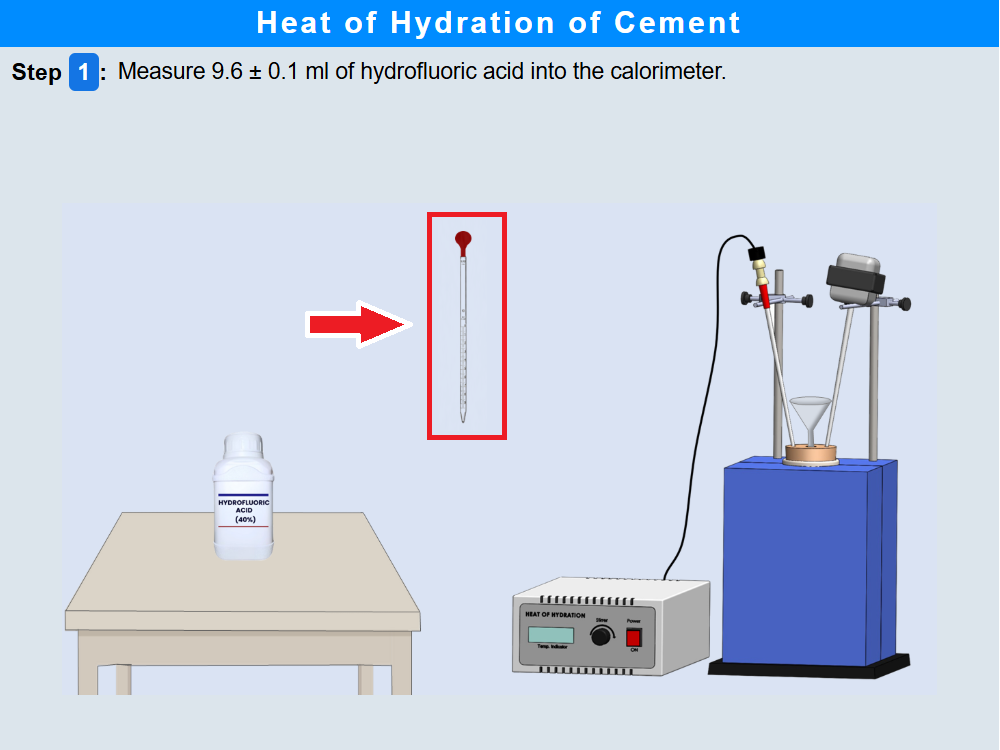
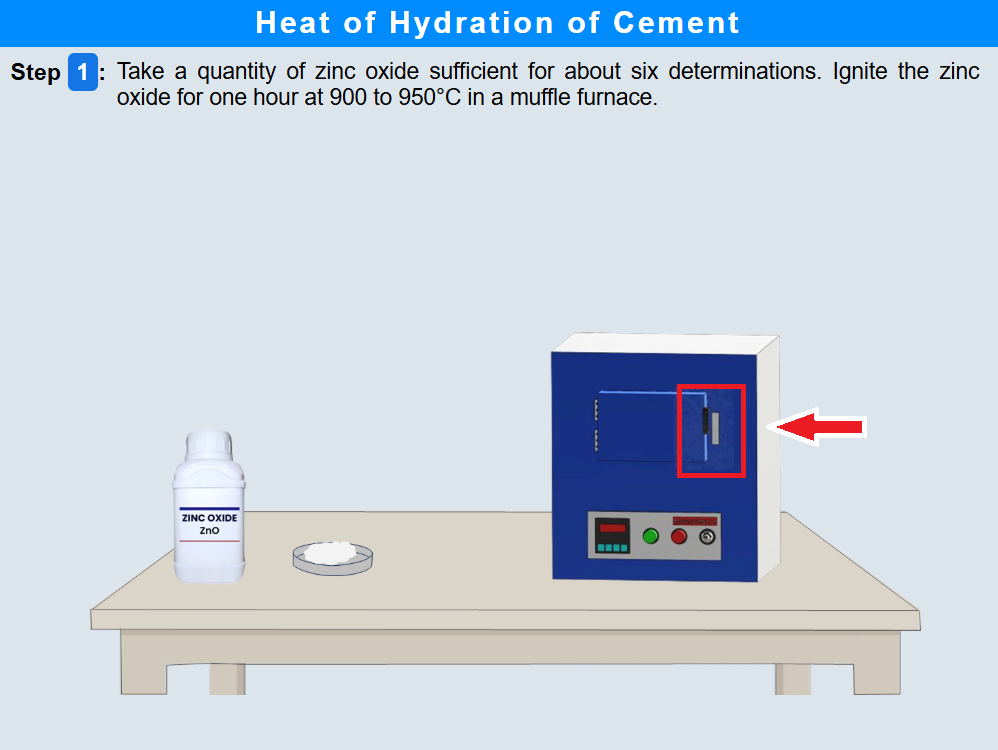
• Place the crucible containing zinc oxide inside the muffle furnace.
• Click on the bottle and measure 388.0 ± 0.1 ml of 2.0 N nitric acid and add it into the calorimeter using a standard flask.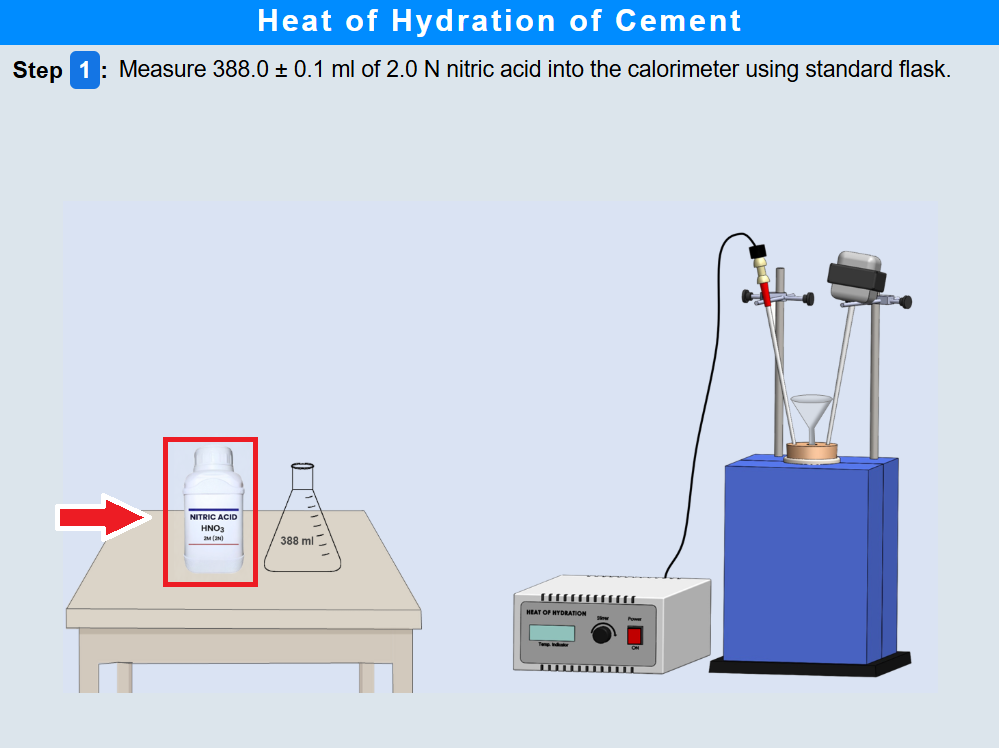
• Close the muffle furnace door securely.
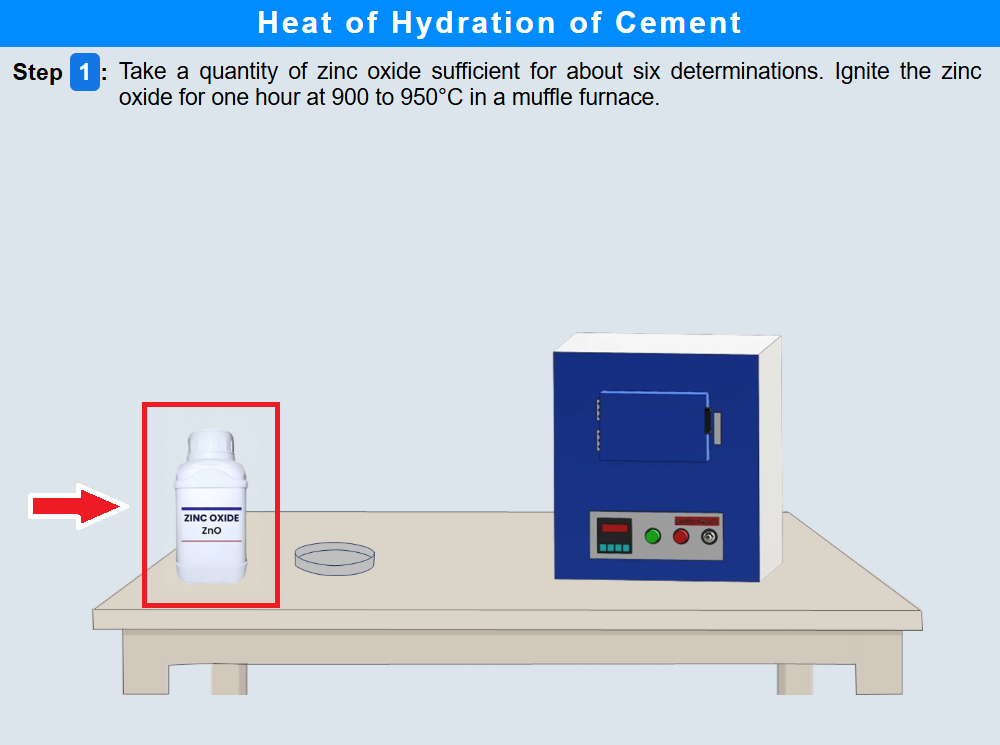
• Click on the bottle of zinc oxide and weigh a sufficient quantity for about six determinations into a clean crucible.
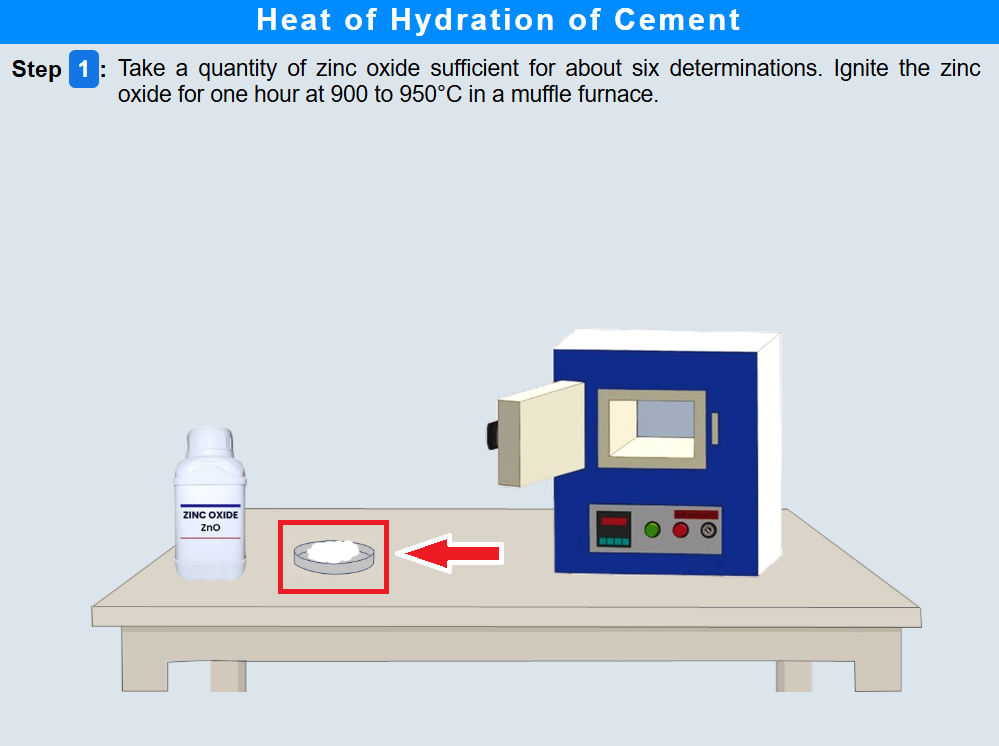
• Click on the muffle furnace door to open it .
• Click on the crucible to place zinc oxide in the muffle furnace.
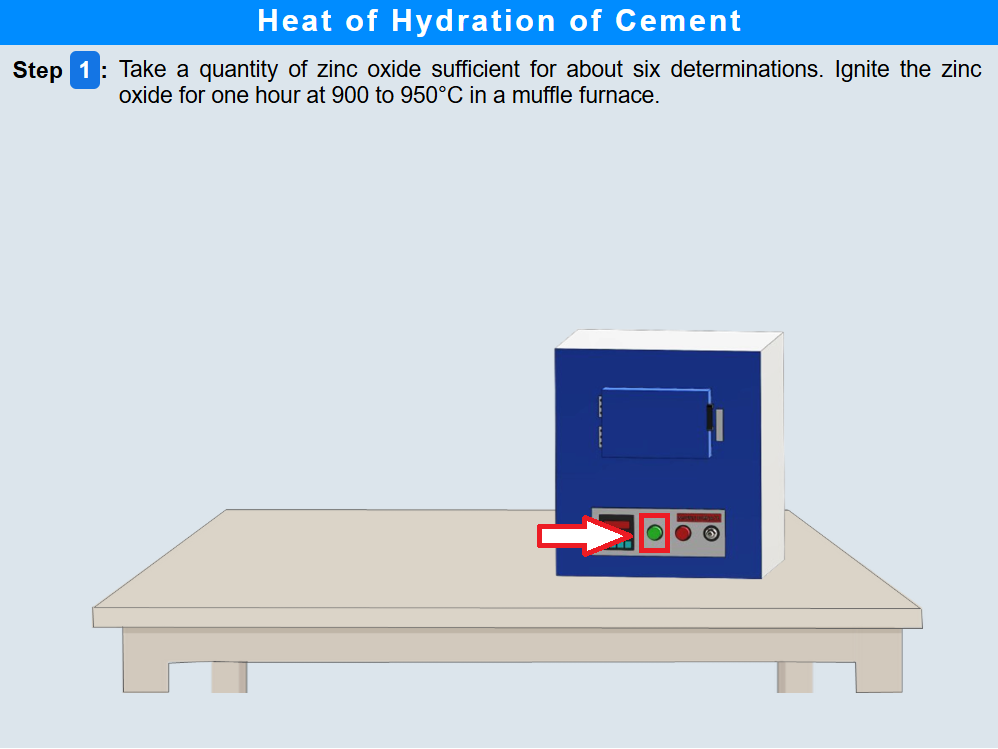
• Set the temperature to 900–950 °C and ignite zinc oxide for one hour by clicking in the green button.
• After ignition, remove the crucible with zinc oxide from the furnace by clicking on the furnance door.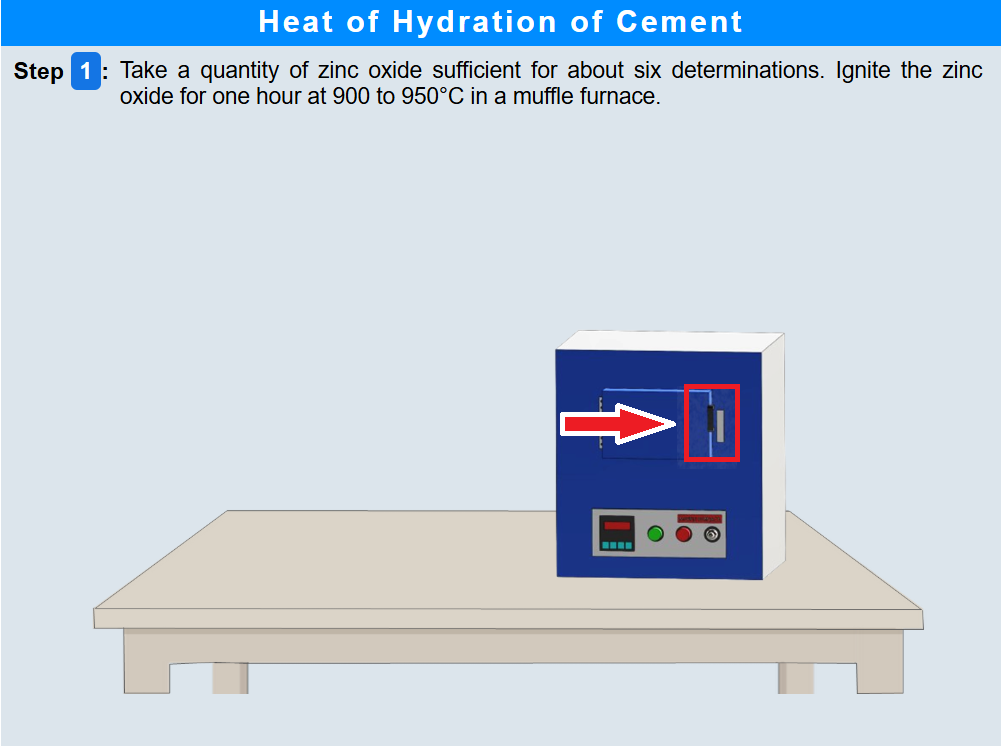
• Click on the crucible to cool the ignited zinc oxide in a desiccator containing anhydrous calcium chloride.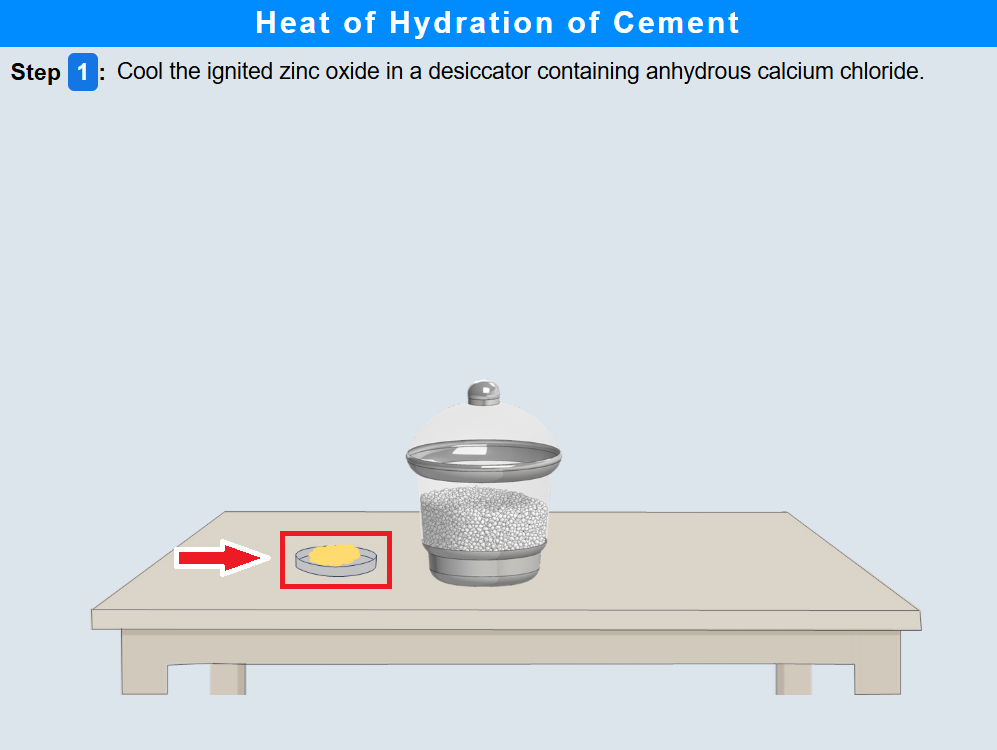
• Click on NEXT to proceed.
Step 2: Heating zinc oxide sample for each determination
• Click on the tare button of the balance to adjust and ensure exactly about 7.0 g of ignited zinc oxide is measured.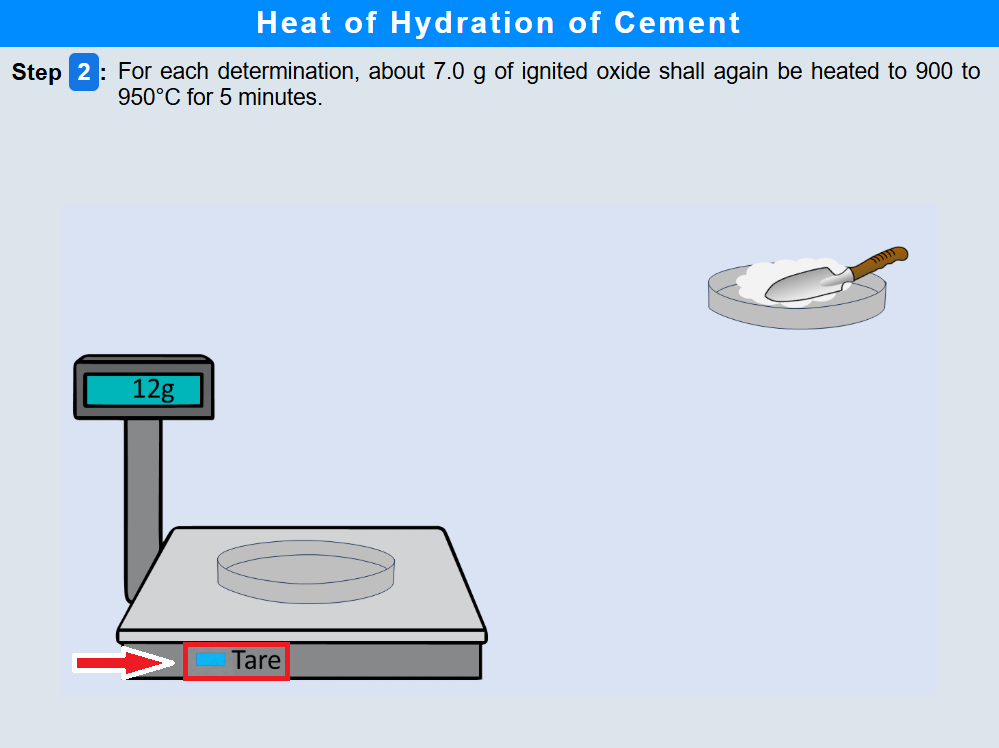
• Click on the trowel or spatula to add ignited zinc oxide into the crucible until the desired amount is obtained.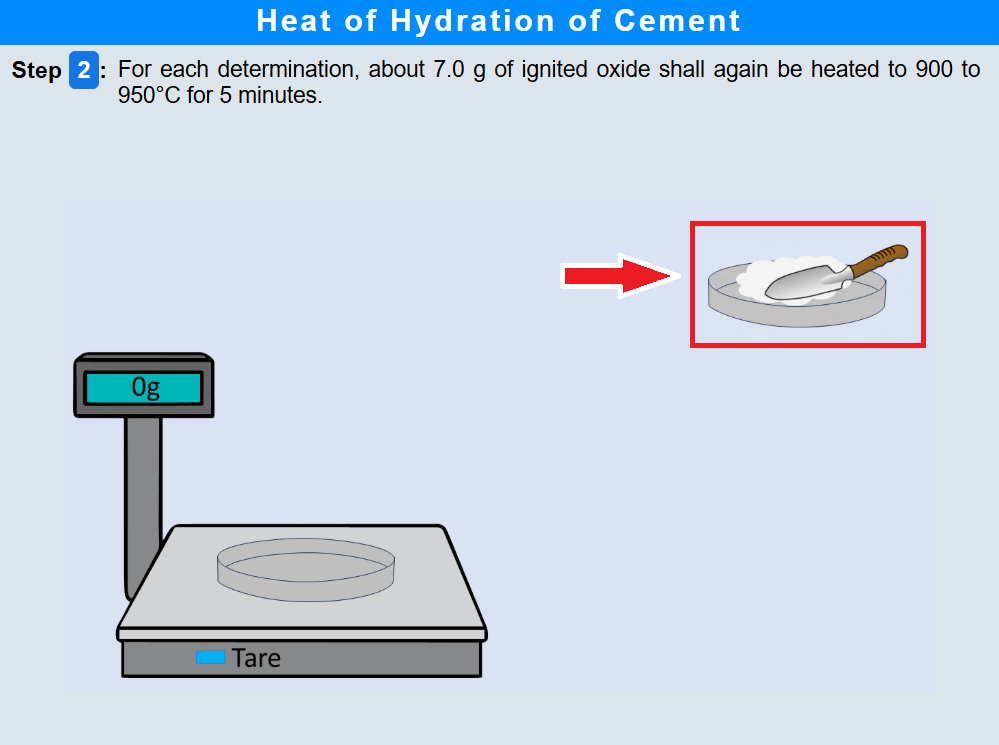
• Click on the furnace door handle to open it .
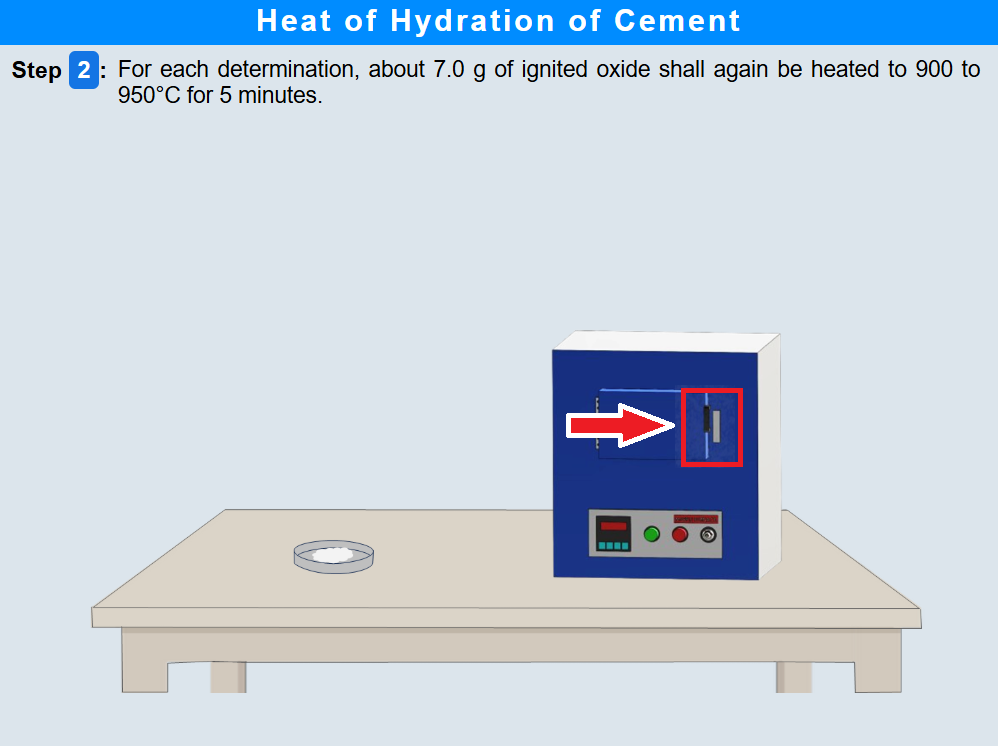
• Click on the crucible to place it inside the muffle furnace.
• Click on the furnace door handle again to close it and heat the crucible at 900–950 °C for 5 minutes.
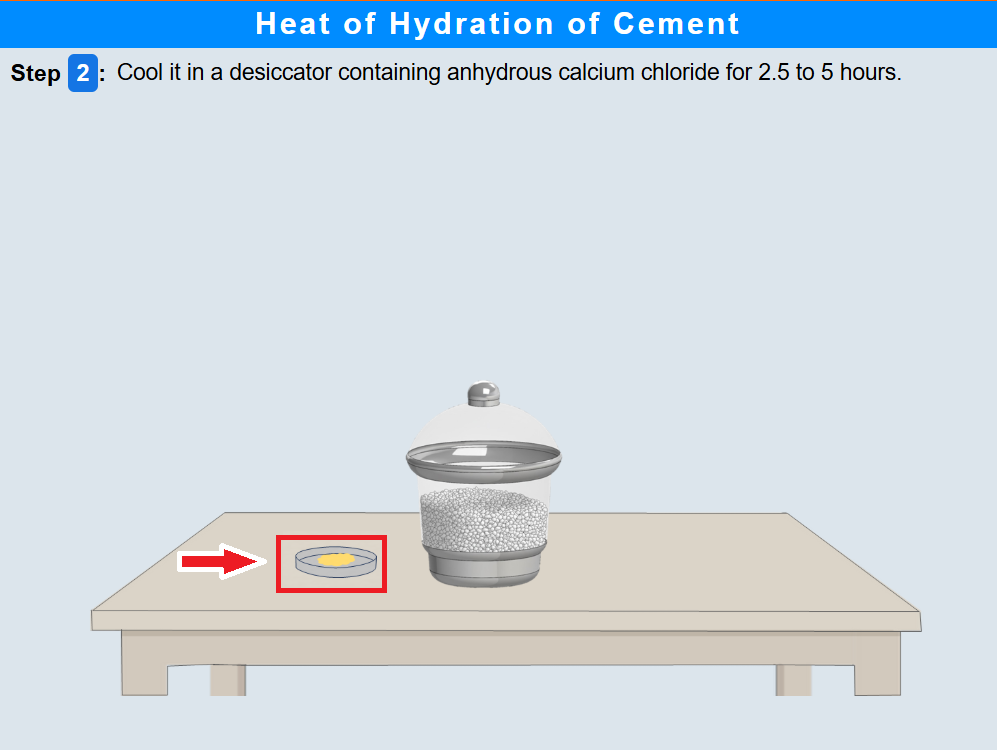
• Remove the crucible from the furnace and click on the crucible to place it in the desiccator containing anhydrous calcium chloride to cool the reheated zinc oxide for 2.5–5 hours.
• Click on NEXT to proceed.
Step 3: Operation of calorimeter and addition of zinc oxide
• Click on the power switch of the calorimeter unit to start the stirrer and run it for at least 5 minutes to obtain a uniform temperature. Record the temperature (to 0.001°C) at one-minute intervals for 5 minutes to determine the initial heating or cooling correction.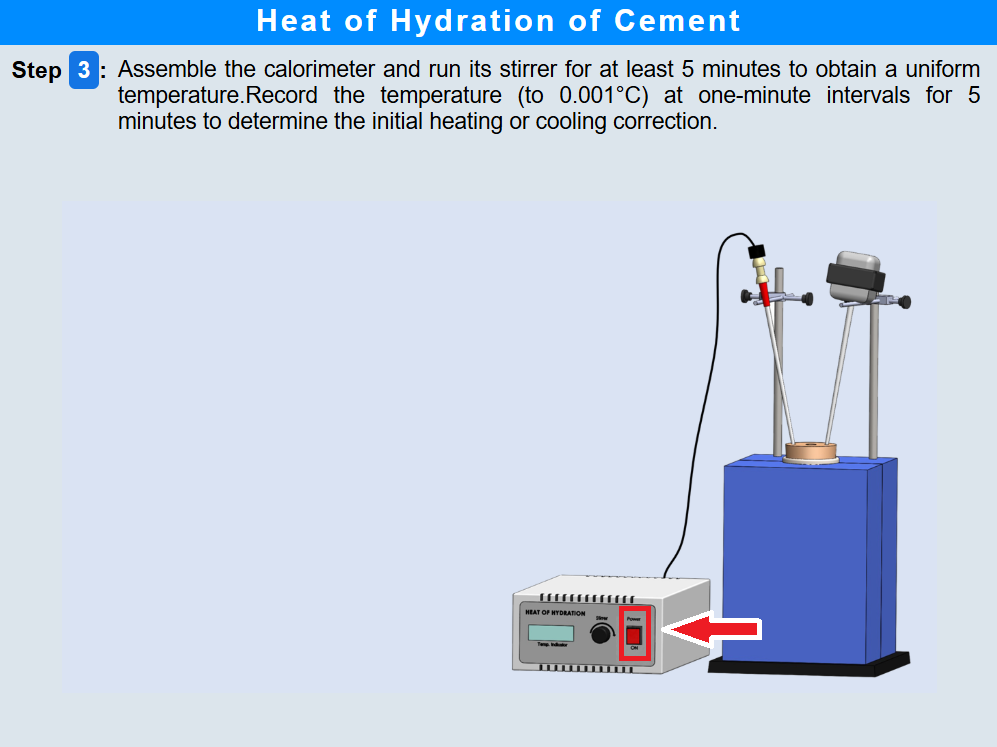
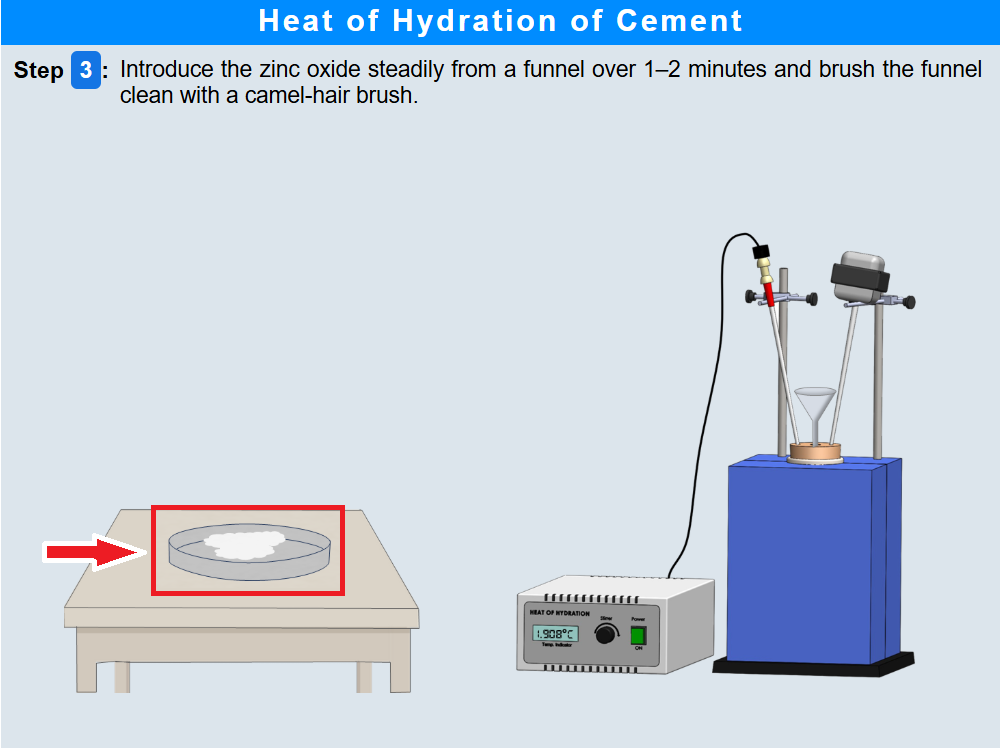
• Click on the crucible containing zinc oxide and pour the powder steadily through the funnel into the calorimeter over 1–2 minutes, then brush the funnel clean with a camel-hair brush.
• Click on NEXT to proceed
Step 4: Preparation and weighing of cement samples
• Click on the tare button of the balance to zero it.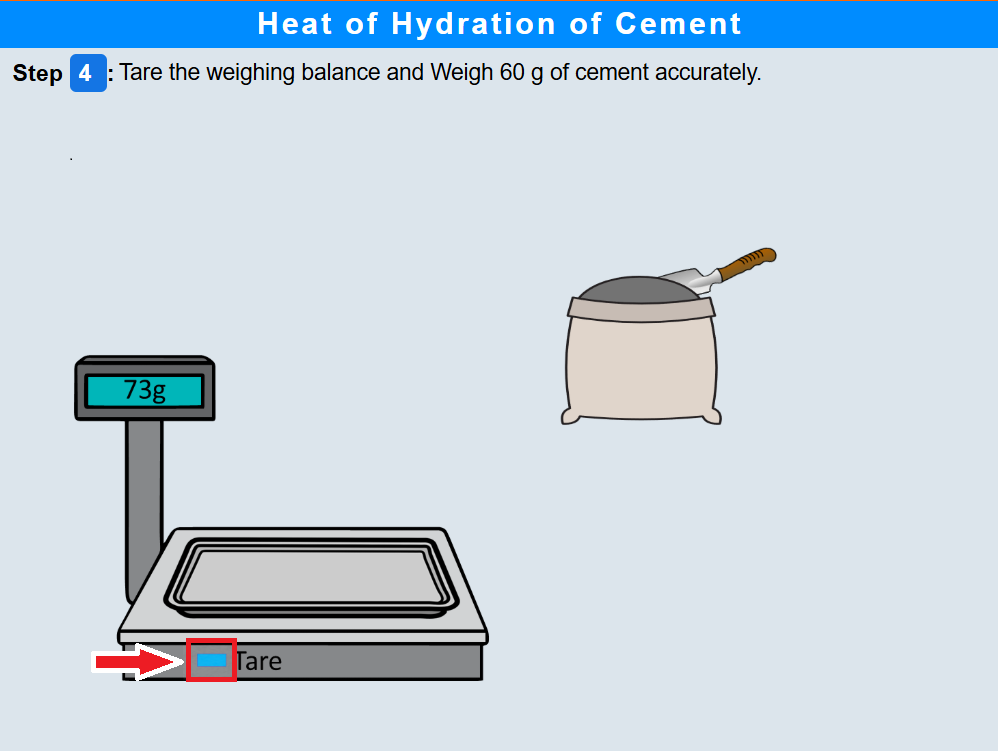
• Click on the trowel to add cement onto the pan and accurately weigh 60 g of cement.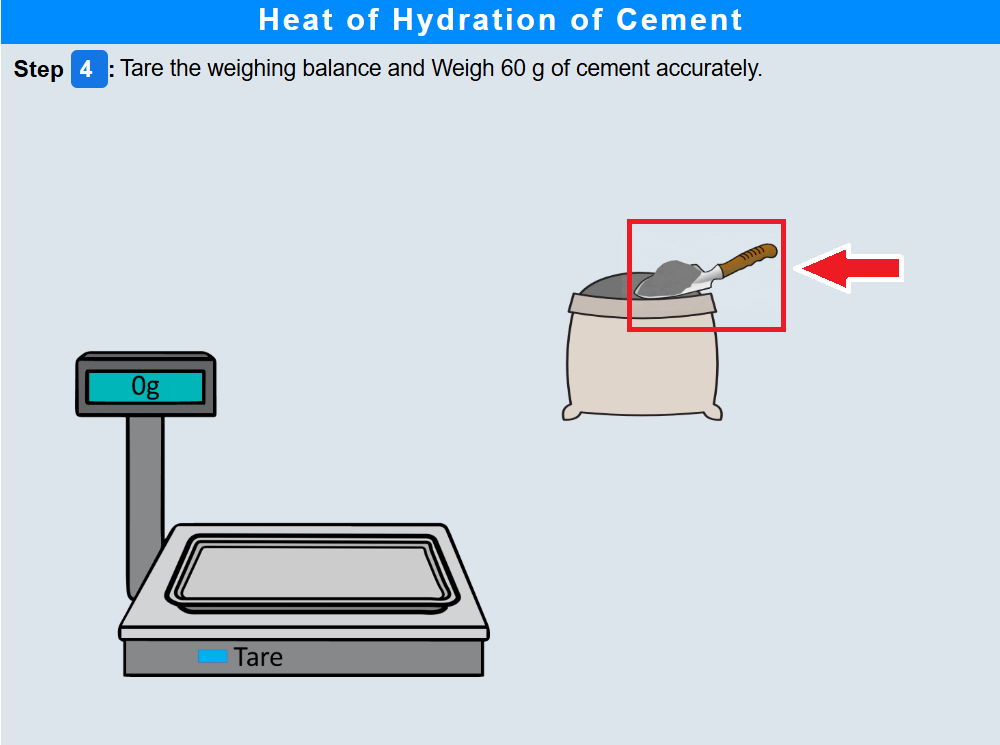
• Click on the measuring cylinder to measure 24 ml of distilled water and add it to the weighed cement, then mix thoroughly to a uniform paste.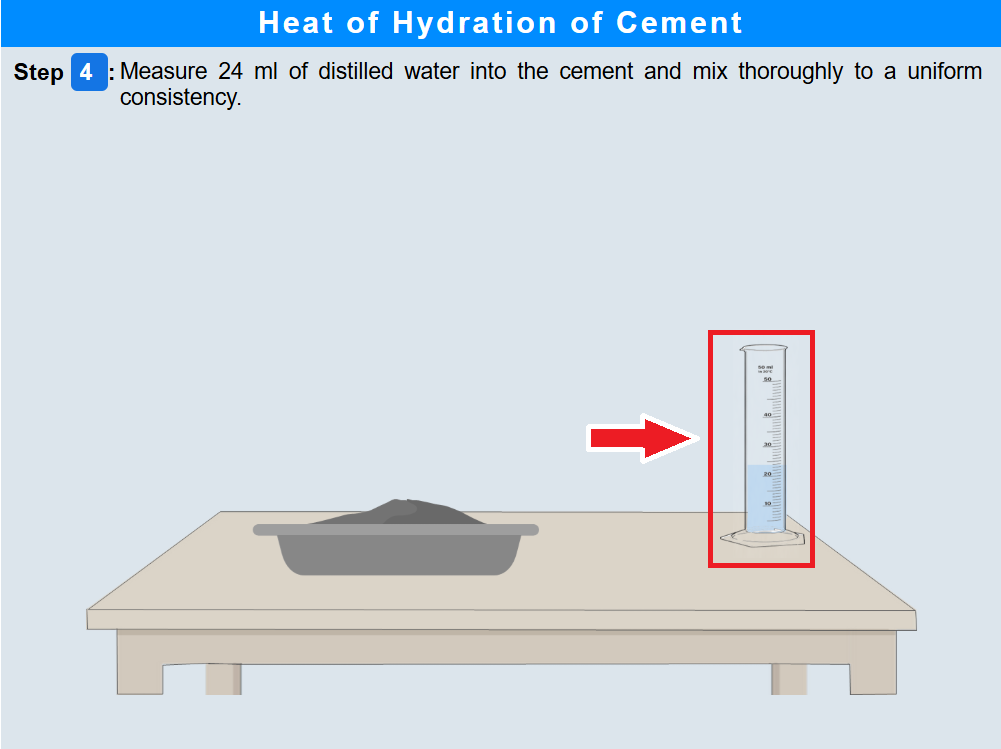
• Click on the tare button of the larger balance to zero it before weighing the main cement batch.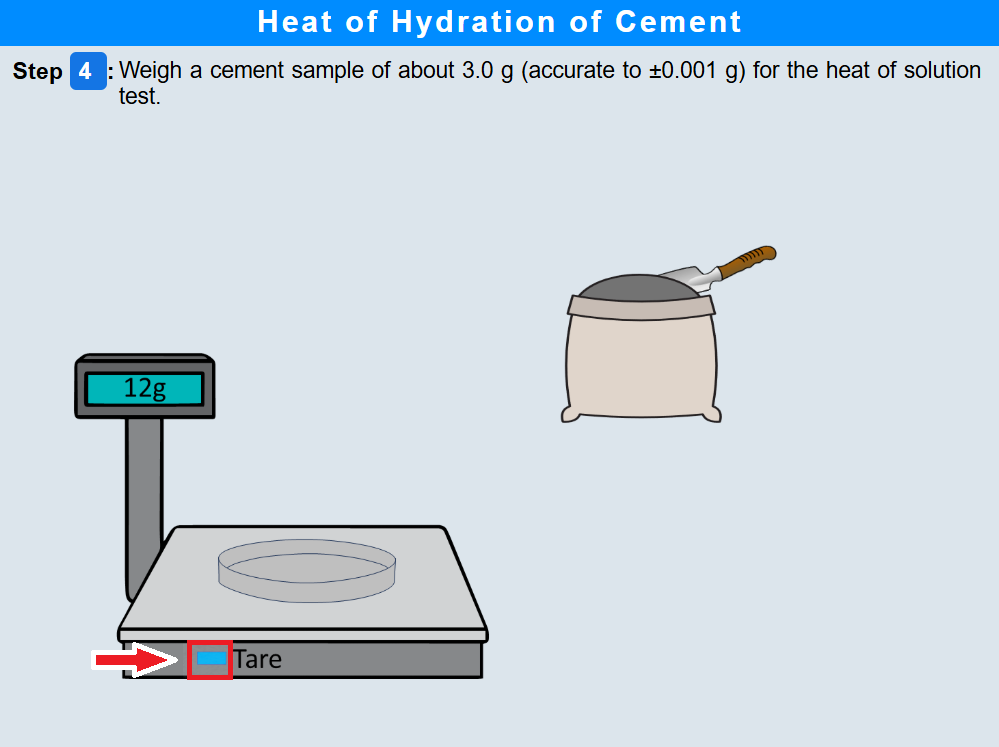
• Click on the trowel to transfer cement from the bag into the dish until about 3.0 g is obtained for the heat of solution test.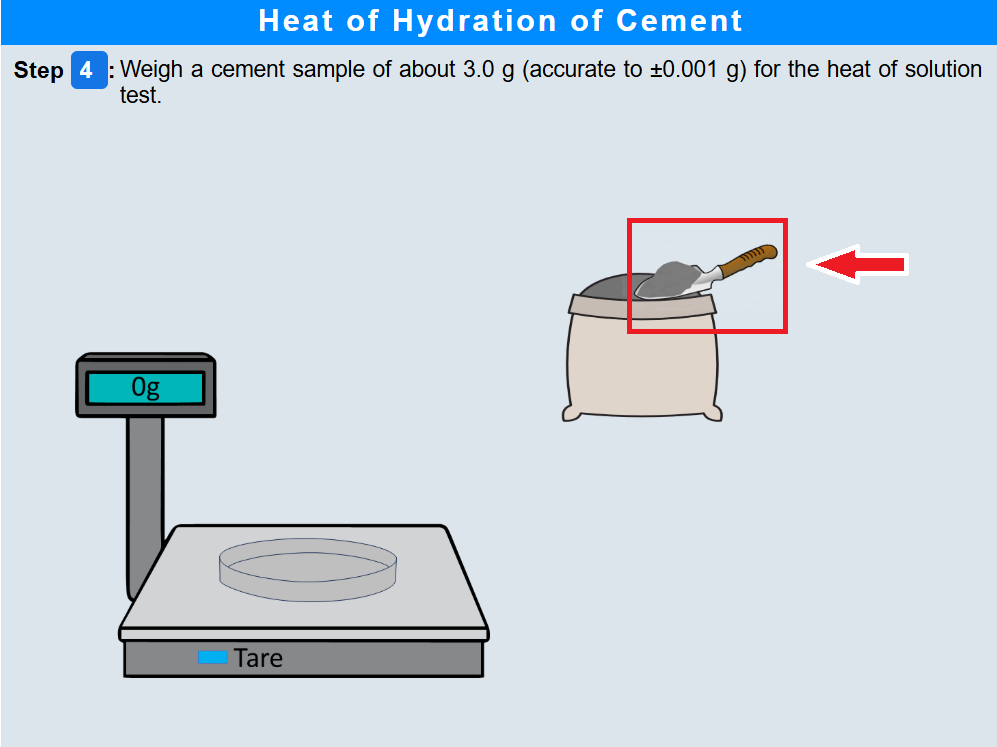
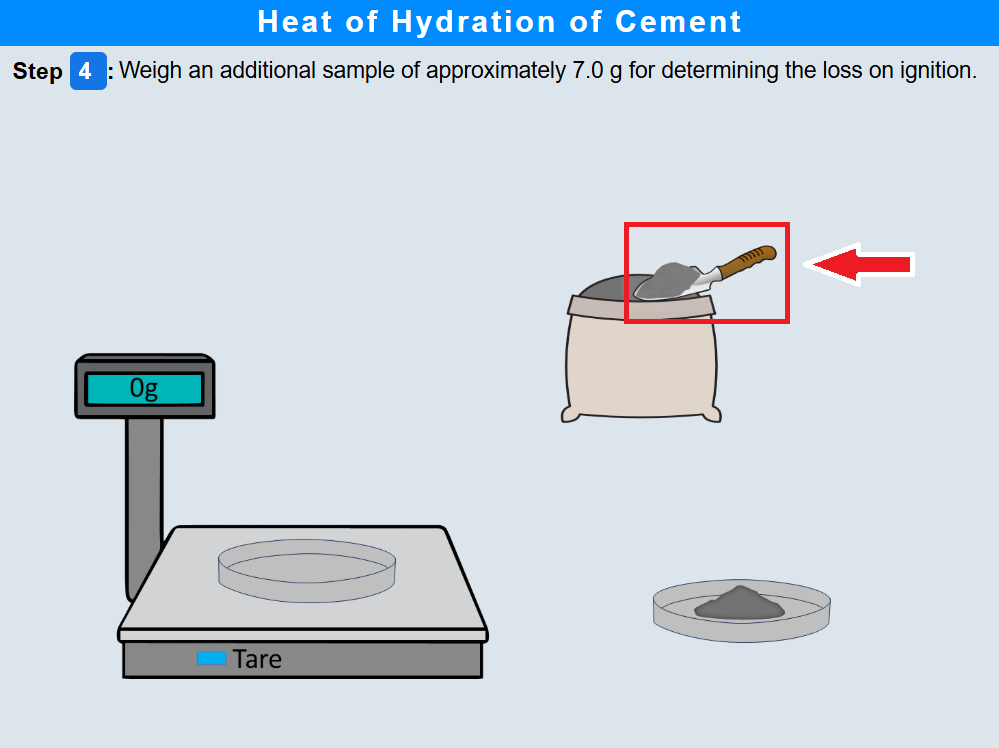
• Click on the trowel again to collect and place an additional cement portion of approximately 7.0 g in another dish for loss-on-ignition determination.
• Click on the dish containing the cement sample to place it near the calorimeter for carrying out the temperature-rise determination exactly as in Step 3 using the same calorimeter and correction procedure.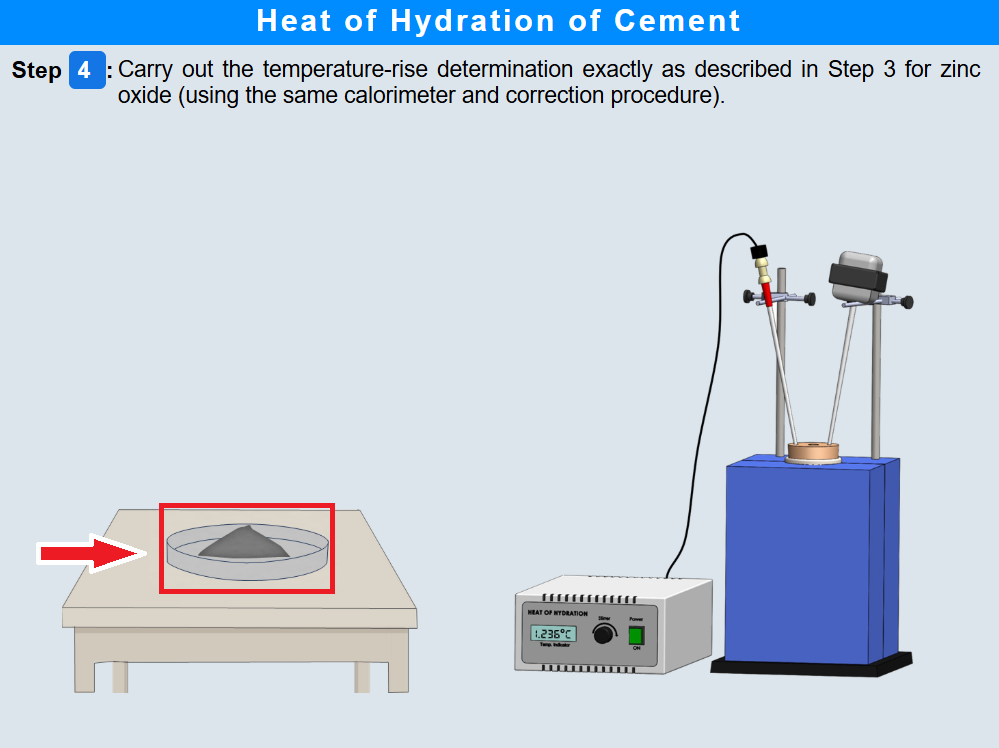
• Click on the crucible containing the cement sample and place it inside the muffle furnace, then heat it at 900 °C for 3–4 hours.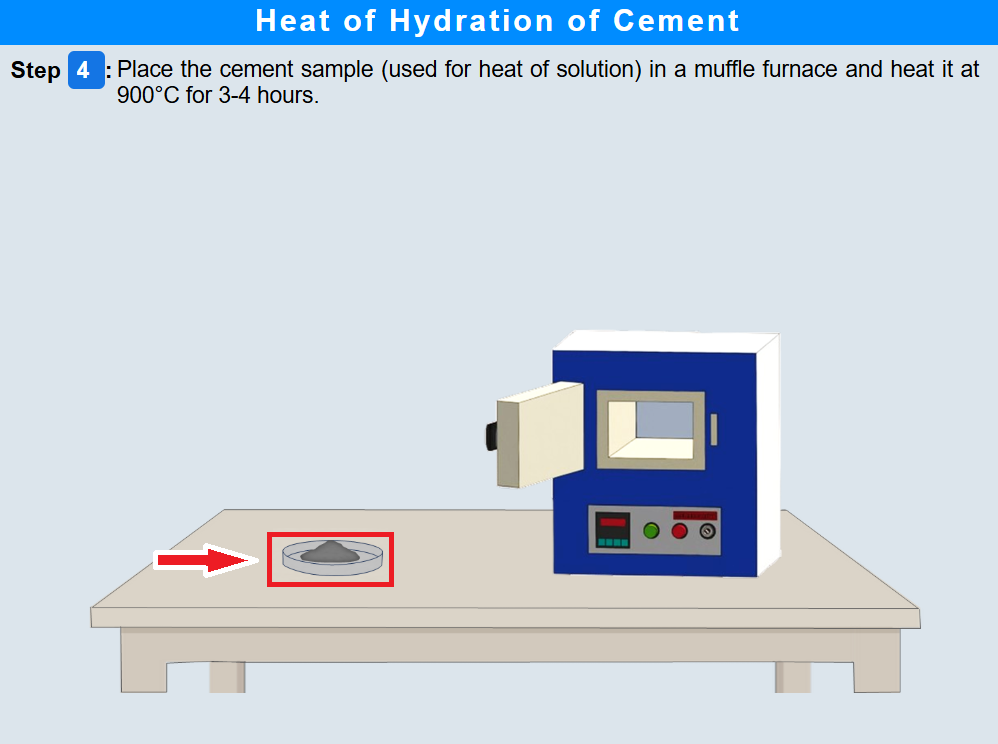
• Click on the furnance door to remove the heated cement sample from the furnace.
• Click on the crucible again and place the hot cement sample in a desiccator containing anhydrous calcium chloride to cool it.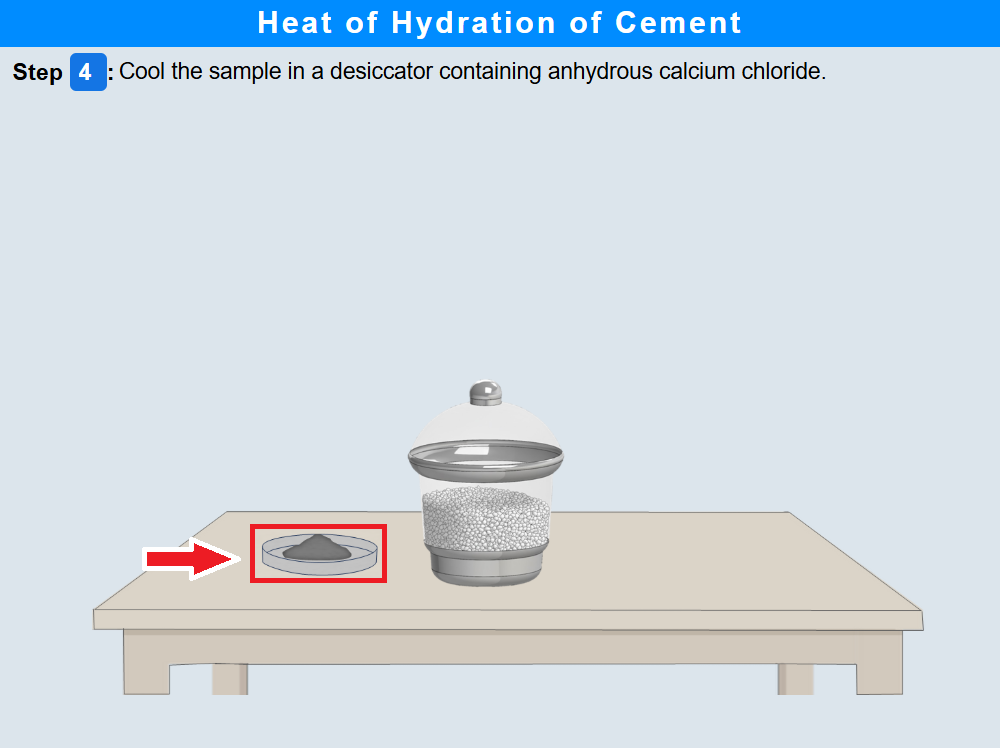
• Click on the tare button of the balance to zero it before weighing the cooled cement sample.

• Click on the crucible with cooled cement and place it on the balance pan to weigh the sample accurately to the nearest milligram.
• Click on NEXT to proceed.