Identification of High Frequency Axial Modes of Beam in “Free-Free” Condition Using Electro-Mechanical Impedance (EMI) Technique
These steps will be followed for the experiment
Preparation of specimens:
- Click on start experiment button to start the experiment.
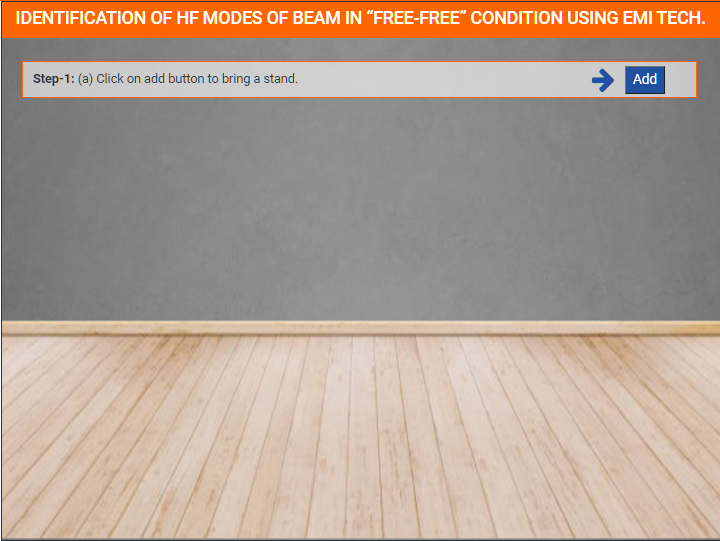
Step-1: (a) Click on add button to bring a stand.
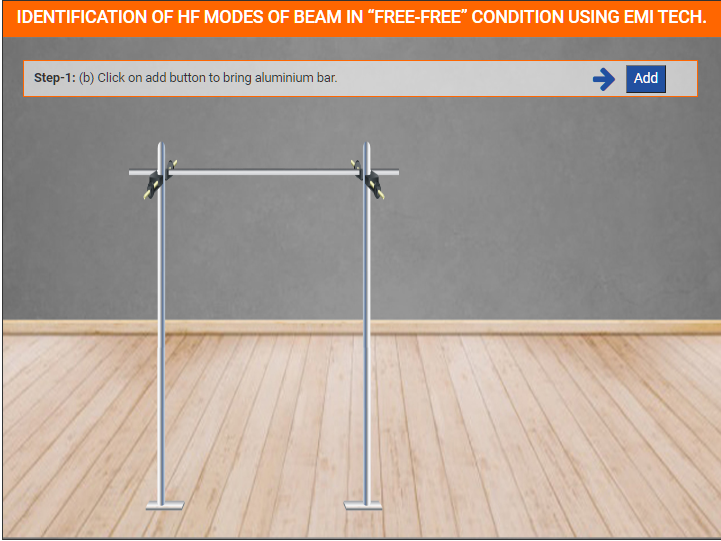
Step-1: (b) Click on add button to bring aluminium bar.
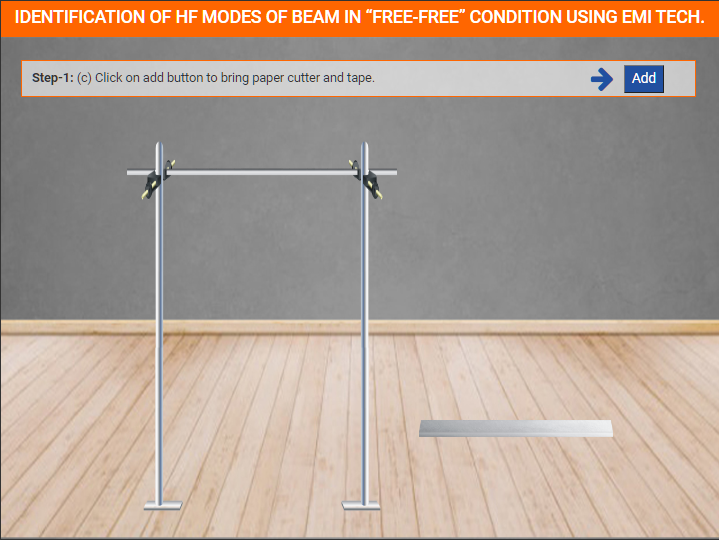
Step-1: (c) Click on add button to bring paper cutter and tape.
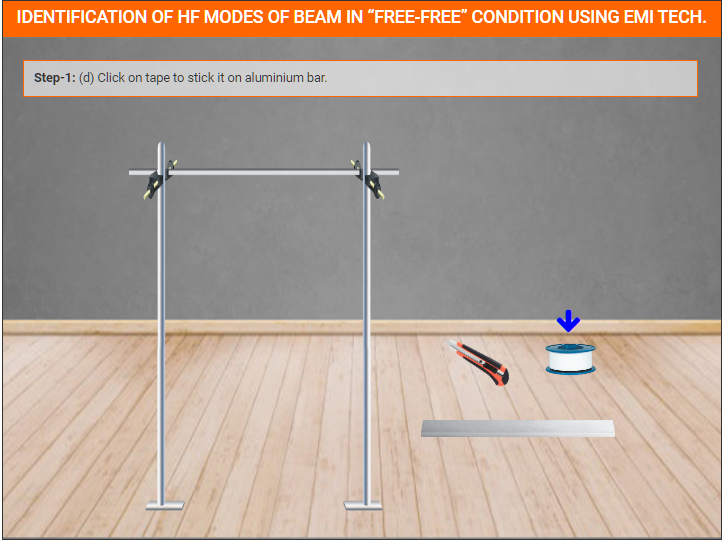
Step-1: (d) Click on tape to stick it on aluminium bar.
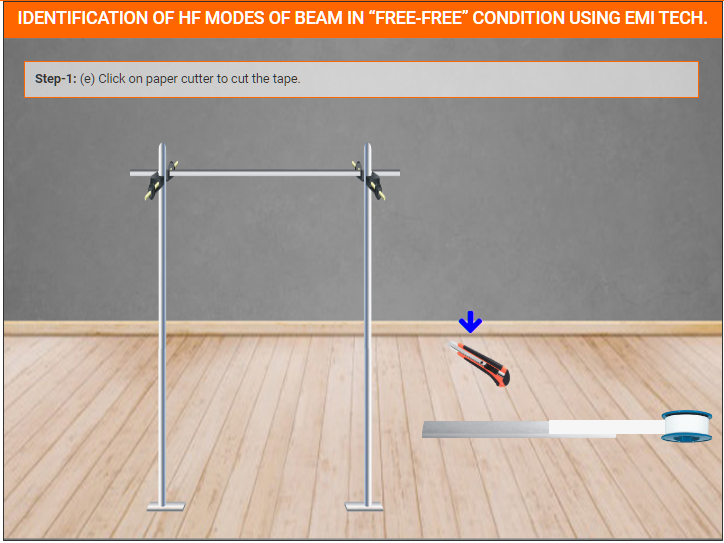
Step-1: (e) Click on paper cutter to cut the tape.
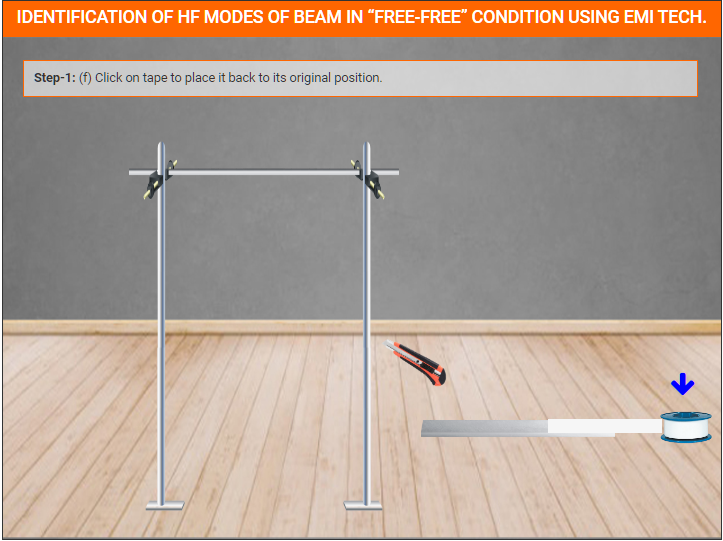
Step-1: (f) Click on tape to place it back to its original position.
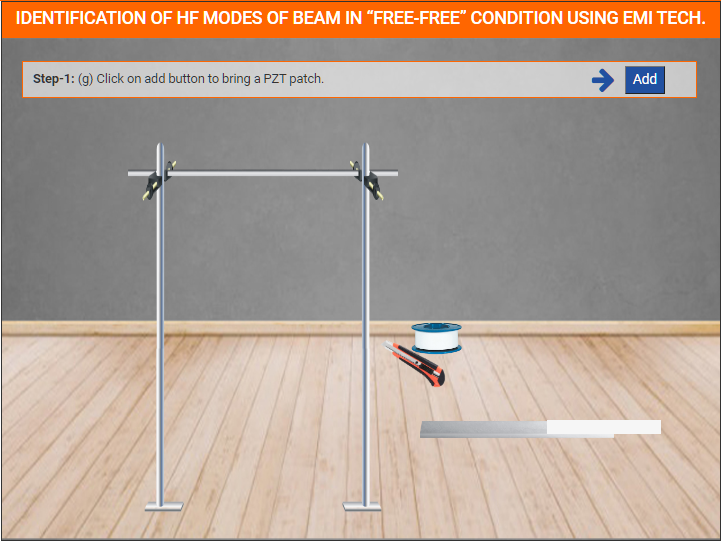
Step-1: (g) Click on add button to bring a PZT patch.
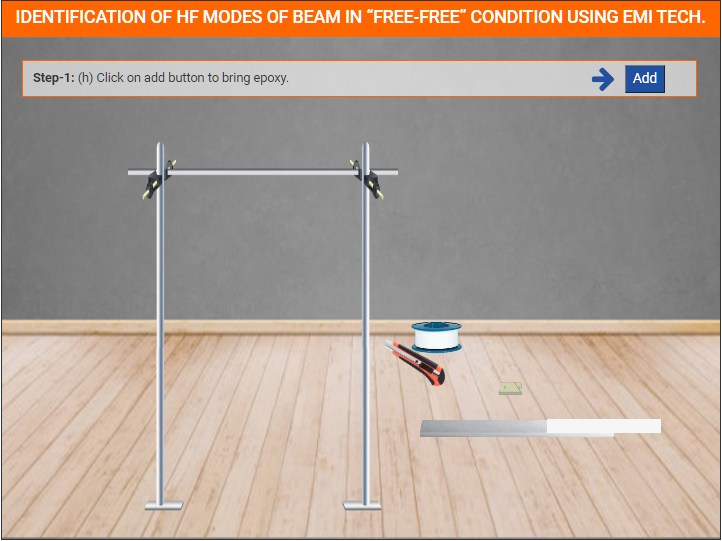
Step-1: (h) Click on add button to bring epoxy.
Step-1: (i) Click on brush to apply epoxy on aluminium bar.

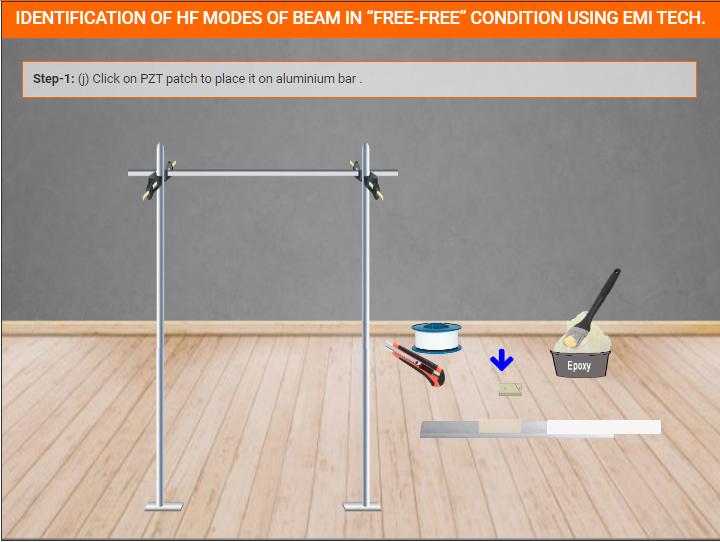
Step-1: (j) Click on PZT patch to place it on aluminium bar.
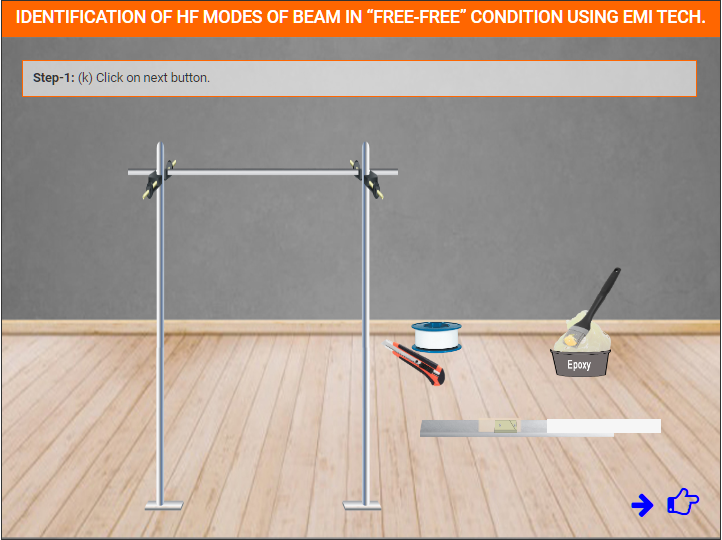
Step-1: (k) Click on next button.
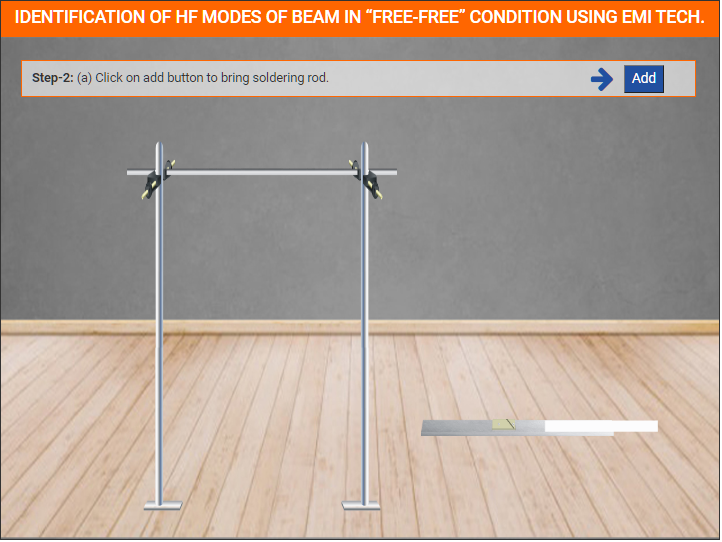
Step-2: (a) Click on add button to bring soldering rod.
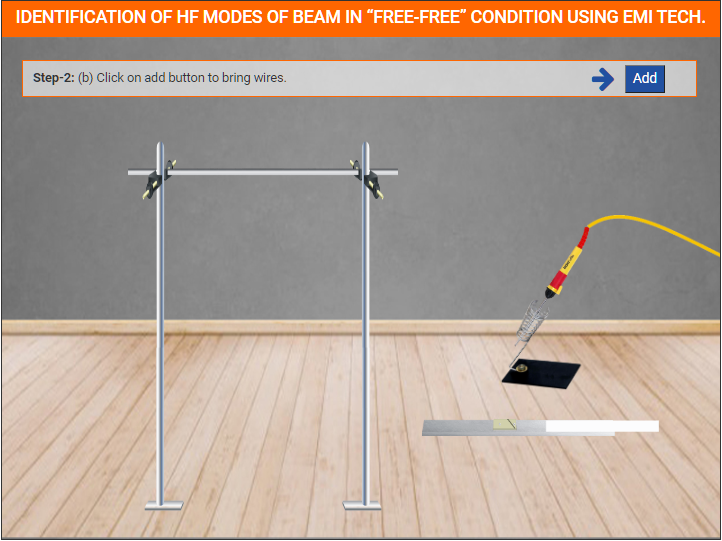
Step-2: (b) Click on add button to bring wires.
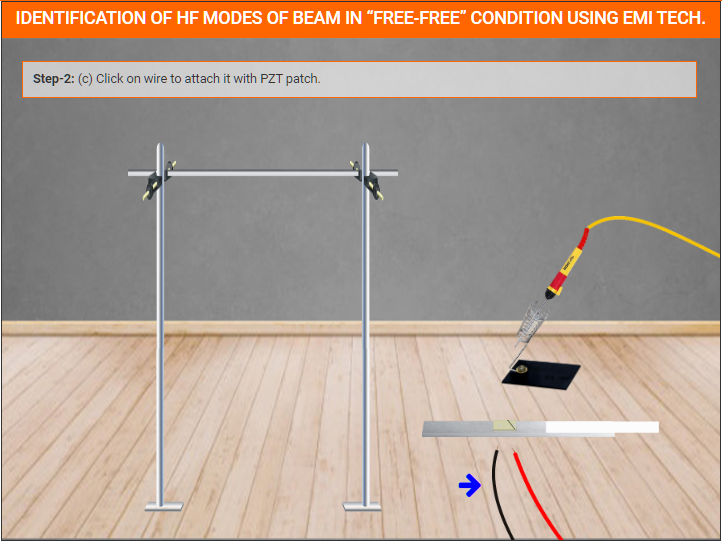
Step-2: (c) Click on wire to attach it with PZT patch.
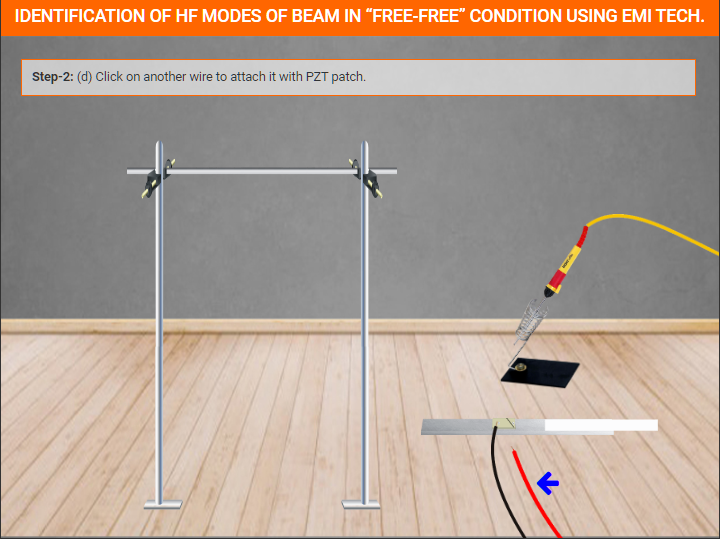
Step-2: (d) Click on another wire to attach it with PZT patch.
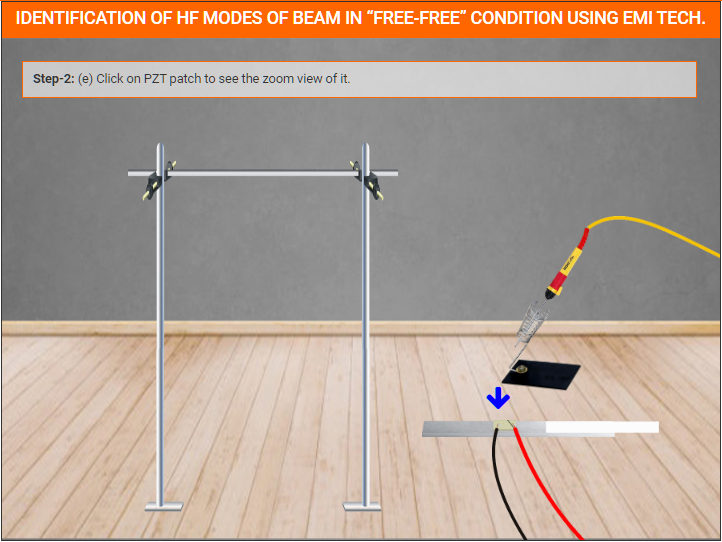
Step-2: (e) Click on PZT patch to see the zoom view of it.
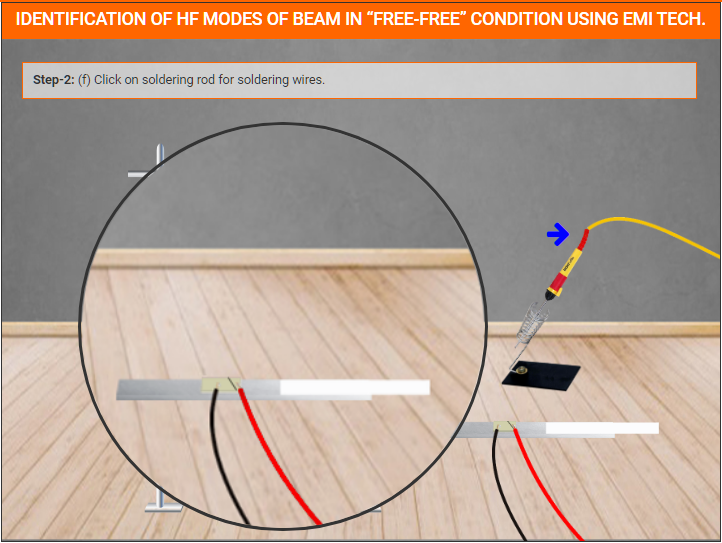
Step-2: (f) Click on soldering rod for soldering wires.
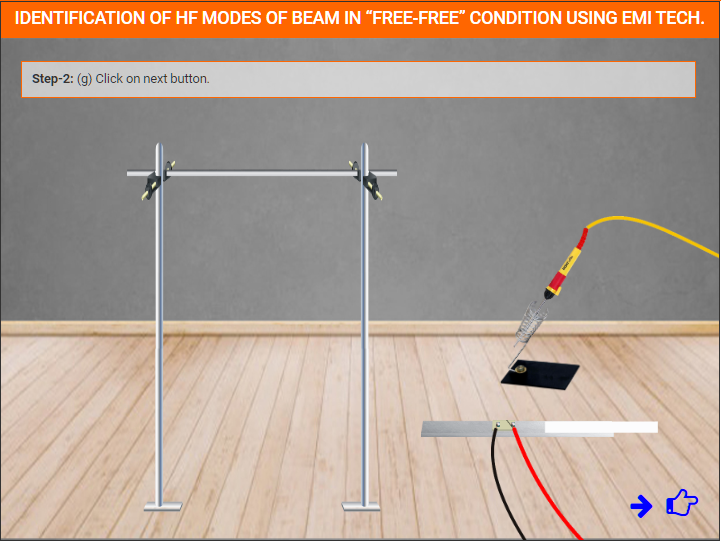
Step-2: (g) Click on next button.
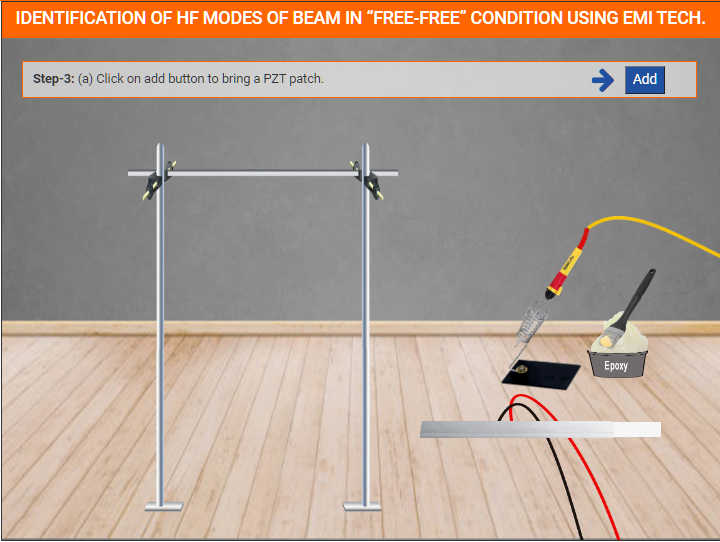
Step-3: (a) Click on add button to bring a PZT patch.
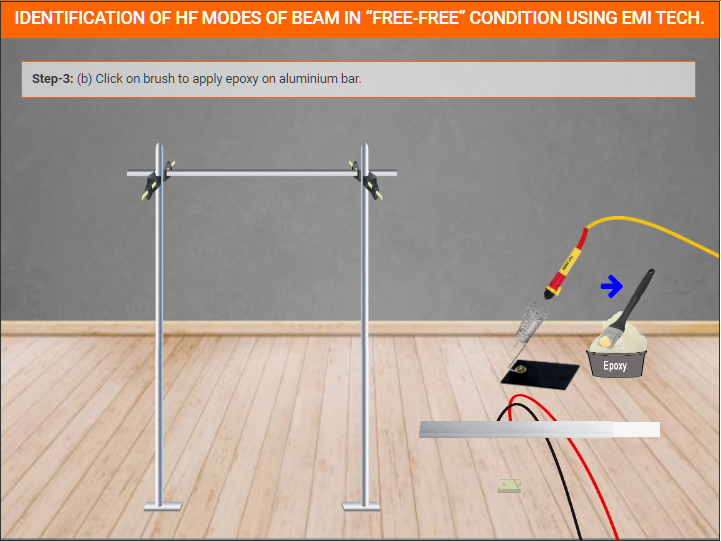
Step-3: (b) Click on brush to apply epoxy on aluminium bar.
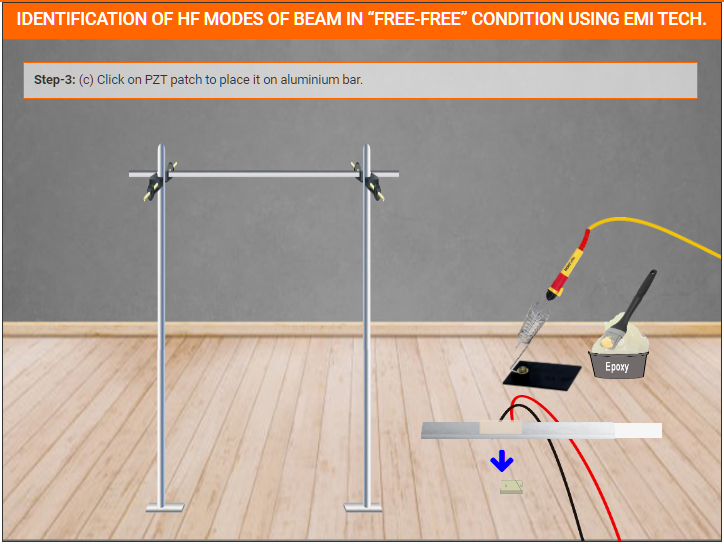
Step-3: (c) Click on PZT patch to place it on aluminium bar.
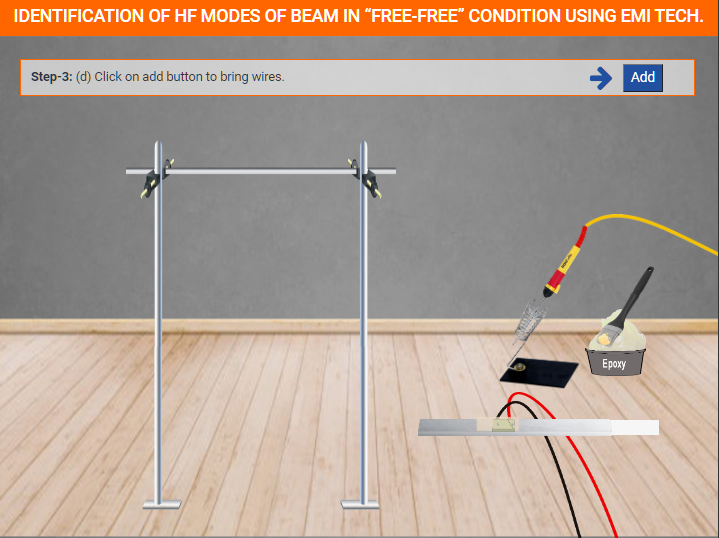
Step-3: (d) Click on add button to bring wires.
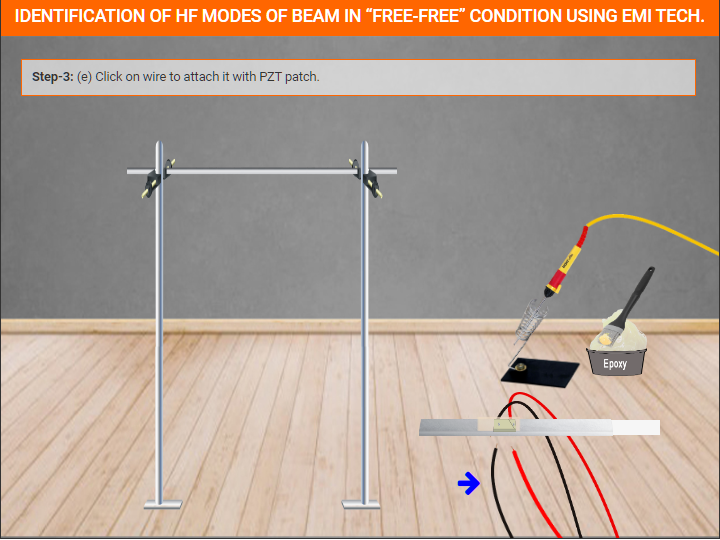
Step-3: (e) Click on wire to attach it with PZT patch.
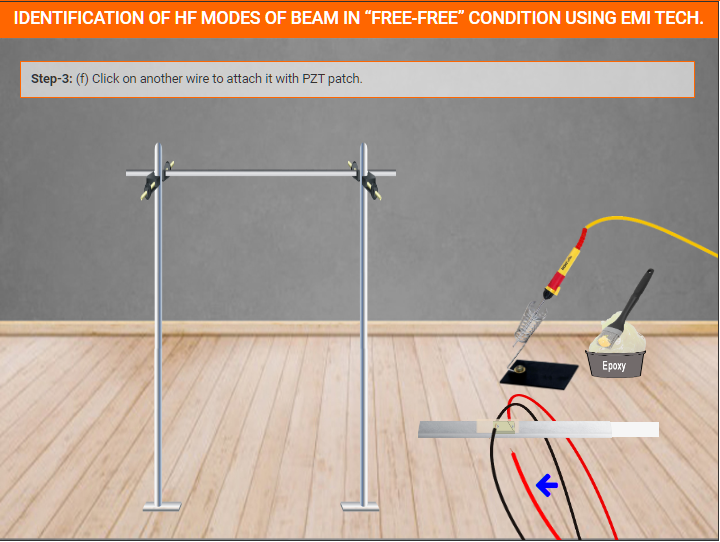
Step-3: (f) Click on another wire to attach it with PZT patch.
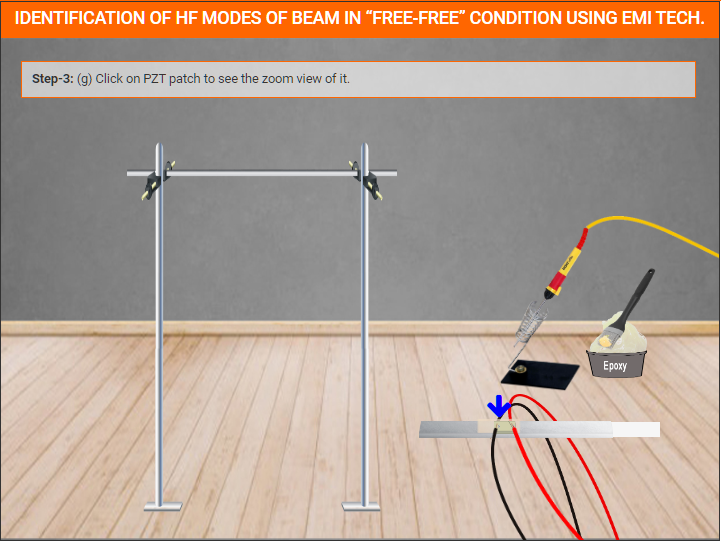
Step-3: (g) Click on PZT patch to see the zoom view of it.
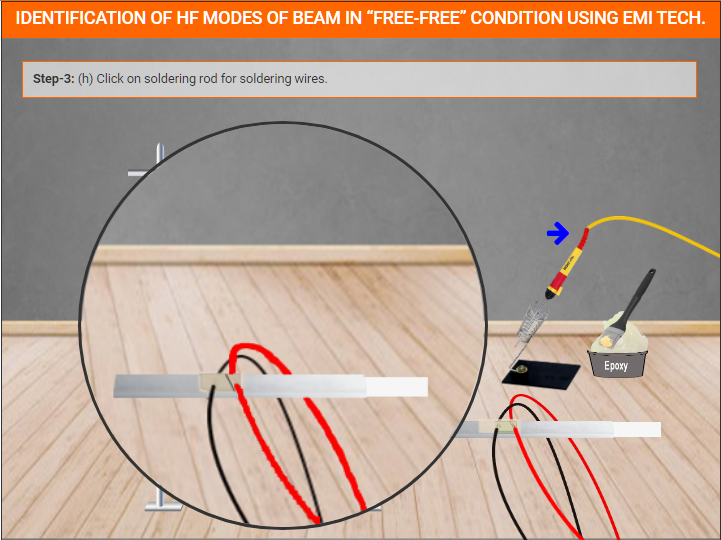
Step-3: (h) Click on soldering rod for soldering wires.
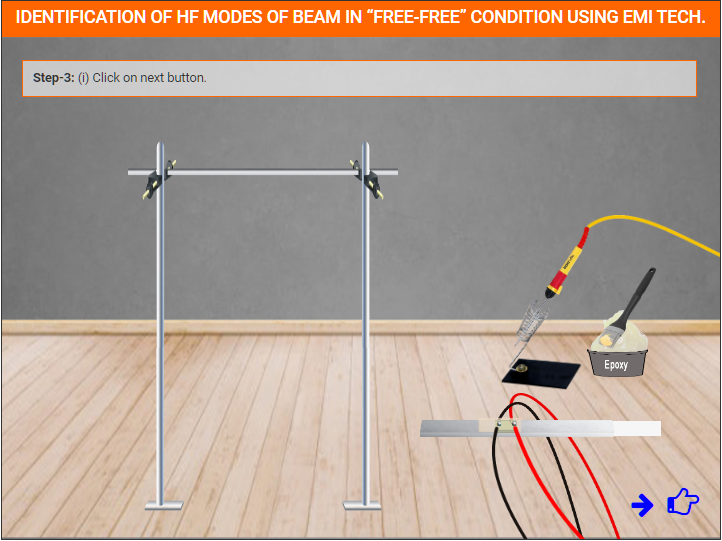
Step-3: (i) Click on next button.
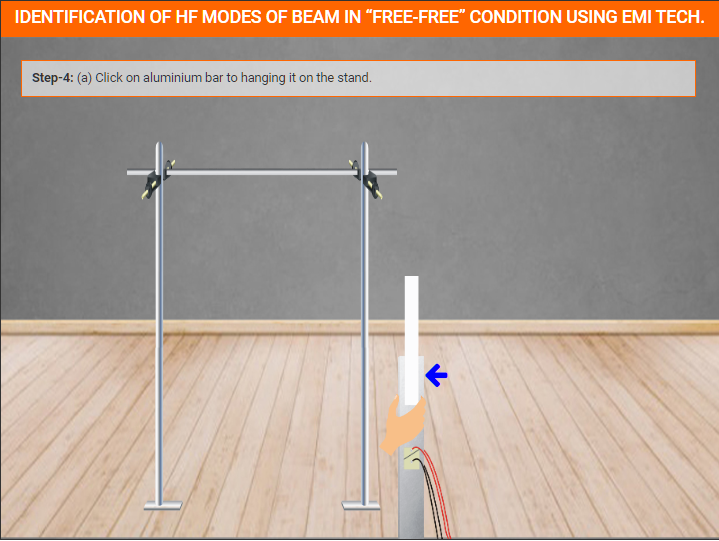
Step-4: (a) Click on aluminium bar to hanging it on the stand.
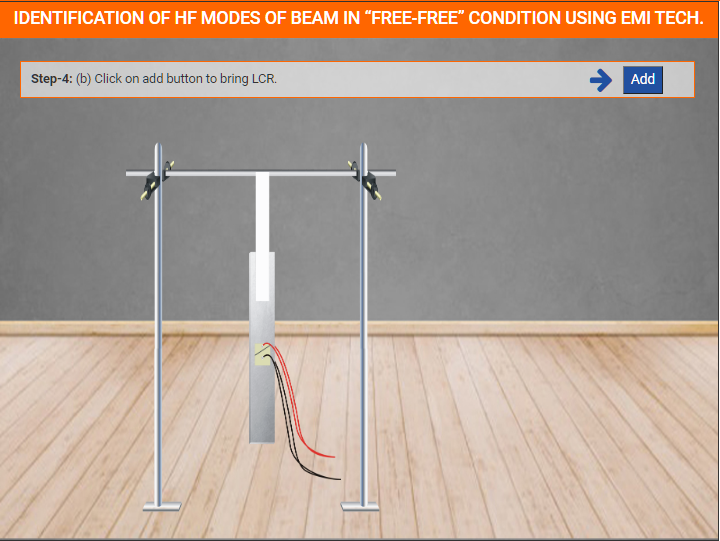
Step-4: (b) Click on add button to bring LCR.
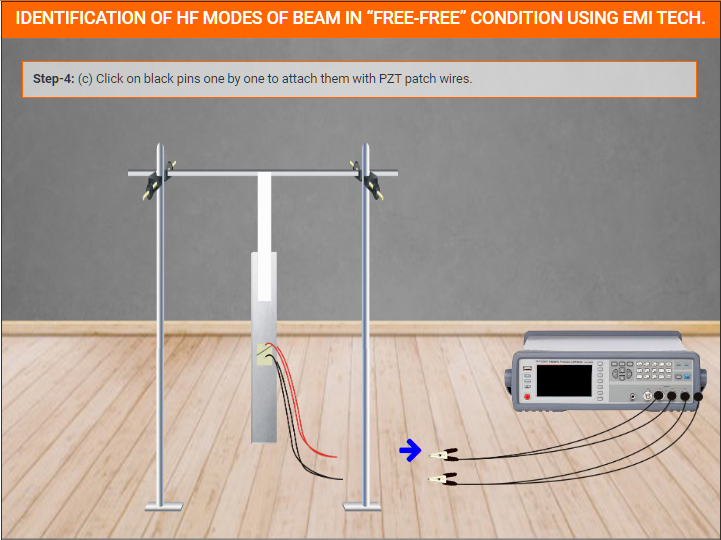
Step-4: (c) Click on black pins one by one to attach them with PZT patch wires.
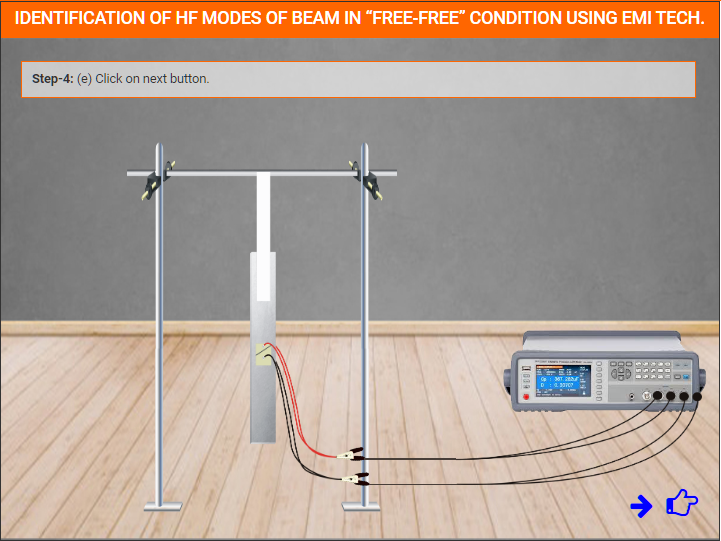
Step-4: (d) Now switch on the power button of LCR meter.

Step-4: (e) Click on next button.
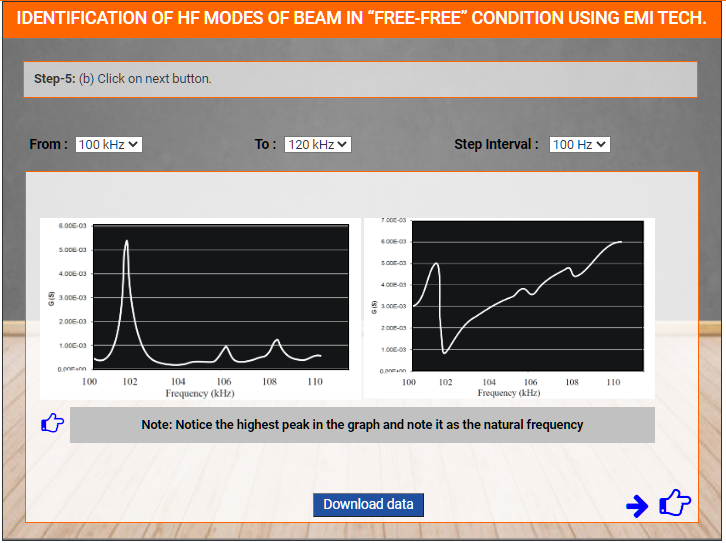
Step-5: (a) Click on ok button.
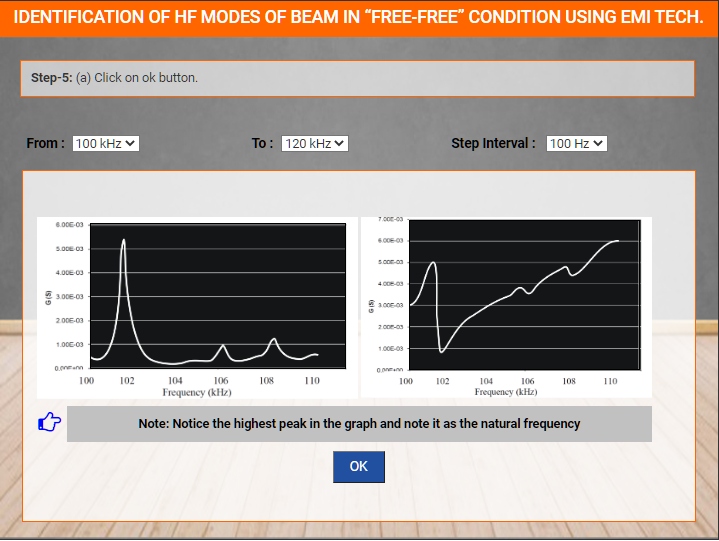
Step-5: (b) Click on next button.
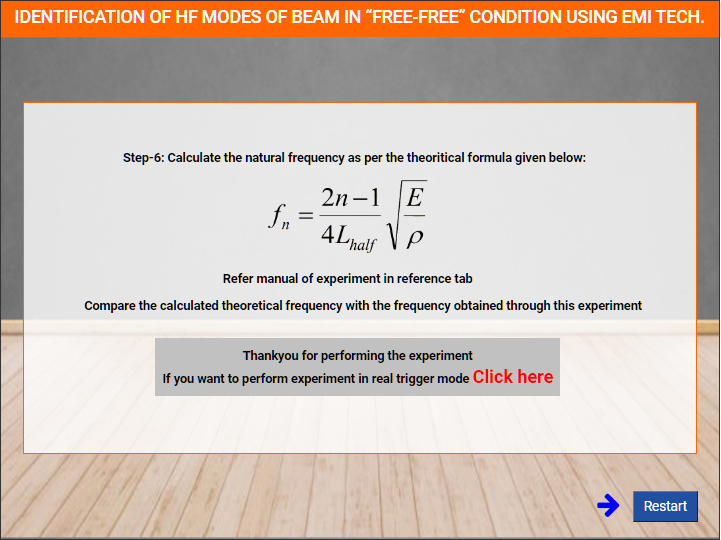
Thankyou for performing the experiment
Click on restart button.