Static modulus of elasticity of Concrete in compression
STEP
1
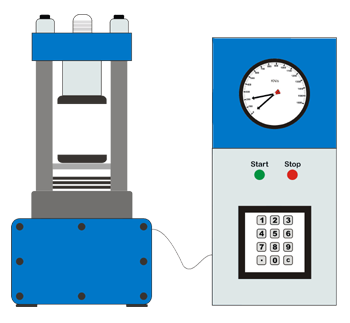

Objective:
To determine the static modulus of elasticity of hardened concrete in compression
Apparatus used:
Compression testing machine, extensometer or strain gauges


Specimen Type
Cylinder
STEP
2


Provide Specimen Details
Enter the Age of specimen:
DaysSelect the Diameter(D) of the Specimen:
mmSelect the Length(L) of the Specimen:
mm| Age of specimen | |
| Diameter of specimen, mm | |
| Length of specimen, mm | |
| Number of specimens |


STEP
2
Preparation of cylinder specimens
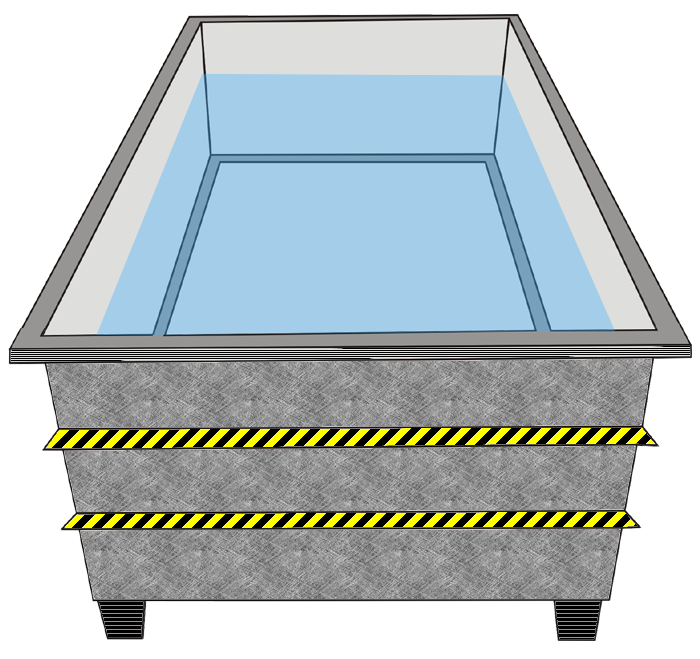
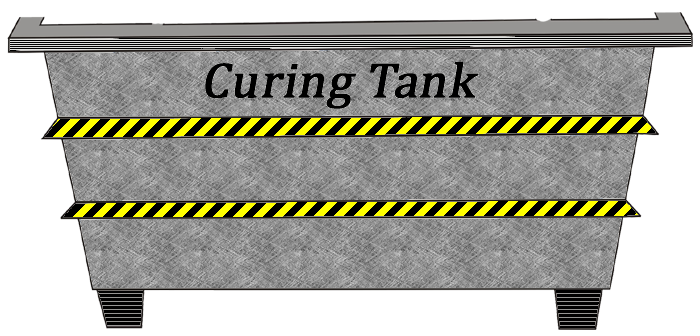
Take out three cylinder specimens of size 300X150 from the curing tank.
Click on the cloth to wipe the surface of the samples to remove the excess moisture.








STEP
3
a). Using a marker, central lines shall be drawn on the two opposite faces.
Note: Ensure that they are in the same axial plane.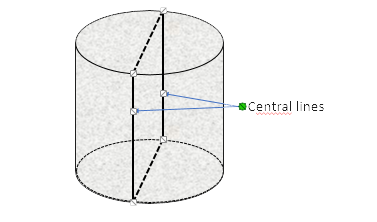
Note: Ensure that they are in the same axial plane.

STEP
2
Preparation of cylinder specimens
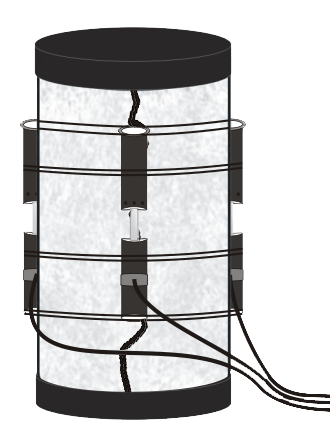
While in the wet condition, attach the extensometers (three equidistant from each other) in the
longitudinal direction, parallel to the axis and symmetrical about the centre of the specimen.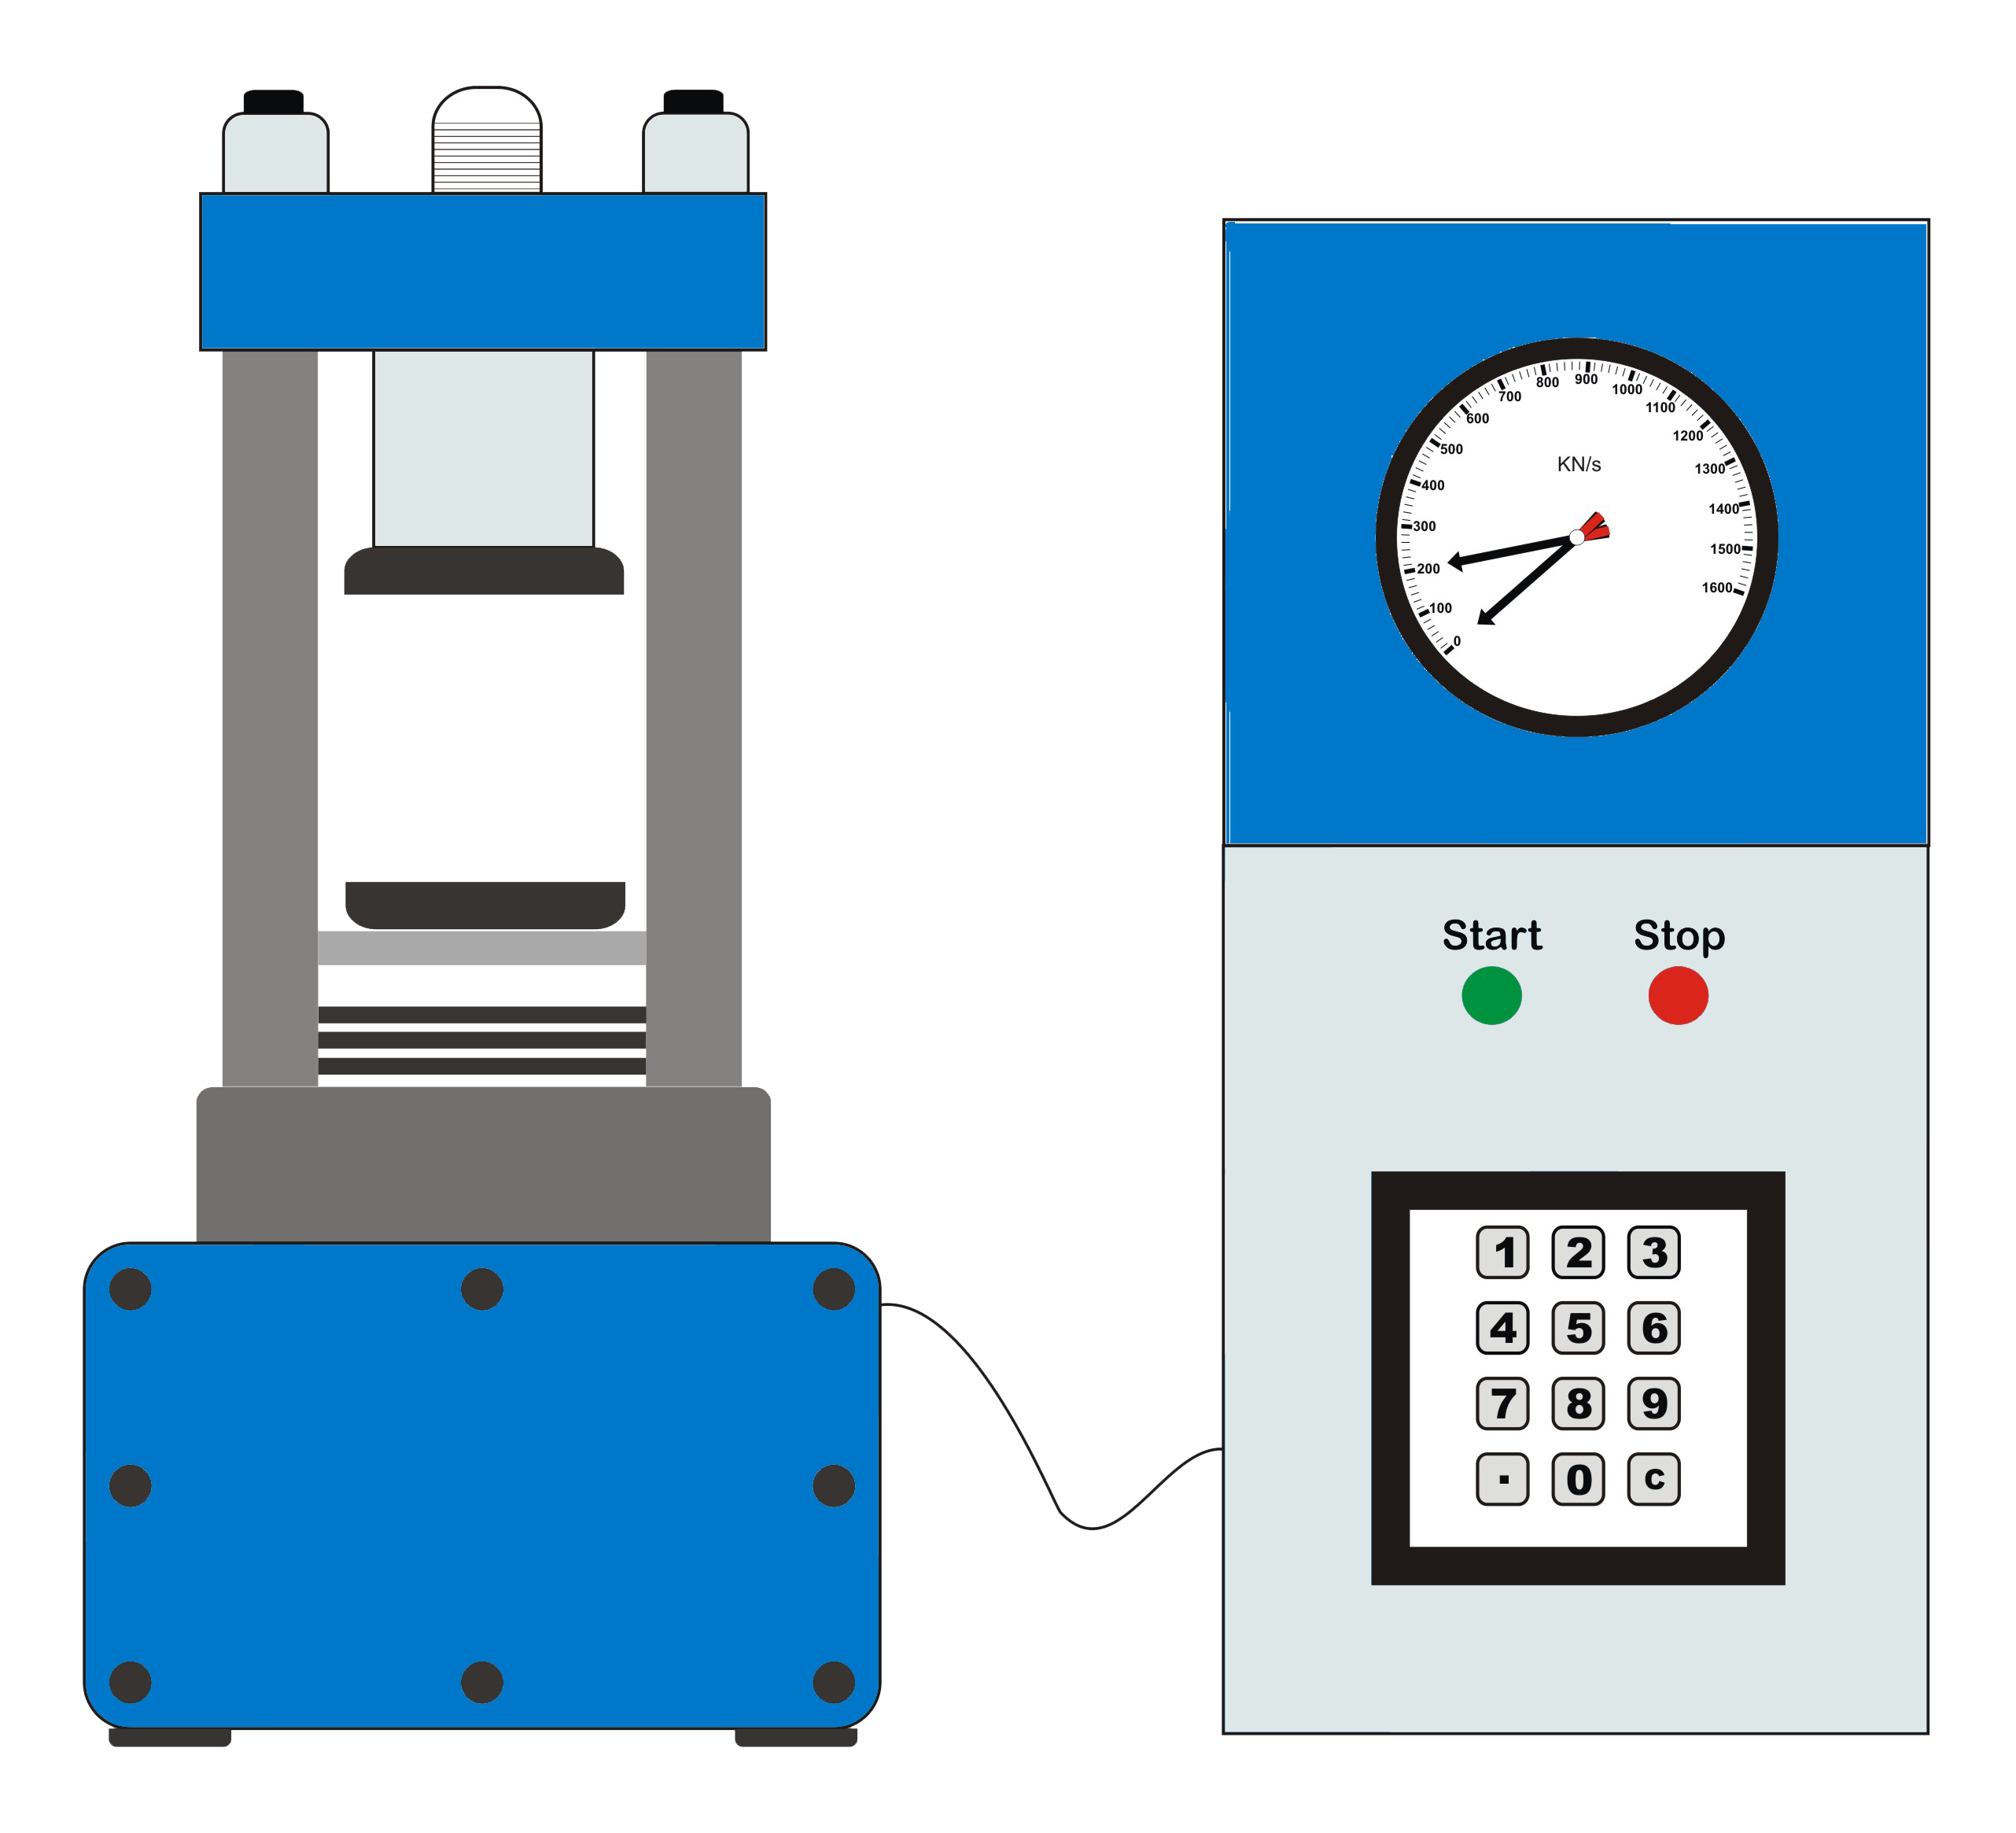


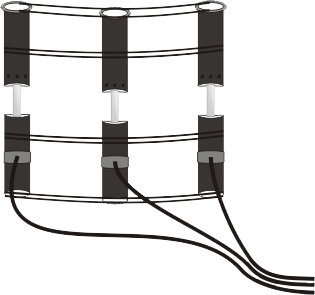


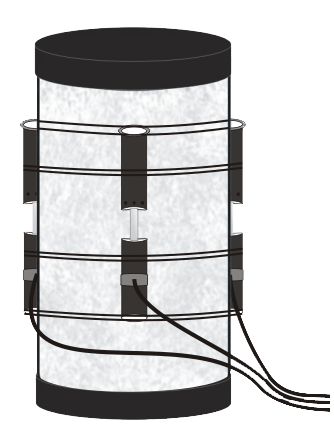
 Gauge length


longitudinal direction, parallel to the axis and symmetrical about the centre of the specimen.


 Gauge length


STEP
3
Placement of specimen in CTM
Place the specimen with the attached extensometers in the testing machine centrally.



STEP
5
a). Click Numpad on CTM for zoom view.
b). Apply the load continuously and without shock at a rate of 14 N/mm2/min until stress reaches Fc/9 (σb) and maintain stress Fc/9 for 60 s.


N/mm2
STEP
6
Specimen
a). Click on the dial of CTM for zoomed view.
b). Click Start button of CTM to initiate the test.
c). Apply the load continuously and without shock at a
Rate of 14 N/mm2/min until stress reaches Fc/9 (σb)
and maintain stress Fc/9 for 60 s.





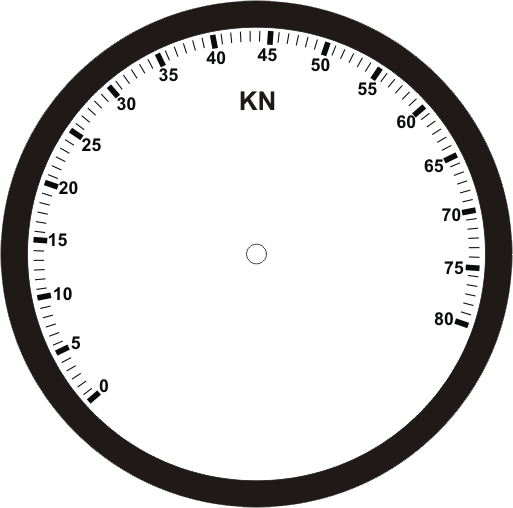


Click Next to Examine the fractured specimen.
Rate of 14 N/mm2/min until stress reaches Fc/9 (σb)
and maintain stress Fc/9 for 60 s.


| Time: | sec. |
STEP
4
Load Application:
Apply the load continuously and without shock at a Rate of 14 N/mm2/min until stress
reaches Fc/9 (σb) and maintain stress Fc/9 for 60 s.

reaches Fc/9 (σb) and maintain stress Fc/9 for 60 s.


STEP
8
Specimen
a). Steadily increase the stress at the constant
rate within the range 0.20 N/mm2/s to 0.30 N/mm2/s
until the stress equals Fc/3 (σa) and maintain for 60s.



Click Next to Examine the fractured specimen
rate within the range 0.20 N/mm2/s to 0.30 N/mm2/s
until the stress equals Fc/3 (σa) and maintain for 60s.


| Time: | sec. |
STEP
5
Load Application:
Steadily increase the stress at the constant rate within the range 0.20 N/mm2/s to 0.30 N/mm2/s
until the stress equals Fc/3 (σa) and maintain for 60s.

until the stress equals Fc/3 (σa) and maintain for 60s.


STEP
6
Specimen Centering
During the succeeding 30 s measure and record the strain readings taken at each measurement line. If the individual strains are not within a range of ±20 percent of their mean value at σa, recenter the test specimen and repeat the test. If it is not possible to reduce the differences to within this range do not proceed with test.
| Gauge length Lo (mm) | Stress MPa | ∆L (mm) | Longitudinal strain(𝛆)=∆L/Lo | Centering check (±20%) | |||||
| Line1 | Line2 | Line3 | Line1 | Line2 | Line3 | Average | |||
| 100 | 11.55 | 0.032 | 0.036 | 0.046 | 0.00032 | 0.00036 | 0.00046 | 0.000380 | Not ok |
STEP
11
Specimen
a). Click on the specimen to recenter it.
b). Click on the dial of CTM for zoomed view.
c). Click Start button of CTM to initiate the test.
c). Apply the load continuously and without shock at a
Rate of 14 N/mm2/min until stress reaches Fc/9 (σb)
and maintain stress Fc/9 for 60 s.





Click Next to Examine the fractured specimen.
Rate of 14 N/mm2/min until stress reaches Fc/9 (σb)
and maintain stress Fc/9 for 60 s.


| Time: | sec. |
STEP
12
Specimen


STEP
13
Specimen
a). Steadily increase the stress at the constant
rate within the range 0.20 N/mm2/s to 0.30 N/mm2/s
until the stress equals Fc/3 (σa) and maintain for 60s. b). Click Start button of CTM to initiate the test. c). Steadily increase the stress at the constant
rate within the range 0.20 N/mm2/s to 0.30 N/mm2/s
until the stress equals Fc/3 (σa) and maintain for 60s.



Click Next to Examine the fractured specimen
rate within the range 0.20 N/mm2/s to 0.30 N/mm2/s
until the stress equals Fc/3 (σa) and maintain for 60s. b). Click Start button of CTM to initiate the test. c). Steadily increase the stress at the constant
rate within the range 0.20 N/mm2/s to 0.30 N/mm2/s
until the stress equals Fc/3 (σa) and maintain for 60s.


| Time: | sec. |
STEP
14
Specimen


STEP
6
Specimen Centering
After recentering

| Gauge length Lo (mm) | Stress MPa | ∆L (mm) | Longitudinal strain(𝛆)=∆L/Lo | Centering check (±20%) | |||||
| Line1 | Line2 | Line3 | Line1 | Line2 | Line3 | Average | |||
| 100 | 11.55 | 0.033 | 0.035 | 0.034 | 0.00033 | 0.00035 | 0.00034 | 0.00034 | Ok |

STEP
16
Specimen
a). When the centering is sufficiently accurate, reduce the stress at the unloading rate same as loading rate to Fc/9 and maintain for 60s.


STEP
7
Preloading cycle
When the centering is sufficiently accurate, reduce the stress at the unloading rate same as loading rate to Fc/9 and maintain for 60s.


STEP
18
Specimen
a). Steadily increase the stress at the constant
rate within the range 0.20 N/mm2/s to 0.30 N/mm2/s
until the stress equals Fc/3 (σa) and maintain for 60s.



rate within the range 0.20 N/mm2/s to 0.30 N/mm2/s
until the stress equals Fc/3 (σa) and maintain for 60s.


| Time: | sec. |
STEP
8
Preloading cycle
Repeat the preloading cycle for two additional loading cycles using the same loading and unloading rate, and maintaining the stress (σa and σb) constant for a period of 60 s.
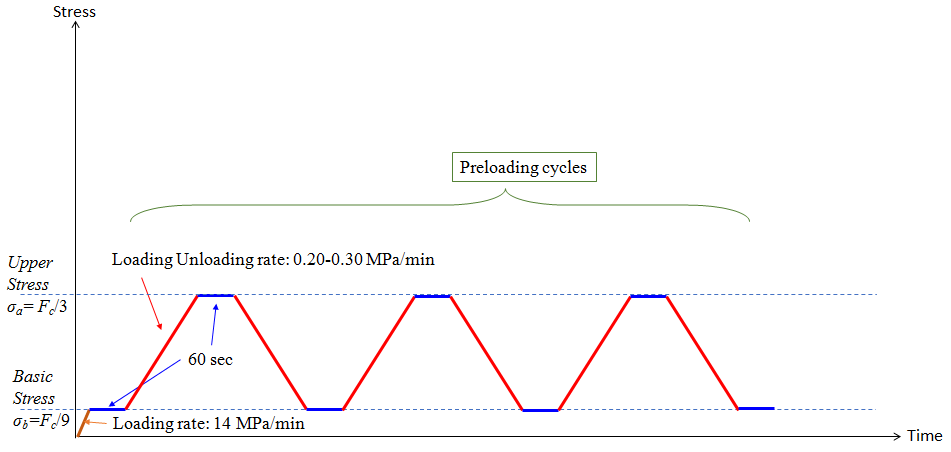


STEP
9
Elasticity measurements
After completion of the last preloading cycle and a waiting period of 60 s under the stress σb = Fc/9 N/mm2,
the strain reading at the various measurement lines εb, during the succeeding 30s shall be recorded.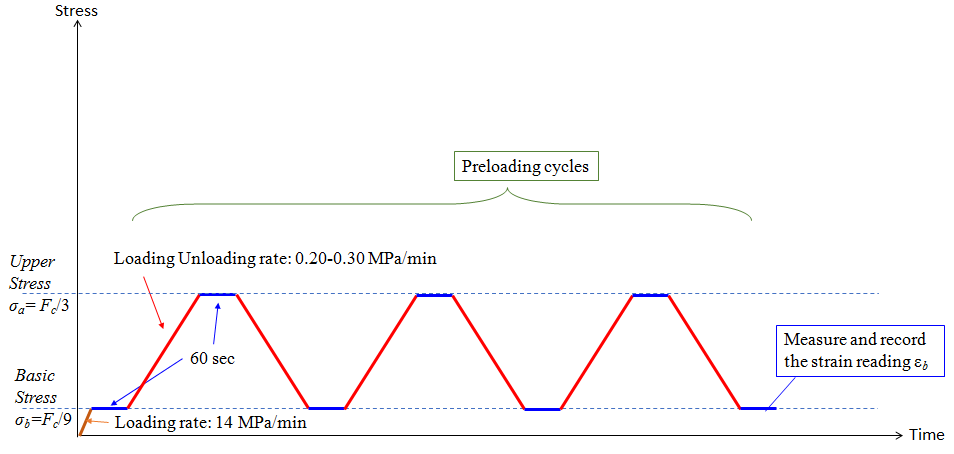

the strain reading at the various measurement lines εb, during the succeeding 30s shall be recorded.


STEP
9
Elasticity measurements
After completion of the last preloading cycle and a waiting period of 60 s under the stress σb = Fc/9 N/mm2,
the strain reading at the various measurement lines εb, during the succeeding 30s shall be recorded.

the strain reading at the various measurement lines εb, during the succeeding 30s shall be recorded.
| Gauge length Lo (mm) | Stress MPa | ∆L (mm) | Longitudinal strain(𝛆b)=∆L/Lo | |||||
| Line1 | Line2 | Line3 | Line1 | Line2 | Line3 | Average | ||
| 100 | 3.85 | 0.011 | 0.012 | 0.012 | 0.00011 | 0.00012 | 0.00012 | 0.000117 |

STEP
10
Elasticity measurements
Increase the stress at the constant rate until the stress equals Fc/3 maintain for 60s. During the succeeding 30s, measure and record the strain readings a taken at each measurement line εa.
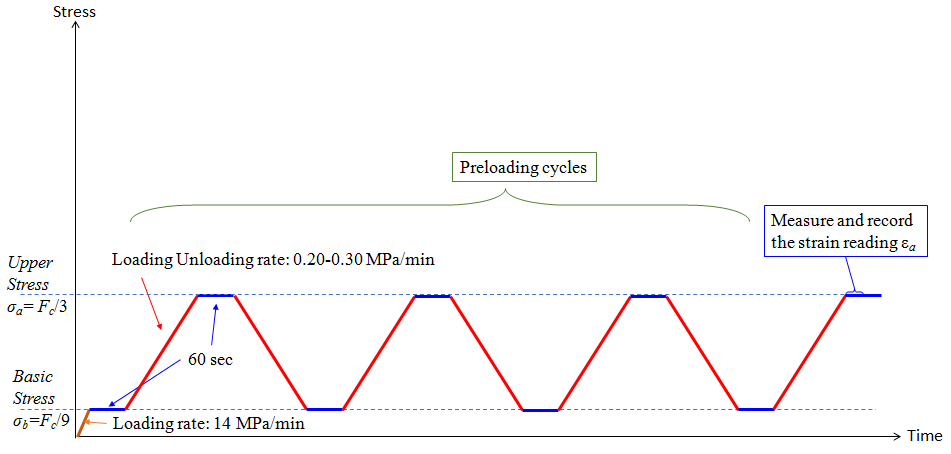


STEP
10
Elasticity measurements
Increase the stress at the constant rate until the stress equals Fc/3 maintain for 60s. During the succeeding 30s, measure and record the strain readings a taken at each measurement line εa.

| Gauge length Lo (mm) | Stress MPa | ∆L (mm) | Longitudinal strain(𝛆a)=∆L/Lo | |||||
| Line1 | Line2 | Line3 | Line1 | Line2 | Line3 | Average | ||
| 100 | 11.55 | 0.034 | 0.036 | 0.035 | 0.00034 | 0.00036 | 0.00035 | 0.000350 |

STEP 24
the test specimen shall be increased, at the specified rate, until failure of the specimen occurs. b). Click Start button of CTM to initiate the test. c). Steadily increase the stress at the constant
rate within the range 0.20 N/mm2/s to 0.30 N/mm2/s
until the stress equals Fc/3 (σa) and maintain for 60s.




STEP
11
Loading to failure
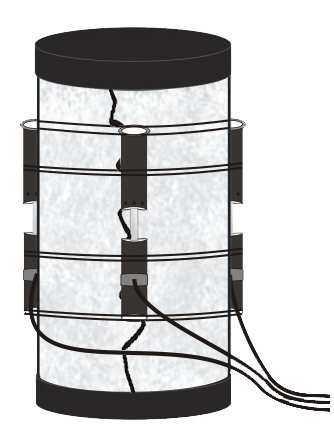
When all elasticity measurements have been completed, the load on the test specimen shall be
increased, at the specified rate, until failure of the specimen occurs.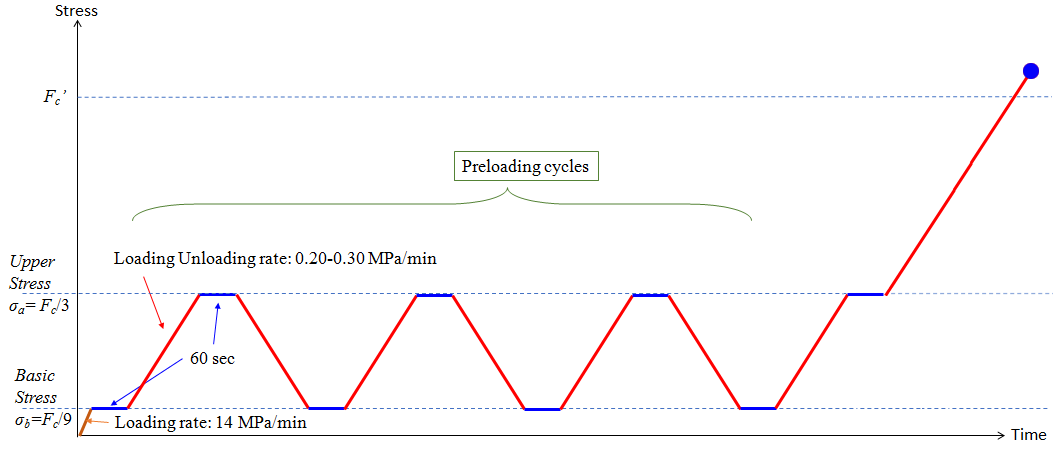

increased, at the specified rate, until failure of the specimen occurs.


STEP
11
Loading to failure
Check if stress at failure is within a range of ±20% of Fc. If not, this shall be noted in the test report and it shall be reported that the results may not be reliable.

| MPa | Stress at failure (MPa) | Failure check(±20%) |
| 34.65 | 37.12 | Okay |

STEP
12
Calculate the modulus of Elasticity
The mean strain εa and εb respectively shall be calculated and the static modulus of elasticity in compression is calculated.

| sample | Stress, MPa | Stress, MPa | Strain, 𝛆a | Strain, 𝛆b | Static modulus of elasticity, (MPa) |
| 1 | 11.55 | 3.85 | 0.000350 | 0.000117 | 33047 |
| 2 | |||||
| Average |

STEP
13
Repeat the procedure on the second specimen and take the average.

| sample | Stress, MPa | Stress, MPa | Strain, 𝛆a | Strain, 𝛆b | Static modulus of elasticity, (MPa) |
| 1 | 11.55 | 3.85 | 0.000350 | 0.000117 | 33047 |
| 2 | 11.55 | 3.85 | 0.000337 | 0.000113 | 34375 |
| Average | 33711 |

Report
| Size of cube specimen for compressive strength testing | 150X150X150 |
| Size of Cylindrical Specimen for modulus of elasticity Calculation | Diameter 150mm, Length 300mm |
| Concrete cube strength, MPa | 43.31 |
| Equivalent cylinder strength, MPa | 34.65 |
| Average Static modulus of elasticity, MPa | 33711 |
STEP
11
Specimen 3
a). Click on the dial of CTM for zoomed view.
b). Click Start button of CTM to initiate the test.
c). Click Stop Button to see Values




Click Next to Examine the fractured specimen.


| Load at Failure: | KN | |
| Time: | sec. |
STEP
12
Specimen 3
Examine the fractured specimen.
 Click Next to Repeat the test.
Fracture type
 Click Next to Repeat the test.
STEP
11
Specimen 3
a). Click on the dial of CTM for zoomed view.
b). Click Start button of CTM to initiate the test.
c). Click Stop Button to see Values


Click Next to Examine the fractured specimen.


| Load at Failure: | KN | |
| Time: | sec. |
STEP
12
Specimen 3
Examine the fractured specimen.

Fracture type

STEP
13
Observations:
Click Show button to see load at failure of samples (P), failure type.
| Specimen No. | Load at failure of samples (P) | Failure type |
| Specimen 1 | kN | |
| Specimen 2 | kN | |
| Specimen 3 | kN | |
| Specimen 3* | kN | |
Splitting tensile strength of samples (fct)
 |
||
| Specimen 1 | MPa | |
| Specimen 2 | MPa | |
| Specimen 3 | MPa | |
| Specimen 3* | MPa | |
STEP
16
Final Results:
Click View button to see Results for new specimen
Click Next to Generate Report.
| Splitting tensile strength (fct) | |
| Specimen 1 | |
| Specimen 2 | |
| Specimen 3 | |
| Specimen 3* | |
| Result: Average flexural strength = | |
STEP
17
Report
Length (L) of specimen =
Diameter (D) of specimen =
Concrete grade=
| No. | Identification mark | Age in days | Testing date | Maximum load(kN) | Failure type | Flexural strength(MPa) | Avg. value |
| 1 | |||||||
| 2 | |||||||
| 3 | |||||||
| 4 |
STEP
17


