VICKERS HARDNESS TEST
Objective :
To determine the indentation hardness of mild steel, brass, aluminium etc. using Vickers hardness testing machine.
Apparatus used :
Vickers hardness testing machine.


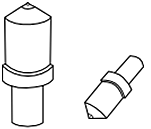
Type of indenter used is diamond cone indenter with square based pyramid shape.

Select the type of material :

Aluminium

Brass

Mild Steel
Selected Material :
Load Applied :
The selected specimen is placed on a supporting table and the height is adjusted by rotating hand wheel.


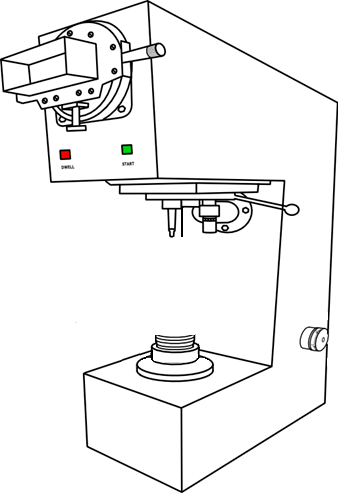

Specimen is in position
Move the mouse cursor on
the wheel to adjust
specimen height
The load to be applied on a specimen is set by adjusting the knob.
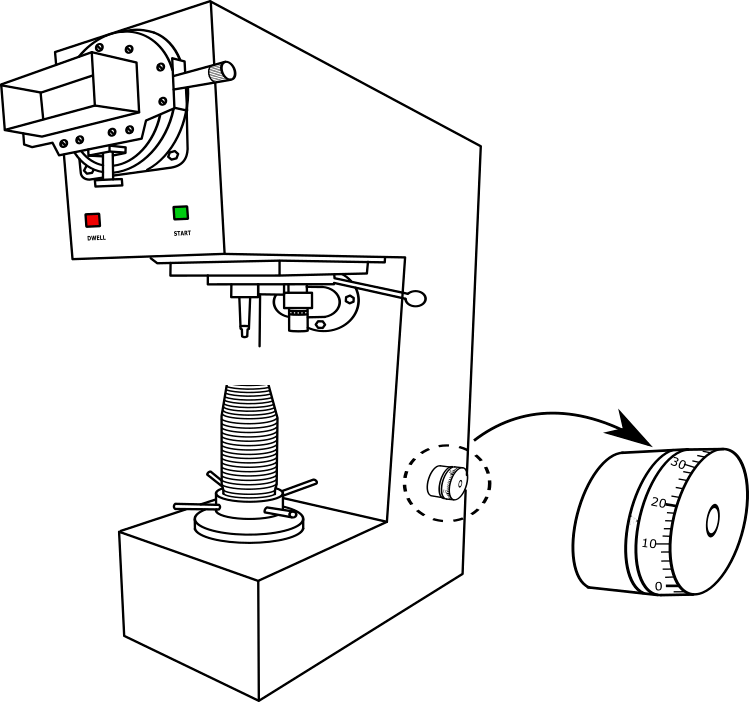


The time up to which load has to be applied for the specimen is adjusted.
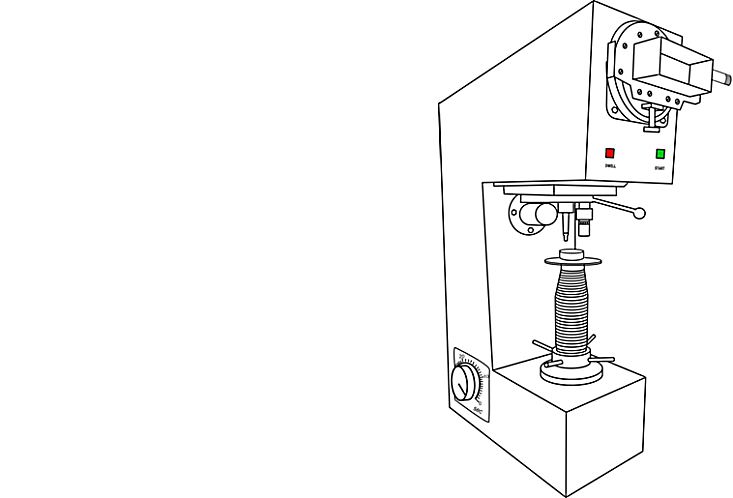


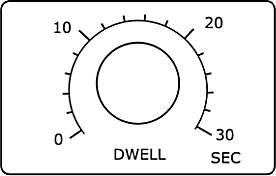


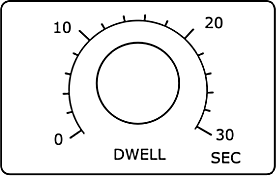
Click again to set the time
The load is applied for a period of 10 to 15 seconds.
Apply the selected load by pressing the green button for 2 to 3 seconds until the red light glows.


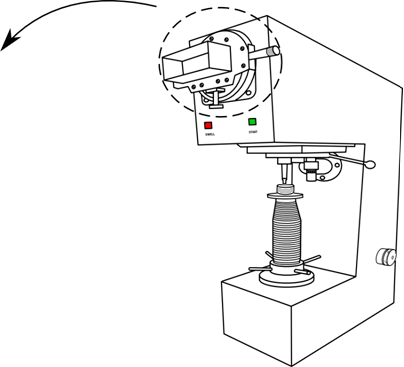
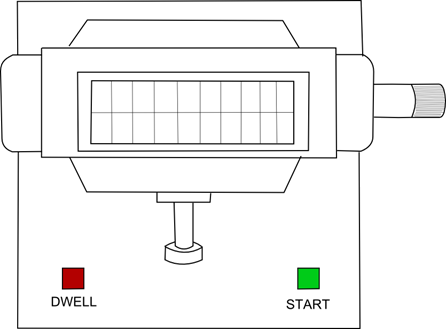

The image of the impression will now be clearly visible on the screen, measure the diagonal length in X-direction.


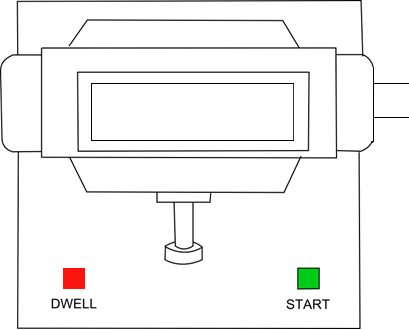


Indentation diagonal length in X-direction = _________
Move the mouse on the
wheel to measure Indentation diagonal length
Measure the diagonal length in Y-direction.


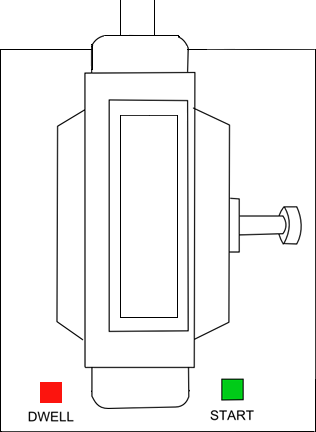


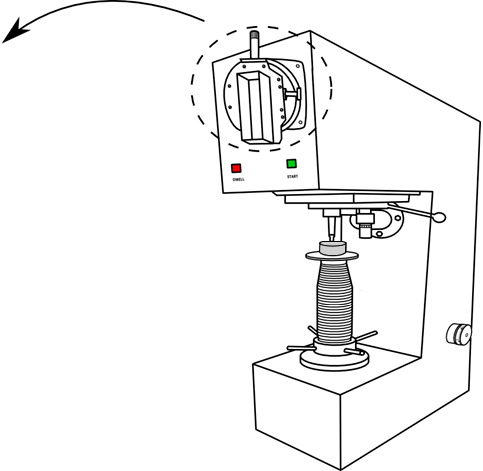


Indentation diagonal length in Y-direction = _________
Move the mouse on the
wheel to measure Indentation diagonallength
Observation :
| Specimen | Load Applied in kg | Diagonal of indentation in mm | Average Diagonal Length d in mm | Vickers Hardness Number, hv=0.8191F/d2 | |
| d1 | d2 | ||||
| Trial | Specimen | Load Applied ( kg ) | Average Diagonal Length ( mm ) | Vickers Hardness Number, hv=0.8191F/d2 | Average Vickers Hardness Number |
| 1 | |||||
| 2 |
Trial =

