2. There are three buttons in this experiment i.e. BACKGROUND INFORMATION Button, PLANE TABLE ACCESSORIES Button, OBSERVATION & PLOTTING Button.
3. BACKGROUND INFORMATION Button: This button is used to give all the background information regarding the experiment.
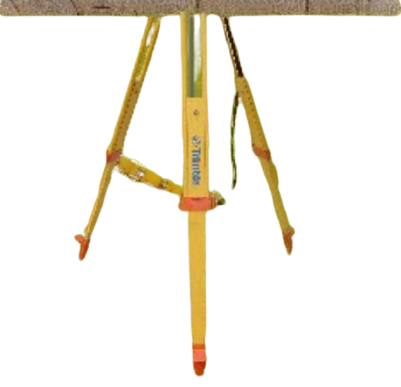
4. PLANE TABLE ACCESSORIES Button: This button is used to give all the accessories used in the experiment.
5. OBSERVATION & PLOTTING Button: It contains two buttons i.e. BROWSER & FLASH BASED SIMULATIONS Button.
6. On click on BROWSER BASED Button: it will navigate to the simluation page.
7. There are 3 objects(tree, street lamp and big electric pole) pointed by arrows and a Plane Table located inside all of the 3 objects. Three points are already plotted on the Plane Table using either Radiation methd or Intersection method.
8. On the left side of the pane, alidade view of objects is also given to see the clear view of the objects.
9. Click on a object(tree) to get alidade view of object and a line is drawn.
10. Accordingly, click on the other two objects, we get a triangle of error.
11. Now click on “C” labeled on tripod to get center point of triangle.
12.Then click on tree object to draw a line (colored blue) joining center point and already plotted point on Plane Table.
13. Now, click on the red curved arrow to rotate the Plane table. Then,click on the other two objects.
14. Repeat steps 12 & 13 to draw a line (red).
15. Ultimately, you will get a single point on plane table rather than a triangle of error. This will be the location of station occupied by the Plane table.
16. After taking all the observations click on the Result Button.

Object 1 (Tree)

Object 2 (Lamp)

Object 3 (Tower)