REBOUND HAMMER TEST OF CONCRETE
Objective:
To test the concrete specimens by the non-destructive test methods namely rebound hammer test.
Apparatus used:
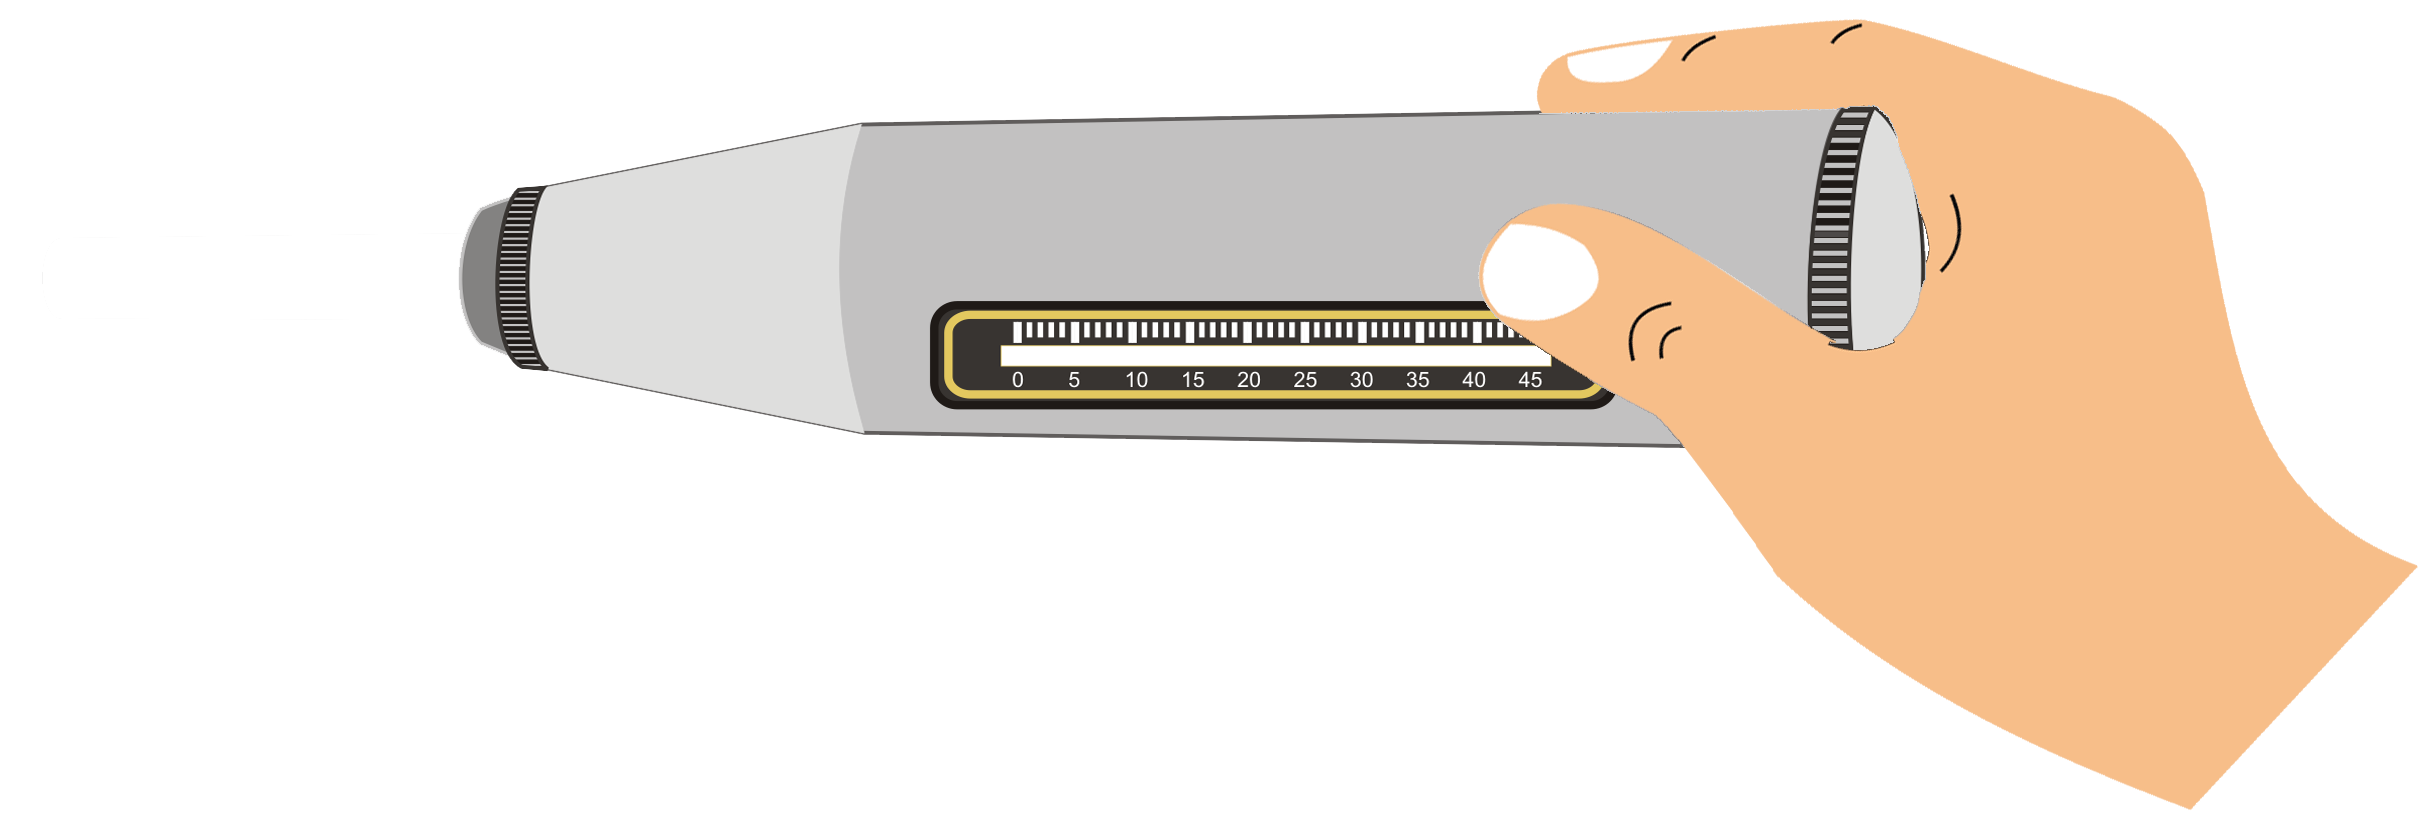
Rebound hammer, Carborundum stone etc.


Step 1: Enter the application and impact energy for the rebound hammer.
for Rebound Hammer in Nm
Step 2: Select the orientation of face of the specimen.









Step 3: a). Click on Add button to add the Carborundum stone.
Step 3: b). Click on Carborundum stone and remove any plaster or other coating from the concrete surface.
Note: For testing, smooth, clean (with abrasive stone) and dry surface should be selected. Rough surfaces resulting from incomplete compaction, loss of grout, spalled or tooled surfaces do not give reliable results and should be avoided.
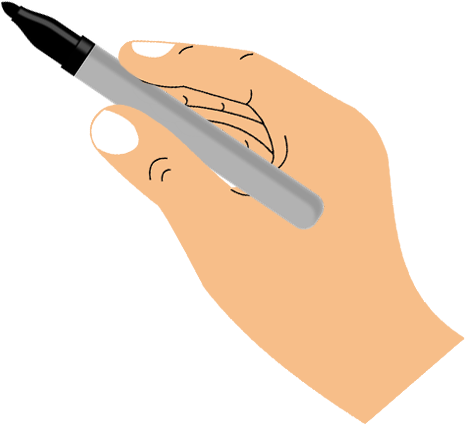
Step 3: c). Click on the marker to mark the points (at least six) on the concrete surface.
Note: The point of impact should be at least 25 mm away from any edge or shape discontinuity.
Step 4: a). Click on Add button to add the Rebound Hammer.
Step 4: b). Click on the Rebound Hammer and press on the first mark point.
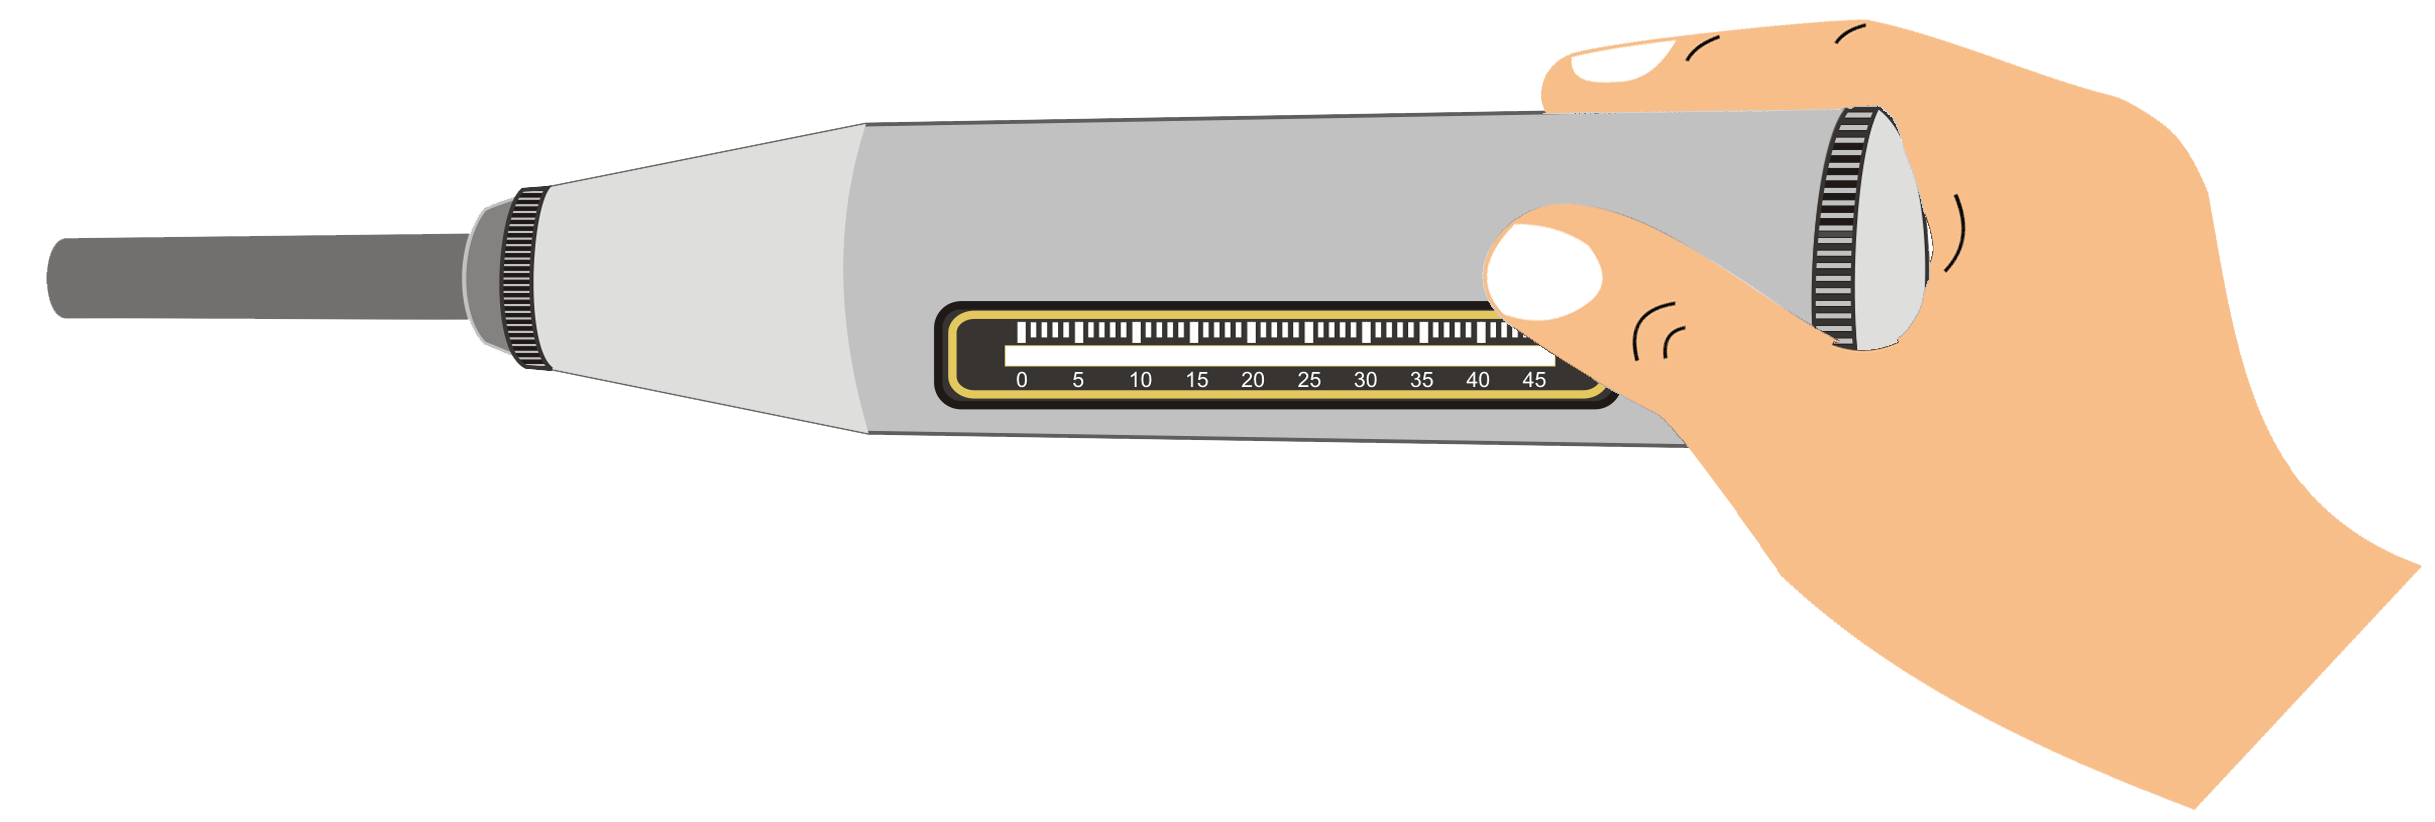
Step 4: c). Click on Button to release the Hammer and Observe Rebound index from Graduated Scale.
Step 4: d). Click again on the Rebound Hammer and press on the second mark point.
Step 4: e). Click again on Button to release the Hammer and Observe Rebound index from Graduated Scale.
Step 4: f). Click again on the Rebound Hammer and press on the third mark point.
Step 4: g). Click again on Button to release the Hammer and Observe Rebound index from Graduated Scale.
Step 4: h). Click again on the Rebound Hammer and press on the fourth mark point.
Step 4: i). Click again on Button to release the Hammer and Observe Rebound index from Graduated Scale.
Step 4: j). Click again on the Rebound Hammer and press on the fifth mark point.
Step 4: k). Click again on Button to release the Hammer and Observe Rebound index from Graduated Scale.
Step 4: l). Click again on the Rebound Hammer and press on the last mark point.
Step 4: m). Click again on Button to release the Hammer and Observe Rebound index from Graduated Scale.





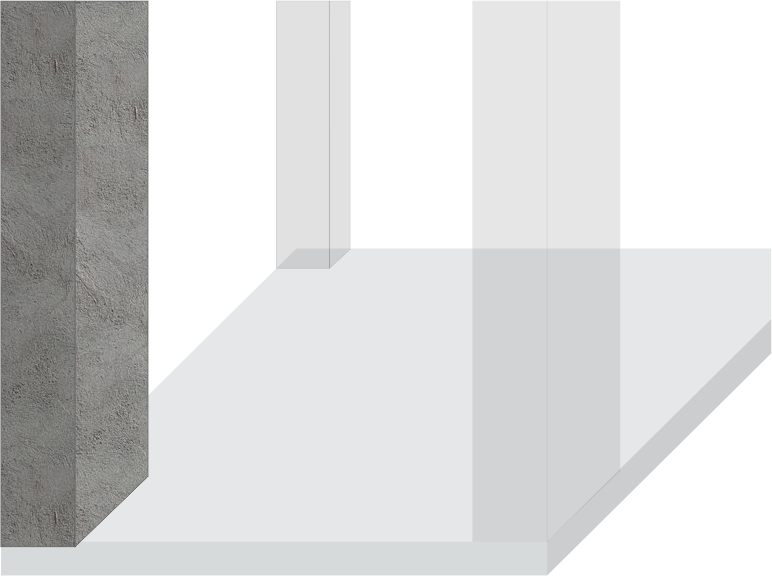


Step 2: a). Click on Add button to add the Carborundum stone.
Step 3: Click on Carborundum stone and remove any plaster or other coating from the concrete surface.
Note: For testing, smooth, clean (with abrasive stone) and dry surface should be selected. Rough surfaces resulting from incomplete compaction, loss of grout, spalled or tooled surfaces do not give reliable results and should be avoided.
Step 4: Click on the marker to mark the points (at least six) on the concrete surface.
Note: The point of impact should be at least 25 mm away from any edge or shape discontinuity.


Step 5: a). Click on Add button to add the Rebound Hammer.
Step 5: b). Click on the Rebound Hammer and press on the first mark point.
Step 5: c). Click on Button to release the Hammer and Observe Rebound index from Graduated Scale.
Step 5: d). Click again on the Rebound Hammer and press on the second mark point.
Step 5: e). Click again on Button to release the Hammer and Observe Rebound index from Graduated Scale.
Step 5: f). Click again on the Rebound Hammer and press on the third mark point.
Step 5: g). Click again on Button to release the Hammer and Observe Rebound index from Graduated Scale.
Step 5: h). Click again on the Rebound Hammer and press on the fourth mark point.
Step 5: i). Click again on Button to release the Hammer and Observe Rebound index from Graduated Scale.
Step 5: j). Click again on the Rebound Hammer and press on the fifth mark point.
Step 5: k). Click again on Button to release the Hammer and Observe Rebound index from Graduated Scale.
Step 5: l). Click again on the Rebound Hammer and press on the last mark point.
Step 5: m). Click again on Button to release the Hammer and Observe Rebound index from Graduated Scale.

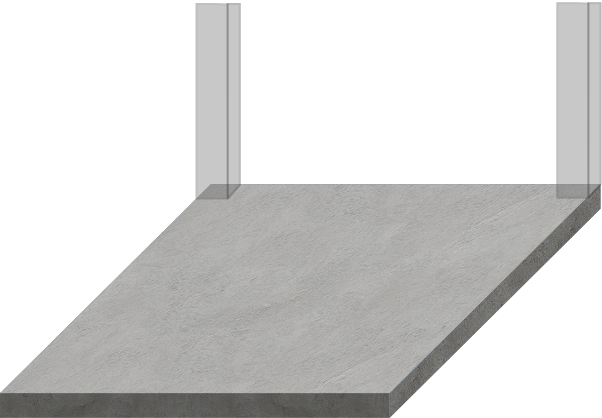


Step 2: a). Click on Add button to add the Carborundum stone.
Step 3: Click on Carborundum stone and remove any plaster or other coating from the concrete surface.
Note: For testing, smooth, clean (with abrasive stone) and dry surface should be selected. Rough surfaces resulting from incomplete compaction, loss of grout, spalled or tooled surfaces do not give reliable results and should be avoided.
Step 4: Click on the marker to mark the points (at least six) on the concrete surface.
Note: The point of impact should be at least 25 mm away from any edge or shape discontinuity.


Step 5: a). Click on Add button to add the Rebound Hammer.
Step 5: b). Click on the Rebound Hammer and press on the first mark point.
Step 5: c). Click on Button to release the Hammer and Observe Rebound index from Graduated Scale.
Step 5: d). Click again on the Rebound Hammer and press on the second mark point.
Step 5: e). Click again on Button to release the Hammer and Observe Rebound index from Graduated Scale.
Step 5: f). Click again on the Rebound Hammer and press on the third mark point.
Step 5: g). Click again on Button to release the Hammer and Observe Rebound index from Graduated Scale.
Step 5: h). Click again on the Rebound Hammer and press on the fourth mark point.
Step 4: i). Click again on Button to release the Hammer and Observe Rebound index from Graduated Scale.
Step 4: j). Click again on the Rebound Hammer and press on the fifth mark point.
Step 4: k). Click again on Button to release the Hammer and Observe Rebound index from Graduated Scale.
Step 4: l). Click again on the Rebound Hammer and press on the last mark point.
Step 4: m). Click again on Button to release the Hammer and Observe Rebound index from Graduated Scale.


 Index for Mark 2 =

 Index for Mark 3 =

 Index for Mark 4 =

 Index for Mark 5 =

 Index for Mark 6 =

 Step 6: a).
Enter the Observations
Step 6: b). Remove the outlier and calculate the average Rebound index.
Step 6: c). Find out the compressive strength using the calibration chart.
| S. No. | Rebound Index |
| 1 | N/A |
| 2 | N/A |
| 3 | N/A |
| 4 | N/A |
| 5 | N/A |
| 6 | N/A |
| Average |

| Impact energy | N/A |
| Face orientation of specimen | N/A |
| Compressive Strength | N/A |
| Impact energy | N/A |
| Face orientation of specimen | N/A |
| Average rebound number | N/A |
| Compressive Strength | N/A |
| S. No. | Rebound Index |
| 1 | N/A |
| 2 | N/A |
| 3 | N/A |
| 4 | N/A |
| 5 | N/A |
| 6 | N/A |
| Average | N/A |
| Impact energy | N/AN/A |
| Face orientation of specimen | N/AN/A |
| Average rebound number | N/A |