BRINELL HARDNESS TEST
Objective :
To determine the indentation hardness of Mild Steel, Cast Iron, Brass and Alluminium etc. using Brinell hardness testing machine.
Apparatus used :
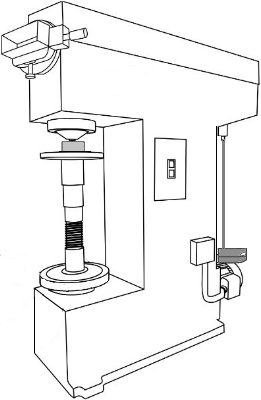
Brinell hardness testing machine
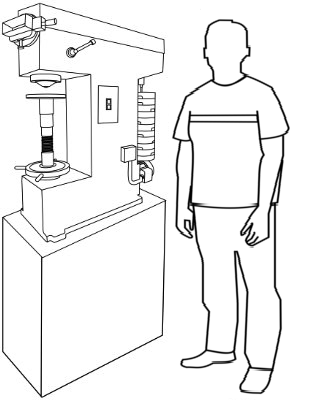
Diameter of the indentor D = 10mm. Select the load P based on the type of material selected (Mild Steel, Cast Iron, Brass, Alluminium).
Select material :
Selected material :
Cast Iron Load : 3000Kg
Mild Steel Load : 3000Kg
Brass Load : 1000Kg
Aluminium Load : 500Kg

Cast Iron

Mild Steel

Brass

Aluminium
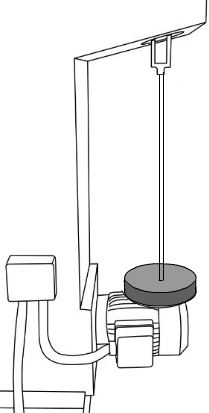
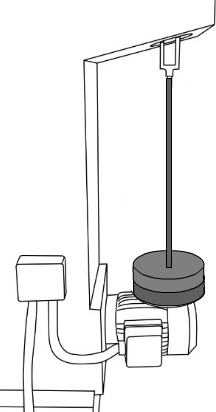
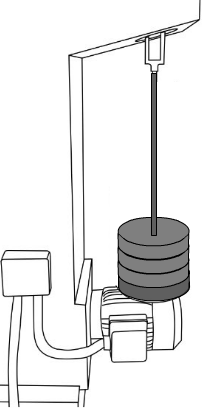
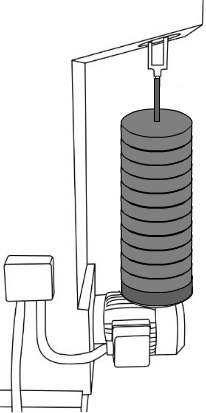

Mild Steel

Brass

Aluminium
| Material | Load ‘P’ (kg), diameter ‘D’ (mm) (Diameter of the indentor D=10mm) |
| Cast Iron & Mild Steel | P/D2 = 30, P = 3000Kg |
| Brass, copper & bronze | P/D2 = 10, P = 1000Kg |
| Aluminum, Magnesium & Zinc | P/D2 = 5, P = 500Kg |
( Each weight is equivalent to 250Kg, supporting
hanging rod and base plate is 250Kg )
The specimen is placed on the supporting table, then the hand wheel below the table is turned in clockwise direction untill the gap between the surface of the specimen and the indentor is 5mm.
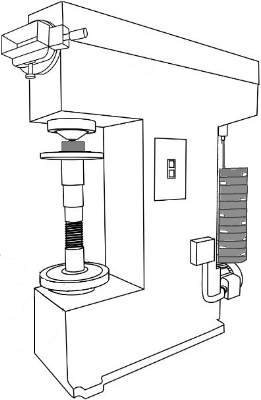


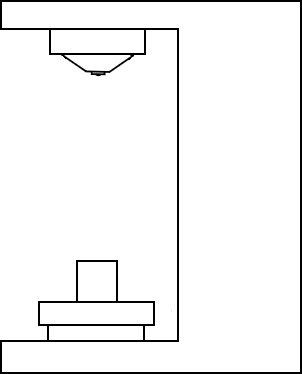


Specimen is in position
Unload Load
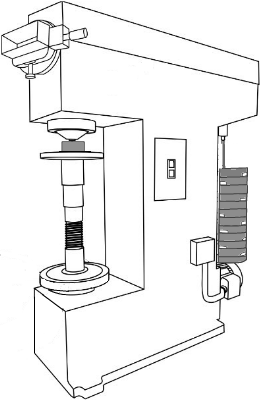
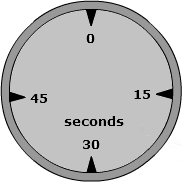
The motor is switched ON. The hand lever is pulled into load position. The load is applied for a period of 10 to 15 seconds.



Unload Load
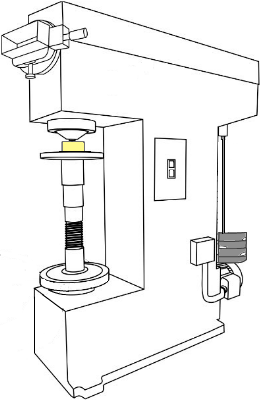
The hand lever is pulled back into unload position. The diameter of the impression is measured through a microscope attached to the apparatus.


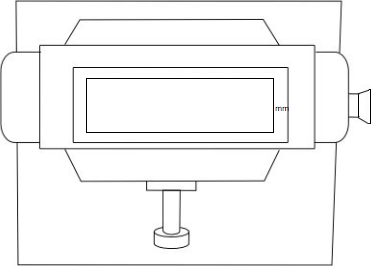


Measured Diameter :
sq=
Move the mouse cursor on
the knob to measure
Impression diameter
Unload Load
Observations:
Calculate the Brinell Hardness Number (HBW)
[HBW (H from hardness, B from brinell and W from the material of the indenter, tungsten (wolfram) carbide)]
| Material | Diameter of indenter D ( mm ) |
Load P ( kg ) | P/D2 | Diameter of indentation ( mm ) | Average diameter di ( mm ) |
d/D | HBW (kg/mm2) |
|
| dix ( mm ) |
diy ( mm ) |
|||||||


Actual HBW =
Entered HBW =
| Trial | Material | Diameter of indenter D ( mm ) |
Load P ( kg ) |
Average diameter di ( mm ) |
HBW ( kg/mm2 ) |
Average HBW ( kg/mm2 ) |
| 1 | ||||||
| 2 |
Trial =

